What Is A Resource Library?
A Resource Library is a page on your website that displays a collection of free downloads. These are usually files like ebooks or worksheets but they can also be videos, podcasts or links to online tools.
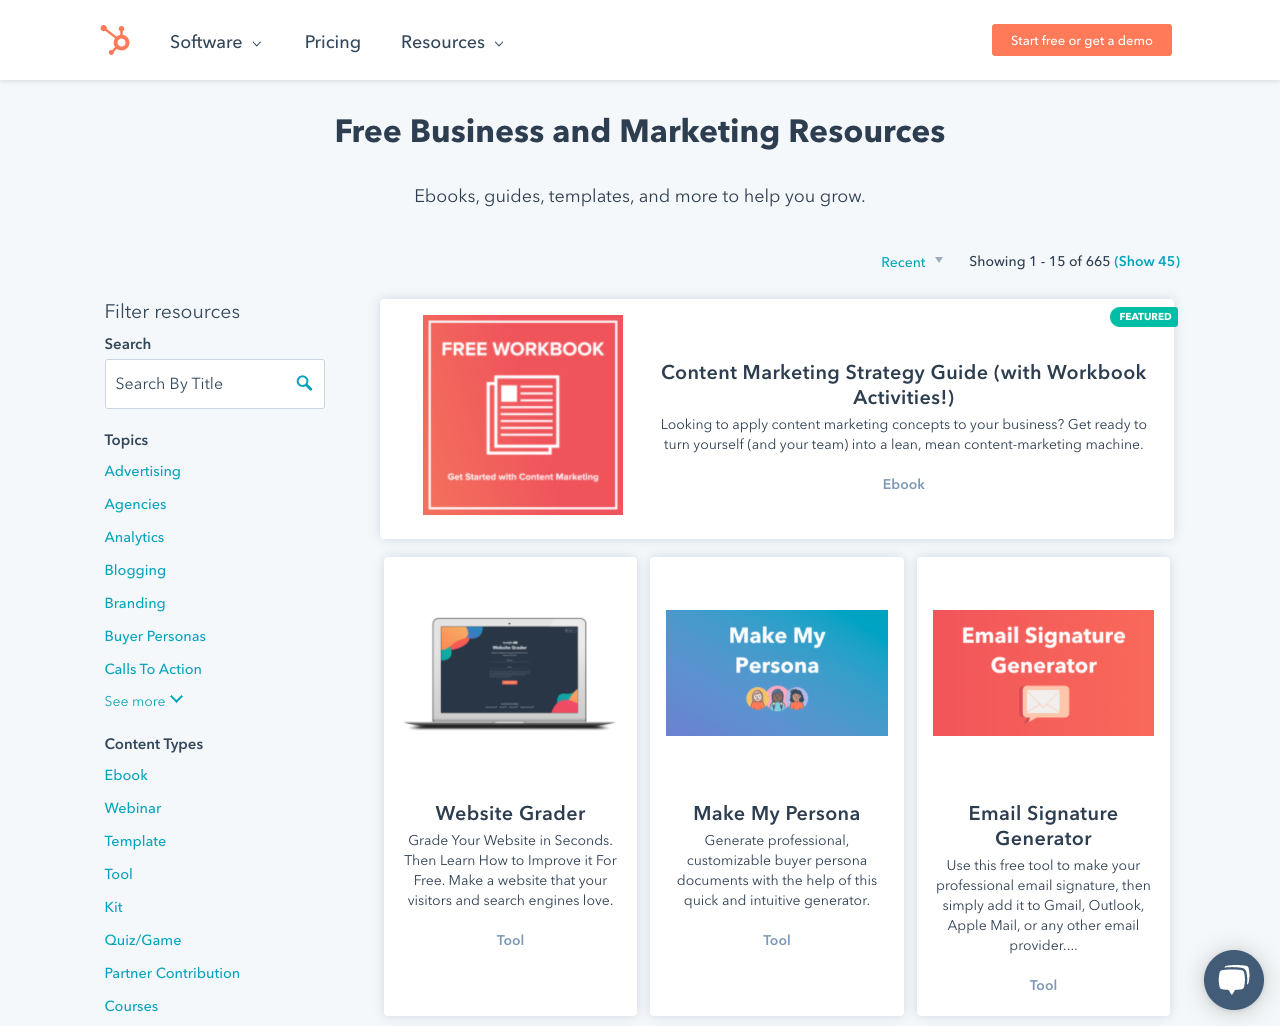
A screenshot of the HubSpot Resource Library
The purpose of a resource library is to have a single place on your website that people can browse and download your most helpful resources.
Why Should You Create A Resource Library?
Even though resource libraries have become pretty standard on modern websites it's worth taking a look at why you should create your own library:
Grow Your Email List
When someone wants to download one of your resources they will first have to enter their email address. This allows you to collect more email addresses so you can promote your paid products or services.
If the resources in your library are valuable then people will have no problem entering their contact details in order to get the information.
Stay Organized
If you've already been creating helpful resources for your audience then you probably have files stored in many different places on your website.
Just because you might know where to find that eBook from two years ago it doesn't mean your customers will.
By organising your resources into one central location you make things much easier for your customers. As a result you will collect more email addresses.
Increase Backlinks
If your library contains the best resources about a particular subject then it becomes a one-stop destination that people will share throughout your industry.
The great thing is that your library becomes more valuable over time when you keep adding more resources - this gives people even more reason to keep sharing it.
What To Include In Your Resource Library
You can include any resource that you think will be useful to your audience - as long as you made it yourself.
Some of my favourite things to include in a resource library are:
- eBooks
- Checklists
- Workbooks
- Whitepapers
- Webinars replays (video and slides)
- Videos
- Podcast Episodes
In terms of quantity, there really is no upper limit to how many resources you can have in your library but if you have more than 10 then you should definitely include search and tagging functionality to make things easier for your audience (more on that later).
How To Organise Your Resource Library
I mentioned earlier but if you have lots of resources in your library then it's essential that you have some sort of categorisation system.
Categories help your readers to quickly browse your library and they are especially useful if people don't know exactly what they're looking for.
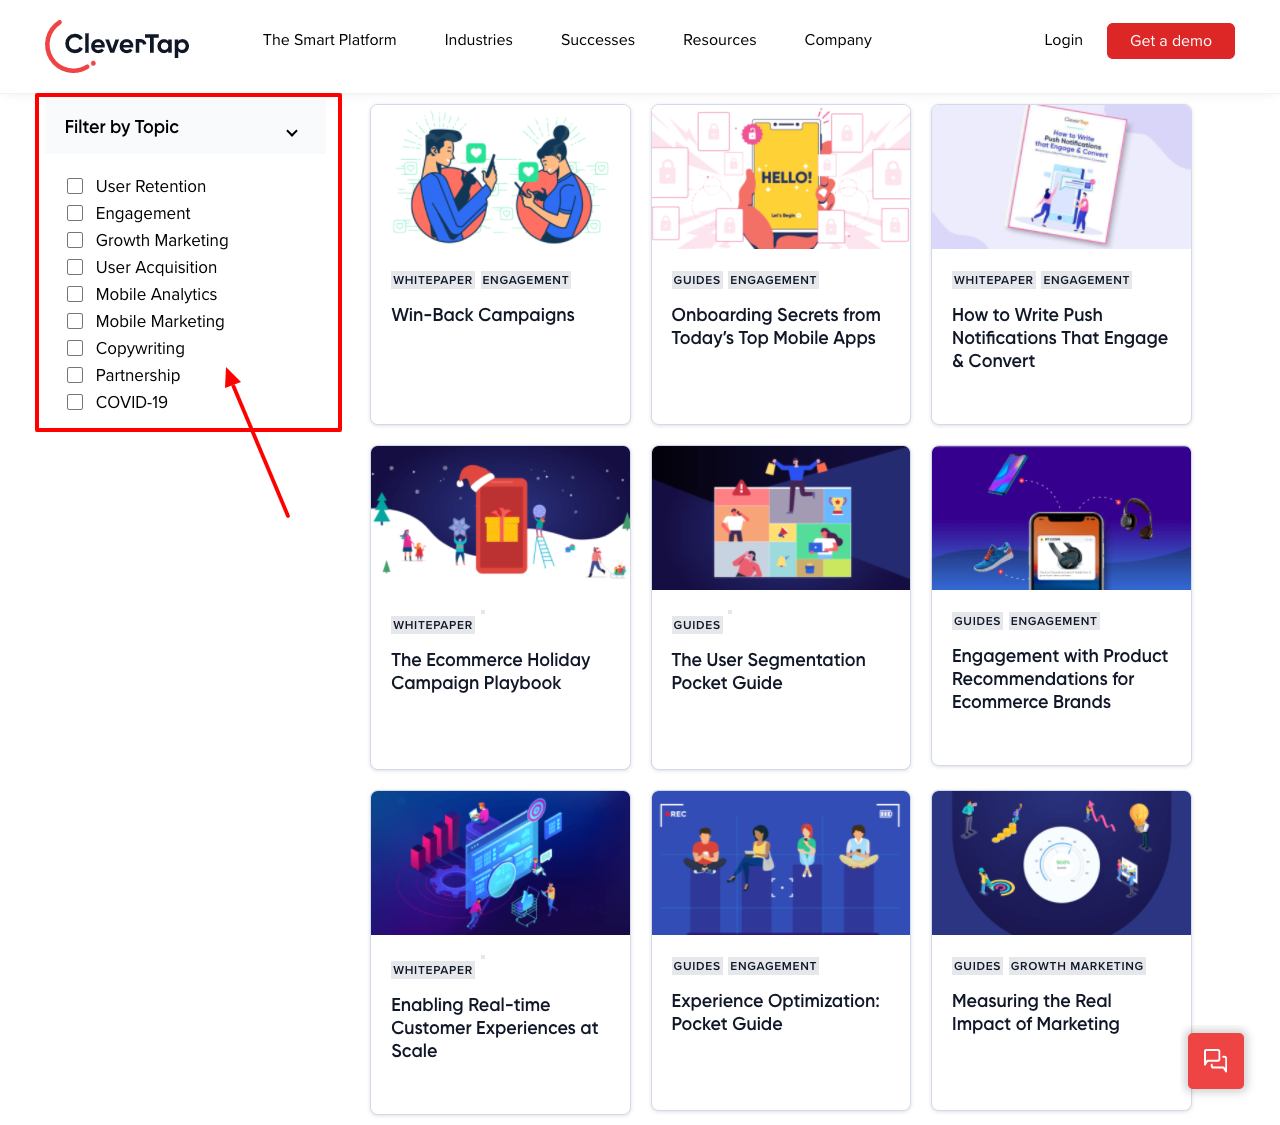
The Clevertap Resource Library uses categories
The trick with effective categories is to put yourself in the shoes of your reader. What categories would make most sense to them? You probably already have a good idea of this from speaking to your target audience and you can even look at your blog topics for some category inspiration.
You'll notice that lots of resource libraries offer more than one way for people to filter the resources. For example, this library offers solution, product, language and category.
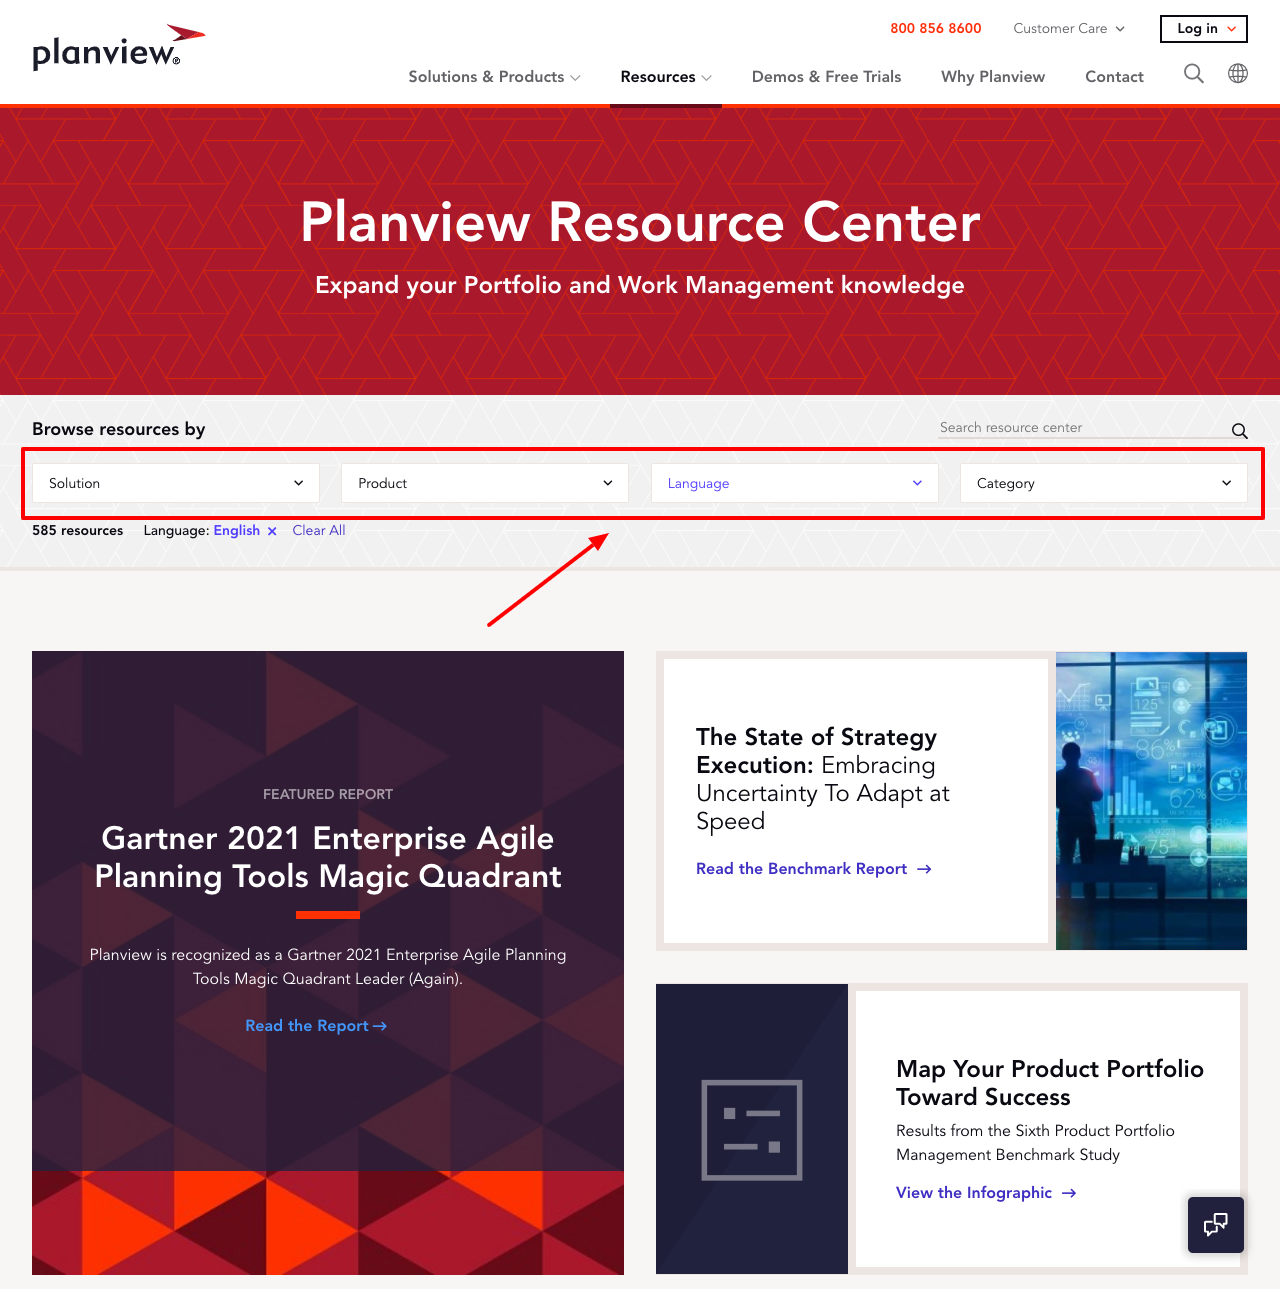
The Planview website uses four different types of filter
Giving people the choice of how to filter the content in your library can make it easier to use but be wary of adding too many filter options - people can get overwhelmed so keep things as simple as possible.
What Makes A Good Resource Library?
We have researched hundreds of resource libraries to determine what makes a good library. It boils down to these components:
1. Well Designed
Your library's design should reflect your brand. Colors, fonts and imagery should all be consistent with the rest of your website. Resources should be clearly laid out in a grid so that people can quickly scan the page.
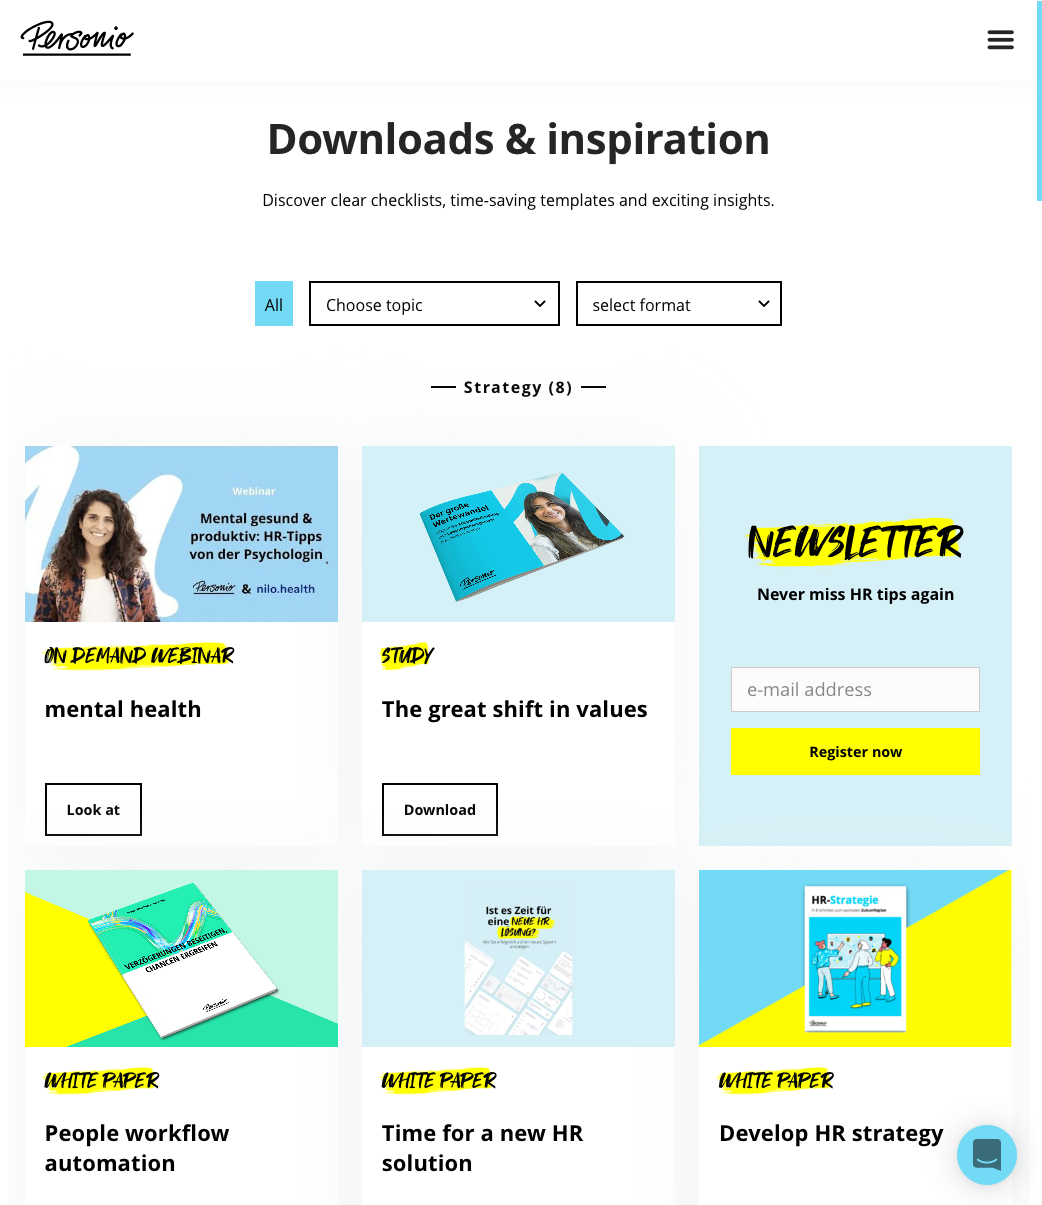
The Personio resource library is beauifully designed
2. Searchable
Sometimes people want to cut straight to the chase and search for a specific document. It's important that your resource library search bar only searches for documents in the library - if your search shows results from the rest of your website then it will only confuse people. When people are confused they just leave your website so let's make it easy for them!
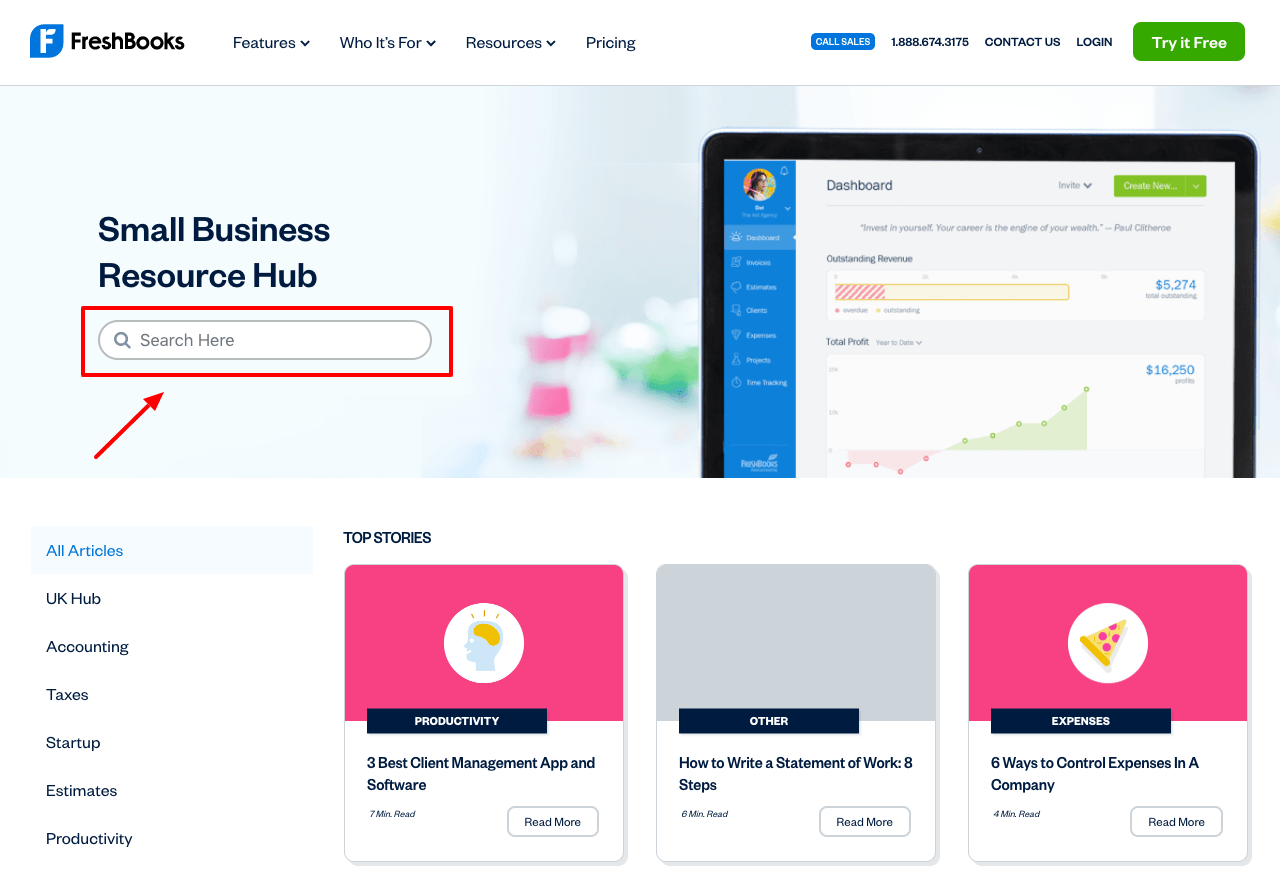
The Freshbooks website has a prominent search bar to help readers.
3. Mobile Friendly
More than 50% of browsing happens on a mobile device so a library that looks and functions well on smart devices is non-negotiable.
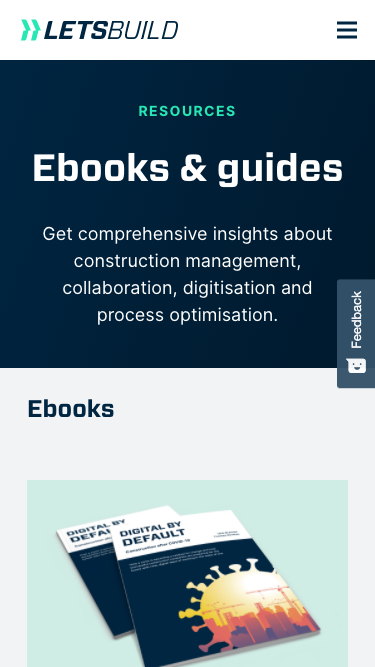
The LetsBuild website uses Responsive Web Design techniques to ensure it looks good on a smart phone.
What Makes A Bad Resource Library?
The biggest problem with the resource libraries we researched is passwords.
If your resources all live behind a password protected page then you have a problem. Firstly, passwords are a bad experience for both you and your audience. People forget passwords, they enter them in the wrong place and they share them with other people so you can't generate more leads.
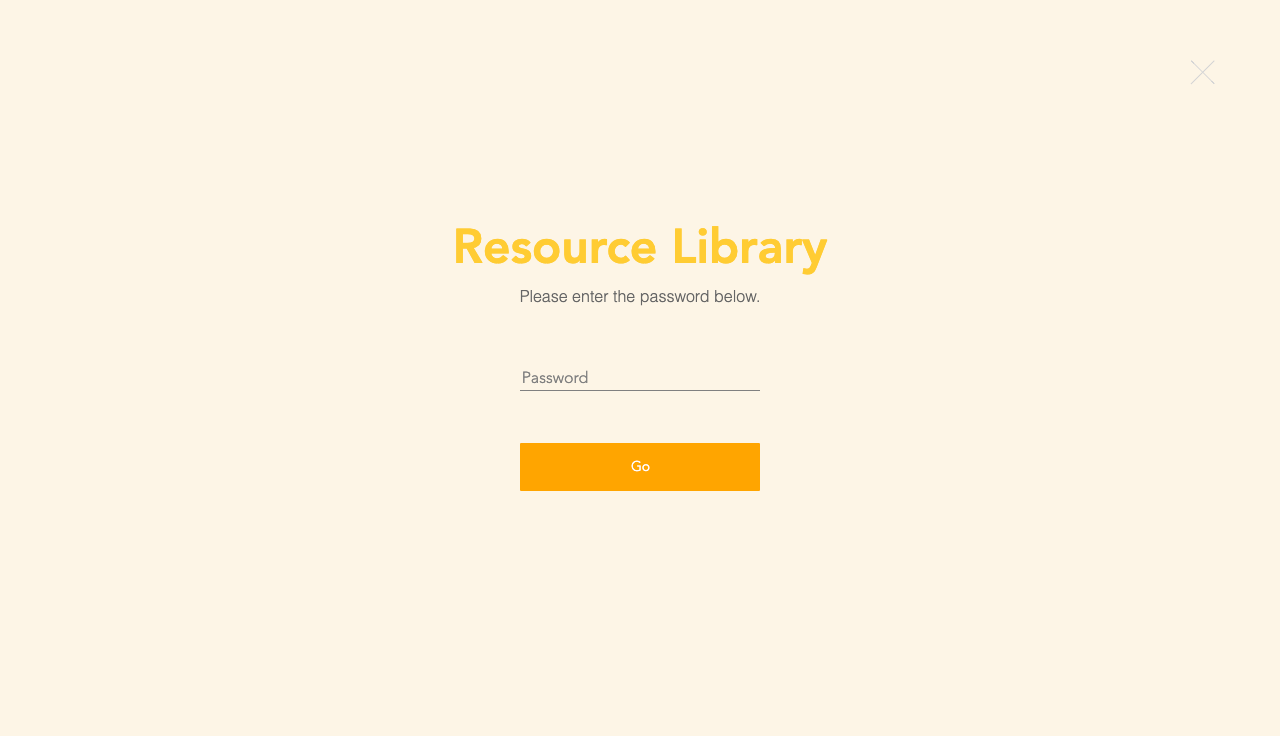
A password is required to access this resource library.
Secondly if your resource library is password protected then search engines can't 'see' what's inside. This means that some of your most valuable content won't show up in search results so you're missing out on lots of new website visitors and potential customers.
Finally, grouping all your resources together with a single password means that you can't segment your audience based on which individual resources they download. Ideally you want to track which resource someone downloaded, then follow up with a personalised email based on that resource. We'll show you how to do this later but just be aware that this isn't possible with a password protected library page.
How To Make Your Own Resource Library
Believe it or not but it's quite easy to create a resource library that includes search, content tagging and email collection as standard.
This is something that you can do in less than an hour, even if your budget is tight.
Gather Your Resources
You probably have files saved somewhere on your computer so take a few minutes to pull them all together in a single folder to help get a sense of what you have.
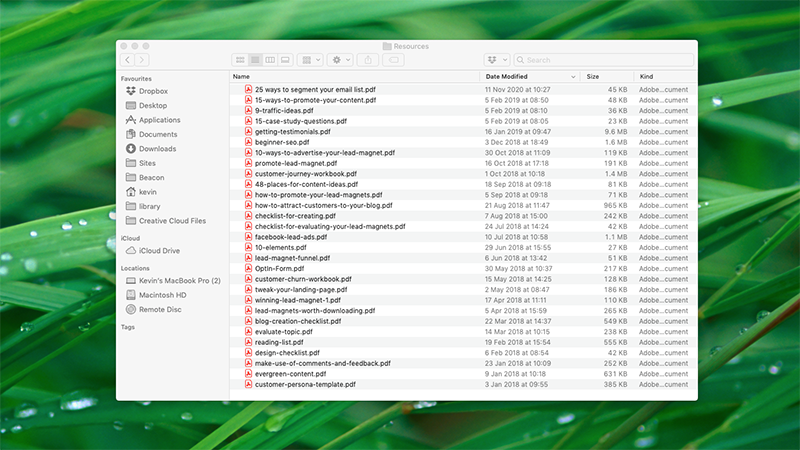
These resources will be ready to upload to your library.
Don't worry about naming and categorising the resources at this stage, we'll take care of that later.
Create A Free Beacon Account
Beacon is a free tool that will take care of all the technical aspects of building your resource library. It's a no-code tool which means that anyone can use it - even if you have no technical experience. It's designed to work with your existing website, no matter if you use WordPress, Wix, Squarespace, Webflow or something else.
You can create a free resource library with Beacon
You can grab your free Beacon account here →
Choose A Template
As I mentioned earlier, a professional design for your resource library is of paramount importance. Beacon has a range of professionally designed templates to choose from.
You can change the tempalte later so don't worry too much
These templates are all fully responsive so they will look great on smart phones and tablets as well as desktop computers.
Most importantly, every template is fully customisable so you can change colors and fonts to suit your brand.
Eventually your resource library will be embedded directly inside your current website so choose a template that looks like it will fit within your existing structure.
Don't worry too much about the decision at this point as you can always change the template later if you want to try something different.
Upload Your Resources
Next, we need to upload these resources into Beacon. You can upload multiple files at once (including documents, video, audio etc) so just select everything in your resources folder and click 'upload'.
Select the files you want to add to your Resource Library
Preview Your Library
Once you click the 'continue' you'll be taken to the main edit screen where you can preview your library:
This is the main Resource Library editor, showing a preview of your library
Notice how the thumbnail images for your resources have been automatically generated? That should save you a few hours creating custom covers in another piece of software…
When you upload a resource Beacon will automatically create a thumbnail for it
The search functionality is already setup too so you don't have to do anything extra to make that work.
The search functionality comes as standard so your visitors can find what they need
Customize The Template To Suit Your Brand
Now, the library looks quite good but it won't look like it's YOURS until you begin changing the colors and fonts.
Thankfully this is really easy to do. Using the customise option on the left-hand side go through each setting and change the existing colors to match your own brand colors.
Every element on the page can be customised to suit your brand
You can also change the text and fonts by clicking directly on items like the headline or page description.
Click the page description and then use this panel to change the text
If you don't want certain items to appear on your library page then you can hide them. For example, if you don't have a logo then just click here to hide it:
All items on the page can be hidden if you don't want to include them.
Give Each Resource A Title and Description
When you uploaded the resources to your library each resource was given its file name as the resource title. This probably isn't ideal for your audience so let's change it to something readable.
To do this you should click the 'manage resources' button on the left-hand side:
Click this button to edit each individual resource in the library
Then, click the resource title and enter a new one here:
Click the 'pencil' icon to begin making changes to a resource
While we're here be sure to add the resource description. This will help people to decide if they want to download the resource. This text is also important for when users are searching within your library and search engines will also pay attention to this text so be sure to include relevant keywords.
The resource description helps to keep your visitors informed
Finally, click 'update' when you're done to save your changes.
Save you changes by clicking the 'update' button
Categorize Your Resources
Earlier I mentioned how important it was to have an intuitive categorisation system for your resources as a way of signposting people towards the resources they need.
In this template you can see two different filters that people will use to browse your library.
These filters help people to browse the library if they don't know exactly what they're looking for
'Category' and 'Format' are the default filters but you can change them to something else like 'Industry' or 'Topic'.
To do that just click the menu and change these options:
Click the filters area to open the 'Refine Options' panel and change the text to suit
Next, you can add your individual 'Categories' and 'Topics' via the 'Options' box:
Type each individual option and press 'enter' on your keyboard
Finally, you need to place each resource into the appropriate category and format.
To do this you should click the 'manage resources' button on the left-hand side. Then, click the resource title and add your relevant categories.
Remember, you can put one resource in multiple categories if you need to.
Back in the 'manage resources' screen you can categorise your resources
Once you've done this just click 'update' to save your changes.
How To Use Your Resource Library To Grow An Email List
Of course the whole reason you want a resource library is to generate more leads. So let's make that easy by setting up an opt-in form. This is the form that people will submit in order to access their chosen resource.
To set up the form click the 'opt-in settings' option on the left-hand side:
Click this button to open the 'opt-in settings' screen
Make sure that the 'opt-in form' setting is selected so people can't access your resources without first completing the form.
Select this option if you want people to complete a short form before getting a resource.
Configure Your Opt-In Form
Next, select the 'opt-in form' section. Here you can decide what information you would like to collect from people.
You can show and hide different fields in the form depending on what information you want to collect
If you need to stay GDPR compliant then be sure to ask for people's consent to use their information for marketing:
This text will be shown at the end of the opt-in form with a checkbox for confirmation
You might find that people want to download more than one resource from your library. It would be a real pain if they had to enter their information for each individual resource so be sure to enable 'Smart Subscribers'. This setting will ensure that people only have to complete the form once. After that they will be able to access additional resources by clicking a button.
Smart Subscribers means that people will only have to enter their email address once, even if they want multiple resources
Connect To Your Email Marketing System
There's no point in collecting lots of email addresses unless you have a plan for what to do with them. The best course of action is to send all the leads to your email marketing system. This way they can become part of your future marketing campaigns.
To do this you first need to click on the 'email integrations' section.
Beacon connects to all major email marketing platforms
Then add a new provider, select it from the drop-down and finally, choose which list the leads should be added to.
You can choose to add your leads to a particular list in your email marketing system or assign tags
Publish Your Library
By now you should be about ready to publish your library. To do that just click the 'publish' button in the top right-hand corner:
Once you have everything set up it's time to publish
Click the switch at the bottom to publish your library, then choose your method. You have two options:
1. Share a link
2. Embed in your website
1. Share A Direct Link
Choose this option if you don't have your website set up yet
This is an example of a direct link. It works perfectly fine and is the fastest way to get your resource library out there.
2. Embed The Library In Your Website
I would recommend embedding the library inside your website because it creates a seamless experience for your audience and you get the SEO benefits of having all this great content on your main domain.
For most people you should copy the 'Inline' code as shown here:
Choose this option if you already have a website
Next, paste that code into your website editor.
Here's how that would look in WordPress:
Embedding the library in your website is as easy as copying and pasting
The process is very similar for every website editor out there. Just look for a way to add a 'code block' to your web page and paste the code in there. Easy!
Promoting Your Resource Library
The easiest way to promote your library is to include a link to it in your top website navigation. This is the place where most visitors focus their attention and a resource library is often something that new visitors will look for. A prominent place in your navigation ensures that they won't miss it.
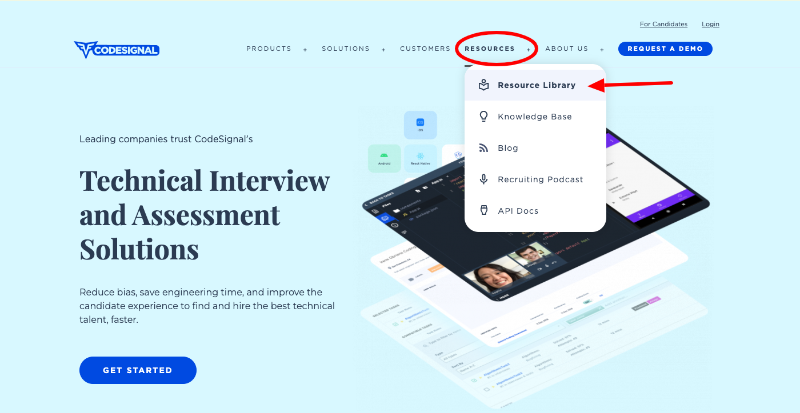
The CodeSignal website has the resource library in a prominent position in the navigation.
Maintaining Your Resource Library
Even though your resource library is now publicly available you will need to ensure that it stays up to date. The easiest way to do this is to add new resources.
So whenever you make a new lead magnet, just add it to your library by clicking the 'add resources' button:
Adding a new resource is as easy as clicking a button.
You can then choose to upload a file from your computer or even add a file from your GDrive account.
There are a few different ways you can add resources to your library.
Alternatively, you can add any website as a 'resource'. This is a great way of including online tools that you think may be of use to your audience.
You can include websites in your Resource Library - it doesn't have to be a file!
Summary
Resource Libraries can be an incredibly powerful way of generating leads on a consistent basis. You can create your own resource library with advanced functionality like search and dynamic filters without spending a penny or hiring a developer.
All you need to get started is a few resources. So what're you waiting for?!