Once you’re happy with your lead magnet it’s time to share it with the rest of the world so you can start generating leads.
There are lots of different ways to publish a lead magnet so it’s important that you choose the most appropriate technique for your situation.
In this lesson we’ll help you to choose the technique that generates the maximum number of leads for your lead magnet.
1Content Upgrade
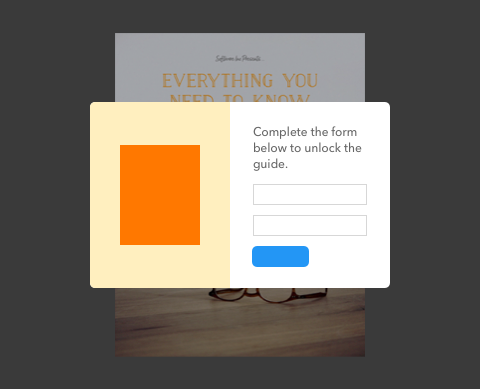
A content upgrade is a lead magnet that is offered as part of an individual blog post.
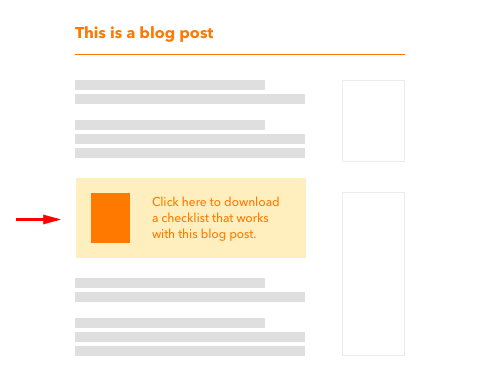
A call to action is displayed directly inside the content of the blog post.
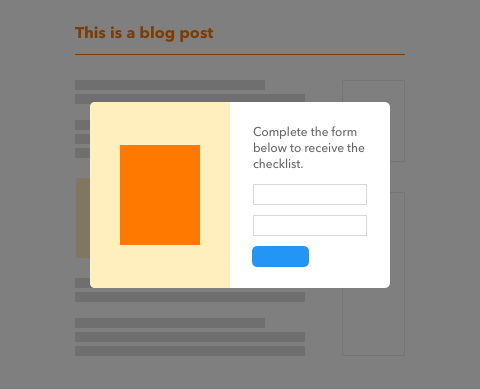
The opt-in form appears once the call to action is clicked.
Content upgrades are different to most lead magnets because they are directly related to a specific blog post. If you offer the lead magnet without the context of the blog post it might not be as effective.
Content upgrades typically have very high conversion rates because the lead magnet is directly related to the content that the person is already reading so they are naturally primed to take action.
The call-to-action text used in the trigger is an important part of this strategy. The text should make clear how the lead magnet complements the blog post.
The popup should include a visual of what the lead magnet looks like as well as some concrete information about the content of the lead magnet. For example, “12 pages packed with actionable content” or “17 techniques that you can implement today”.
Do
- Create content upgrades for every blog post you publish.
Don't
- Use the same lead magnet for multiple blog posts.
2Horizontal Bar
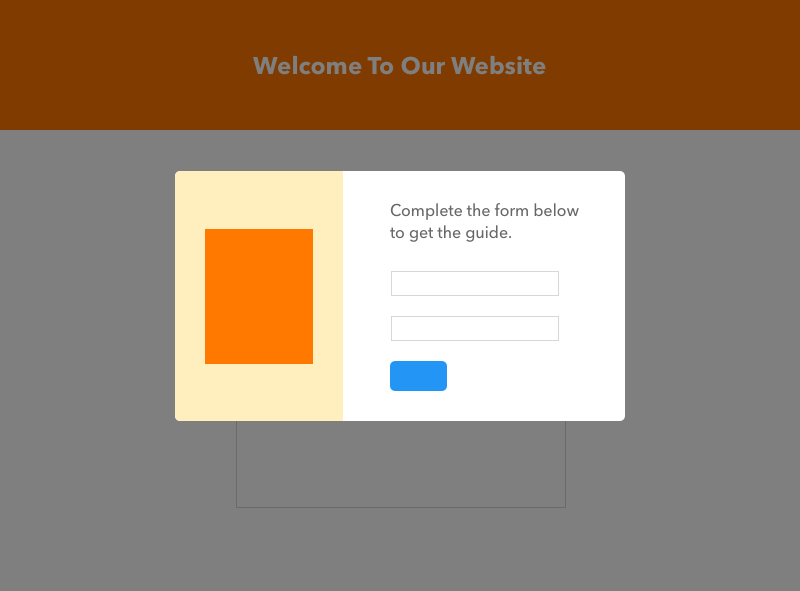
A call-to-action that is usually shown at the top or the bottom of every page on your website.
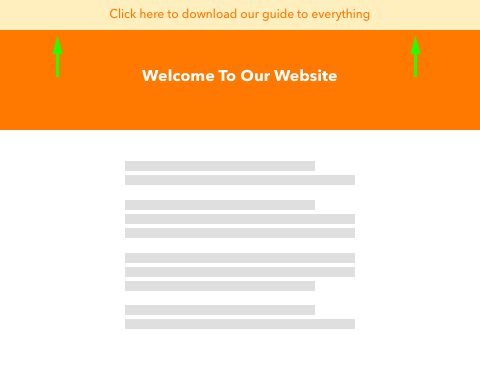
The horizontal bar appears at the top of a web page.
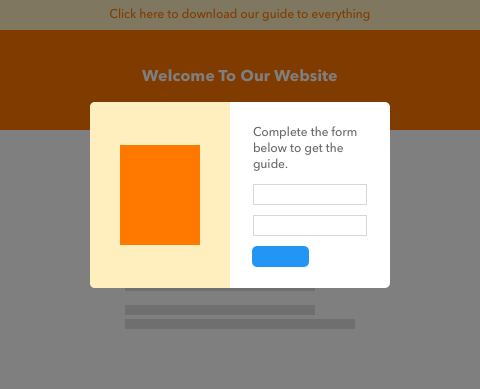
The opt-in form appears once the call to action is clicked.
A Horizontal Bar will be shown throughout your website, so it is recommended to use a lead magnet with top-of-funnel content so it will appeal to the majority of your visitors. If you use a lead magnet that is targeted to one specific set of customers you risk alienating lots of your visitors.
Since Horizontal Bars are shown to everyone who visits your website they will typically have high opt-in numbers but low conversion rates. That’s ok because the prominent position of the Horizontal Bar means that the people who are most in need of that particular lead magnet are most likely to find it.
Since the space for your call-to-action text is quite small it’s important that you use it wisely. You can do this by clearly stating the strongest benefit of your lead magnet. What will it help the reader to achieve? Use the text in the popup to add more information so you can seal the deal.
Do
- Use the horizontal bar on every page of your website.
Don't
- Promote a lead magnet that only appeals to a small section of your audience.
3Link Lock
Share your lead magnet with a single link and people will have to enter their email address before they can read the content.
The opt-in form appears as soon as the lead magnet loads.

The opt-in form disappears once the reader enters their details.
In some situations it doesn’t make sense to direct people to your website and expect them to find your lead magnet. On social media for example it’s more effective to just share a link directly to your lead magnet.
Using Link Lock means that you don’t have to setup landing pages or embed a call-to-action on your website so it can be a really effective way of generating leads quickly.
Because there are no landing pages or distractions on a web page, conversion rates for Link Lock are generally quite high.
Do
- Use Link Lock when sharing lead magnets in social media or emails.
Don't
- Use Link Lock with other opt-in forms - people will have to enter their details twice.
4Inline Form
A simple form embedded on a webpage with no popup.

The opt-in form is embedded directly on a web page.
With an inline form your readers can see exactly what information is required in order to access the lead magnet. This can work to your advantage if you are only asking for a small amount of information from your readers. However, if your form requires a lot of data from your readers then they will often scroll past the form without considering it.
Do
- Use the inline form in website sidebars and footers.
Don't
- Use an inline form as a content upgrade.
5Popup Delay
The popup will appear when the reader has been on a particular web page for a certain length of time or when they have scrolled a certain distance down the page.
The opt-in form will appear after a certain time or when the reader has scrolled a certain distance.
When a person is reading content on your website it can be difficult to direct their attention to a lead magnet offer. In this case you can use a timed popup to appear at a strategic point on the page.
While popups will definitely get the reader’s attention they can be considered annoying so use this technique sparingly and only when necessary.
Do
- Use a popup delay on blog posts to catch the reader's attention.
Don't
- Use a popup delay on every website page - it can be annoying.
You may find that you need to use more than one of these techniques for a single lead magnet. That's totally ok and something that we would actively encourage.