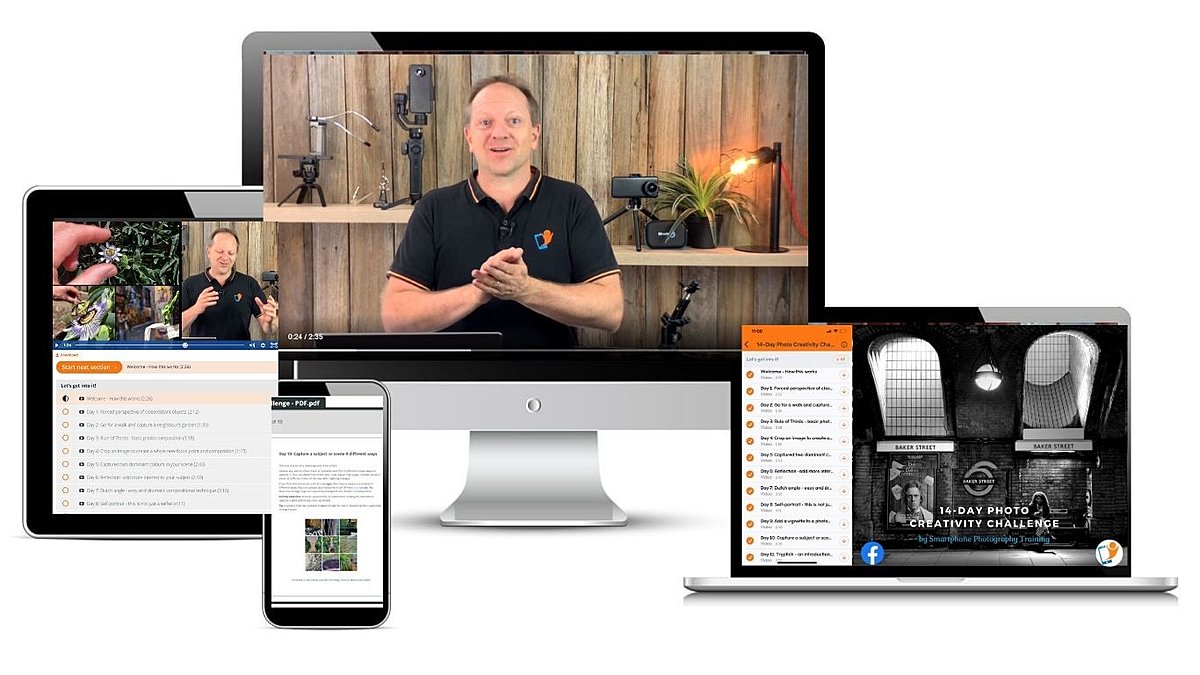
14-Day
Photo Creativity Challenge

Project-based learning
Daily techniques, tips and activities
Dedicated community
Project-based learning
Daily techniques, tips and activities
Dedicated community
Header
I am very excited to have you onboard and the quick transformation you are going to experience.
One of the biggest false beliefs that most of us have is that we are not creative. These quick daily activities will give you the confidence that you can capture something unique and interesting. The next level is photo editing. However, learning what to capture will well place you to edit for further impact in your photos.
You have full access to all the daily activities. I have not locked them to release an activity each day. We all learn differently and many of us have time constraints.
I will send you automated emails during the challenge. You can unsubscribe from them in a link at the bottom of those emails. If you need any further assistance or just want to say hello, my direct email is [email protected]
The idea is to commit 5-10 minutes each day. However, it is entirely up to yourself.
It would be fantastic if you shared your images with all of us. It becomes a source of inspiration and motivation for others to participate. Social learning is one of my favourite learning methods.
Simply post your photo in the comments of the course or within the Facebook group established specifically for this course.
Header
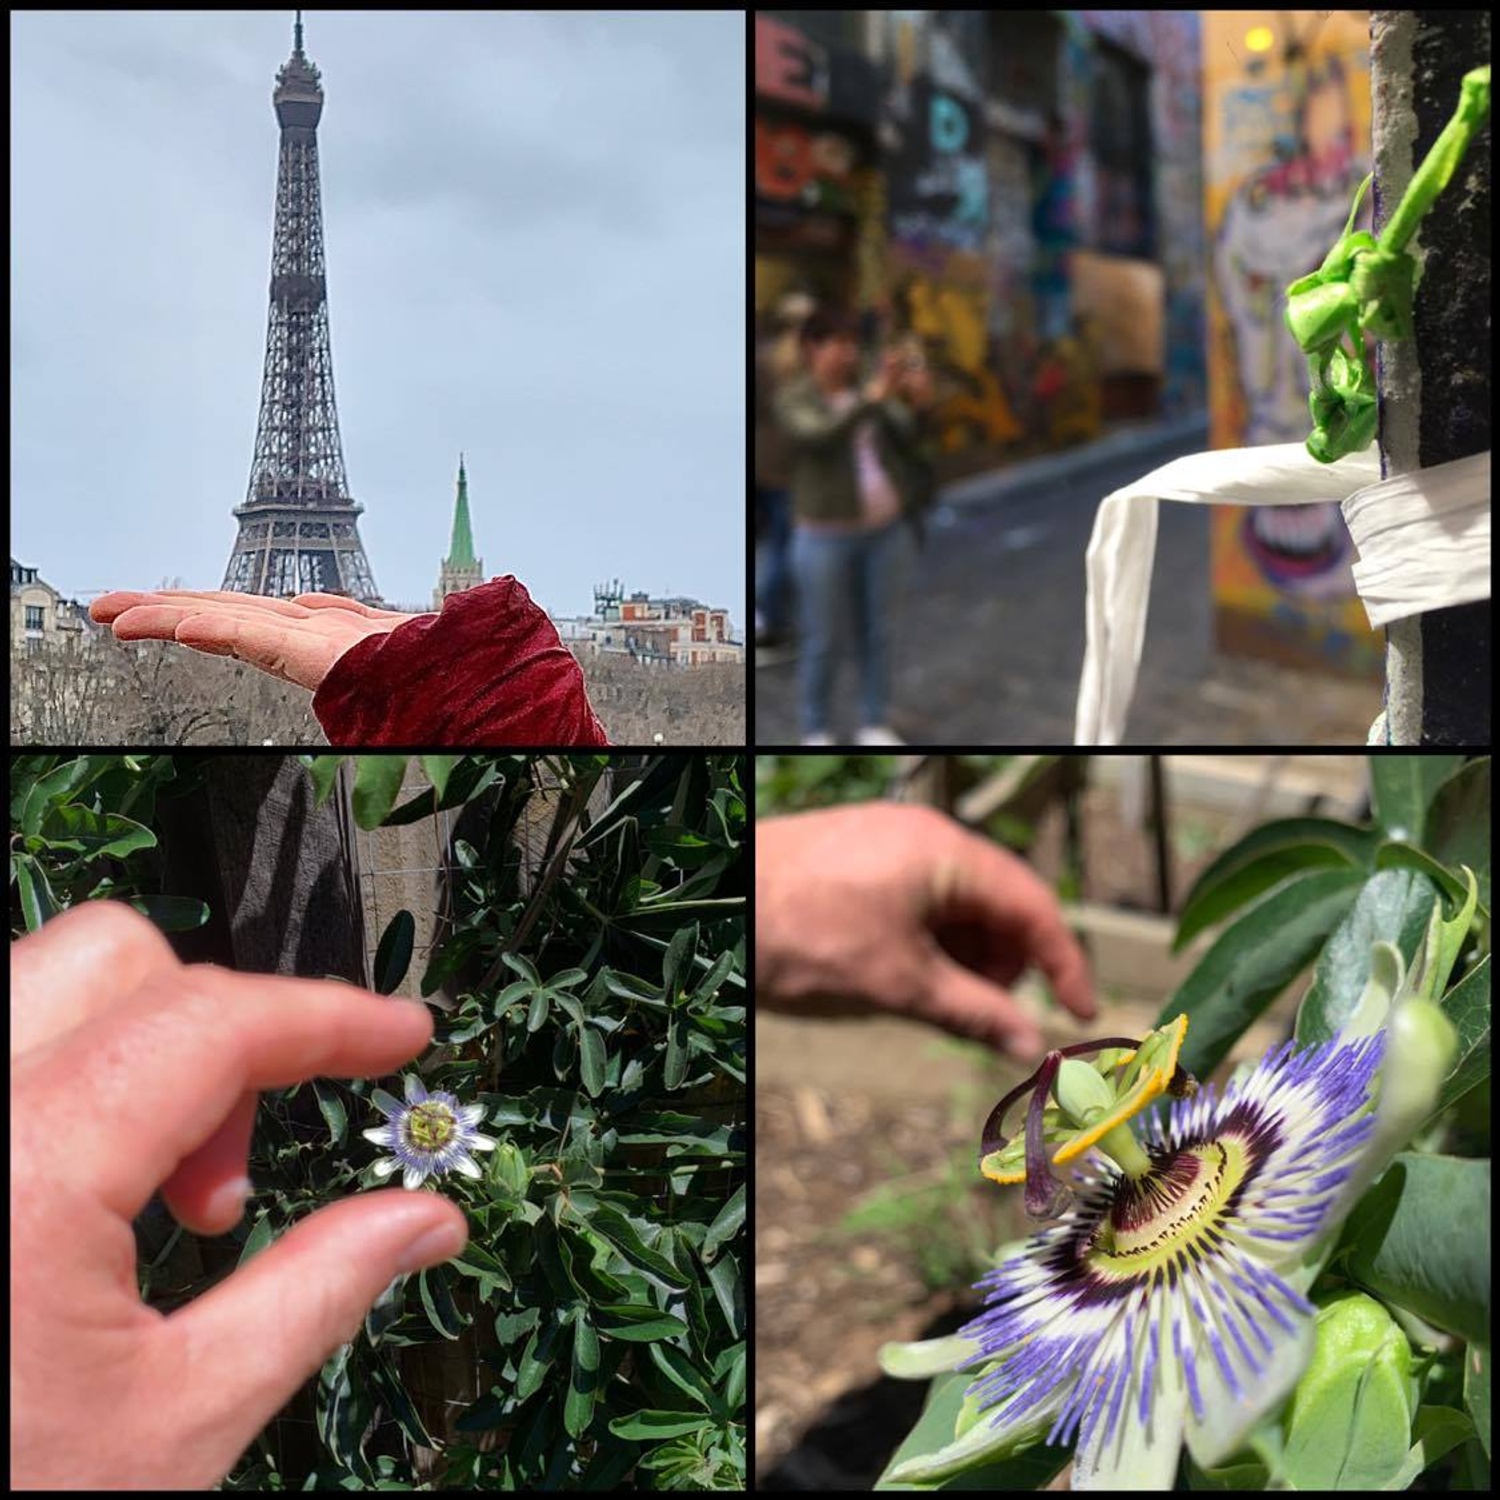
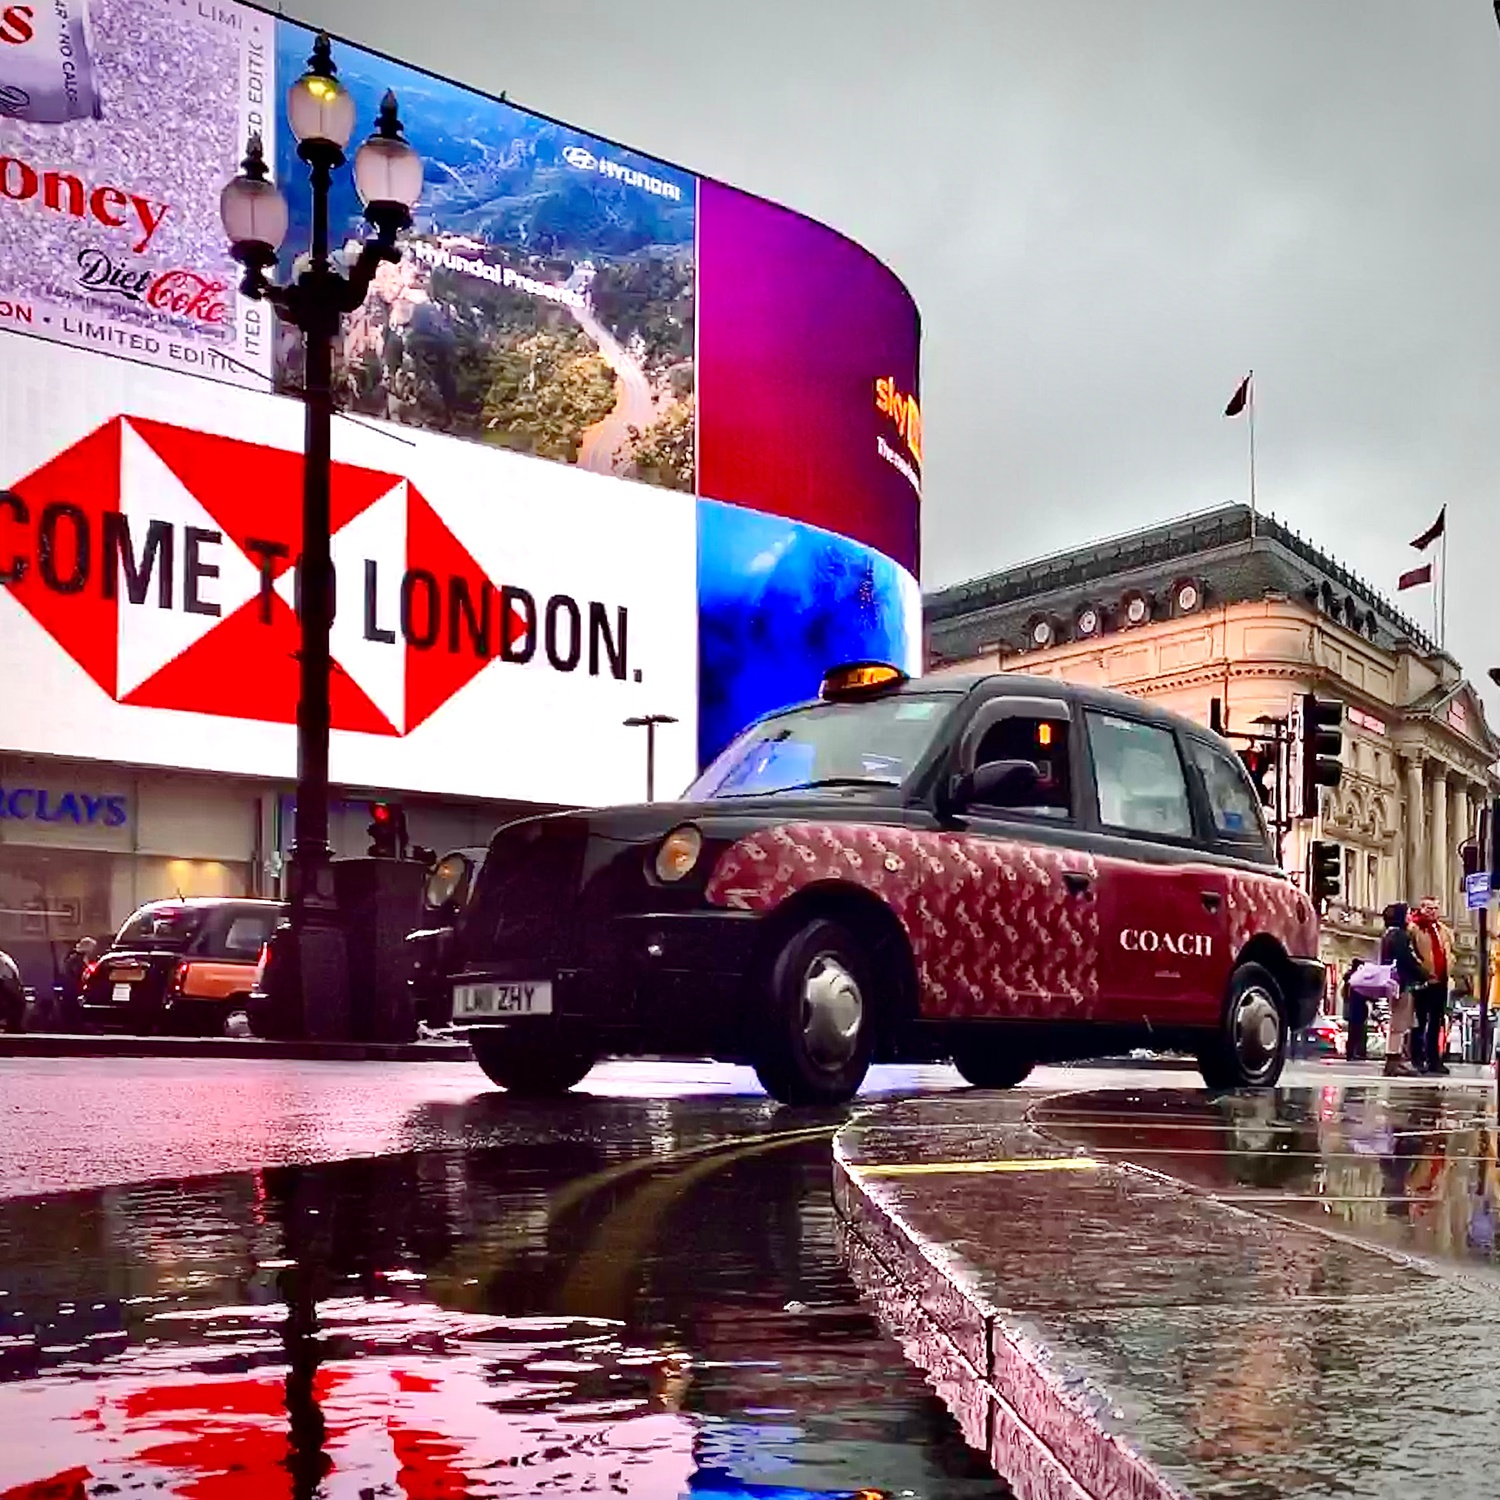
Day 1: Forced perspective of close/distant objects
Holding objects close to a smartphone camera lens makes it appear larger. The further away from the lens the smaller they appear. This can be to our creative benefit. You can make it look like the item in your hand is huge or tiny depending on the distances of each to the lens.
The challenge today is to photograph an object close to the lens and positioned off to the side. This will creatively make the distant background elements blurred and appear smaller. This is an easy, fun way to provide an interesting perspective to the image.
Activity objective: Don't worry about the result of your image. This activity is just about getting out there having fun and playing.
Tip: Keep minimal elements in the scene to make the image as simple as possible. This makes the forced perspective stand out even further.
Header
Day 2: Go for a walk & capture a neighbour's garden
Stanford researchers found that walking boosts creative inspiration by an average of 60%. Sounds like a great excuse to me to get outside your local area and taking some fresh air. If you are unable to leave your home, you will be pleased to hear that the study discovered similar benefits walking inside your own home. Not many photographic opportunities staring at a wall on the treadmill! A gentle stroll around your neighbourhood to capture flowers hanging over the path will provide some photographic opportunities.
Activity Objective:Stepping up your creativity! I couldn't help it, that title was waiting for me to step up and use it...
Tip:If you are capturing gardens, take notice of the small details.
Header
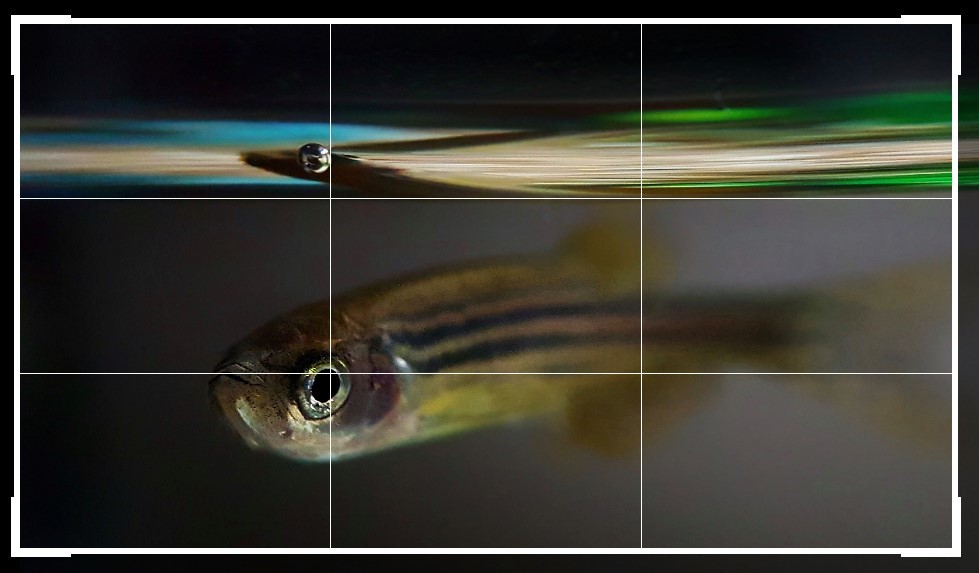
Day 3: Rule of Thirds - basic photo composition
This is one of the easiest and most transformational photo compositional techniques.
Firstly, what is composition? Your image includes the main subject and extra elements in the frame. The composition is how elements are positioned and how they all interact with each other.
Rule of Thirds is the process of placing two equally spaced vertical and horizontal lines across the photo. This creates nine squares, looking like a Tic-Tac-Toe board.
In your camera setting turn on the Grid or Gridlines. The idea is to place the main subject on top of one of these lines effectively placing it off-centre. The result is a more dynamic-looking image instead of the subject static in the centre of the frame. This also creates space around the subject for the viewer's attention to explore other elements in the scene.
Activity objective: Composition is the first step to becoming a more intentional storyteller.
Tip: The sweet spot is placing your main subject on one of the four points where the lines intersect. Your subject will then be off-centre both vertically and horizontally.
Header
Day 4: Crop an image to find a new image within
That title sounds a little confusing, doesn’t it? There are often so many photo framing opportunities that we simply miss. Basically choose an object and open the crop tool in your favourite editor. This could be the inbuilt photo editor or a mobile editing app. My favourites are Snapseed by Google and Lightroom mobile app by Adobe.
This exercise is quite interesting to discover how many photo opportunities there are in your existing photos.
Activity objective:Experiment and discover the many different framing opportunities in your photos.
Tip:A quick way to Identify a ‘photo within a photo’ is to pinch and zoom in on different parts of your photo!
Header
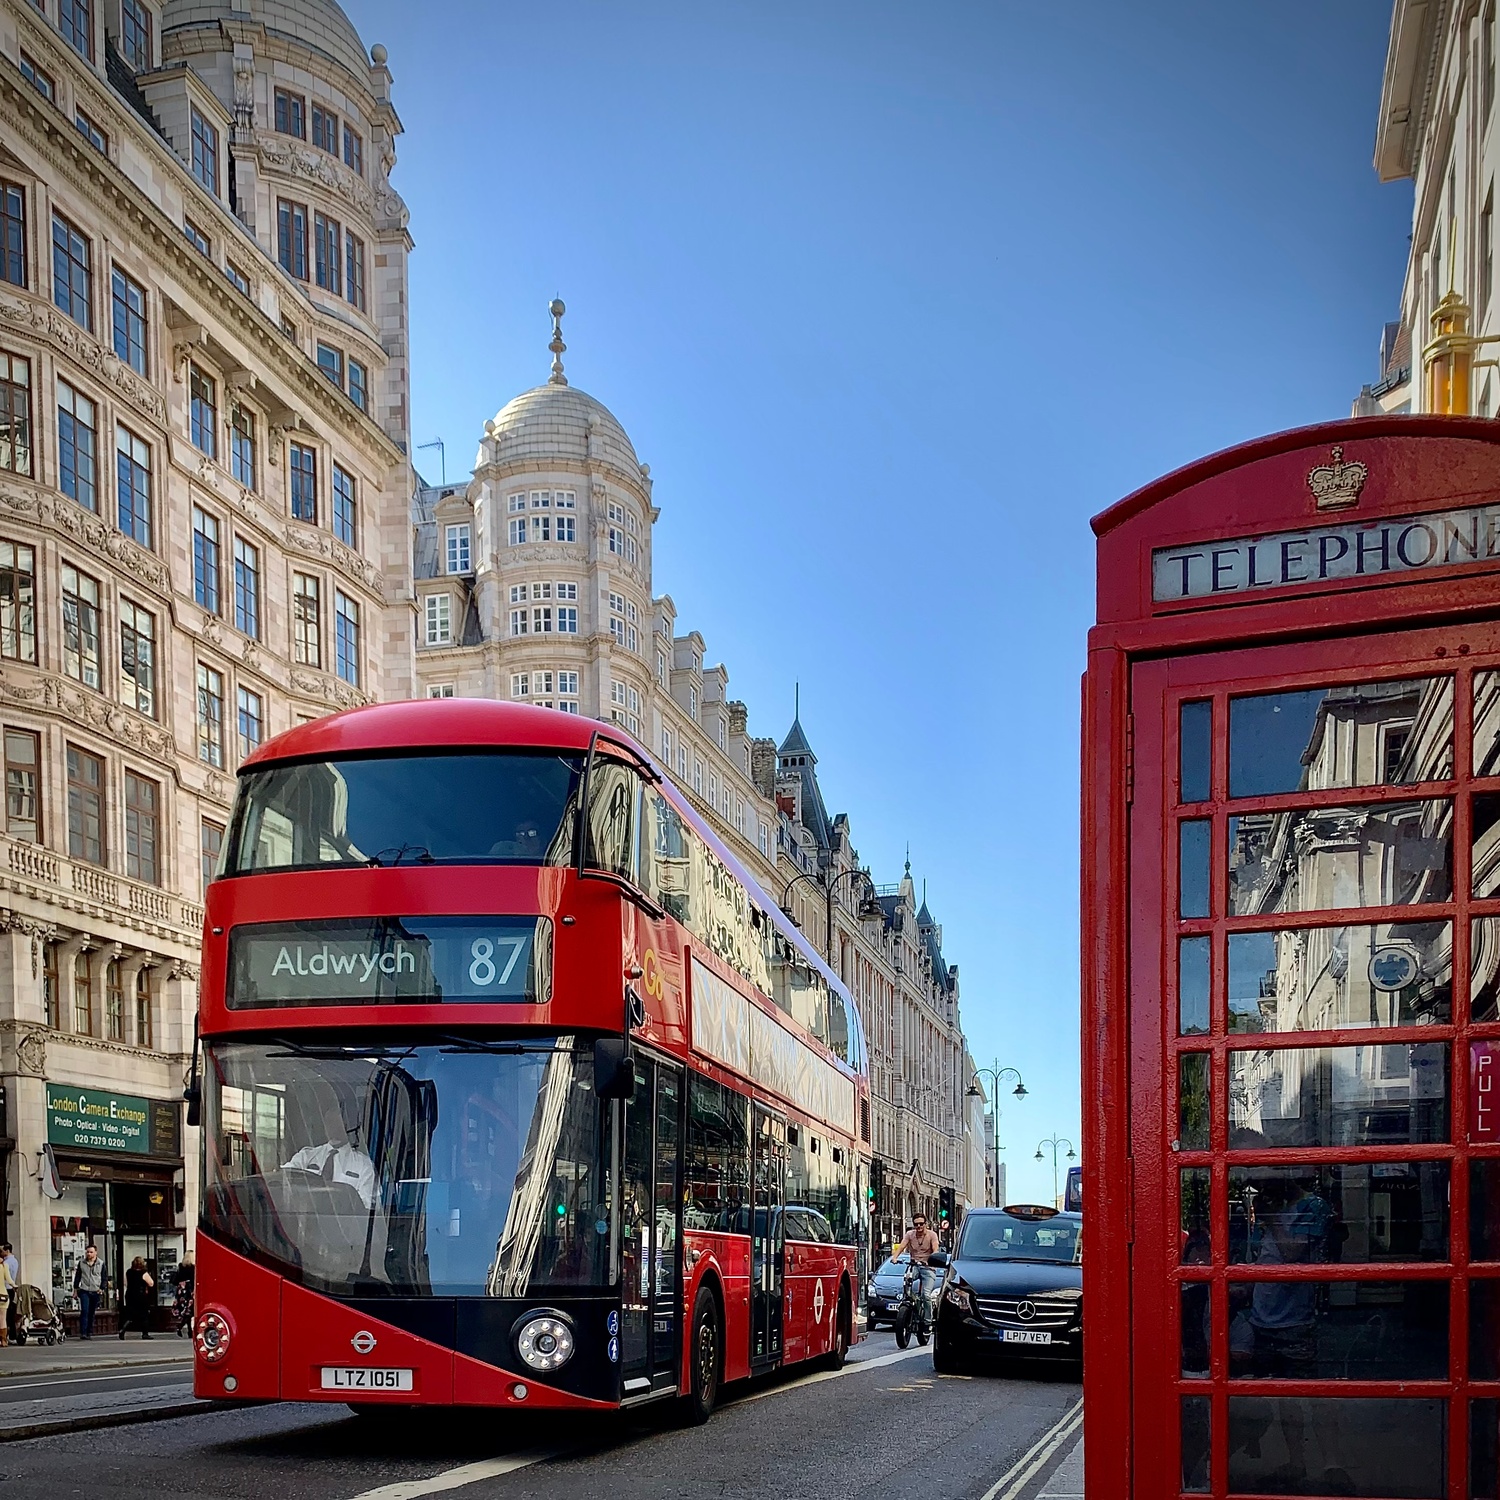
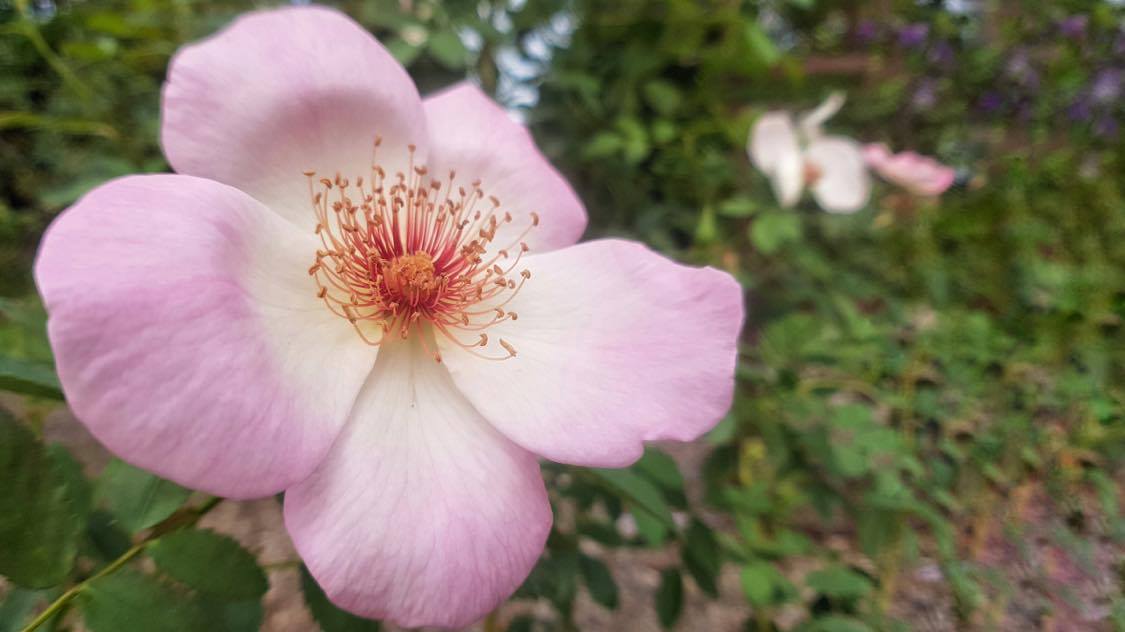
Locate a scene having two dominant colours that stand out against the background. The easier way to achieve this is a close-up image where you can minimise objects in the scene.For best results, try to select two complementary colours that are quite different. Known as colour contrast. Select two colours on opposite sides of the colour wheel to make elements stand out.
Activity objective: Colours can play an important part in photo composition, aesthetics and the mood of the image.
Tip: Red is a strong colour that contrasts against a blue sky or green plant foliage.
Header
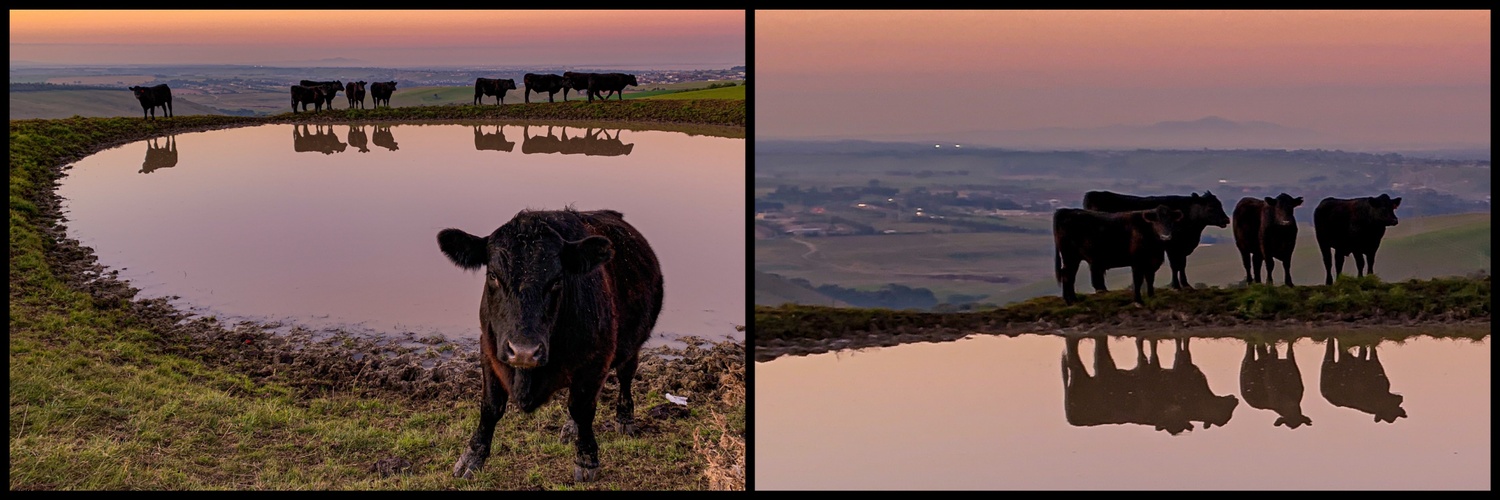
Day 6: Reflection -add more interest to your subject
I love reflection shots. So much so, that I actually carry a bottle of water with me just to create a temporary puddle to shoot across!
Once you start looking for reflections, you will start to see them everywhere. Check out interesting reflections in windows, mirrors, puddles or even sunglasses.
This technique will have people commenting on how creative you are!
Activity objective: This technique teaches you to look out for interesting unique perspectives.
Tip: If you are shooting a very low-angle across a puddle, rotate your smartphone so the lens is closest to the water.
Header
Day 7: Dutch angle - a dramatic composition technique
A very non-traditional composition technique makes the horizon or vertical lines ‘intentionally’ angled. You can eitherhold your phone on an angle as you shoot or sue thecrop/straighten tool in your photo editor to make it crooked.
This technique is commonly used in cinematography for dramatic effect. It helps portray movement, energy, unease, disorientation, frantic or desperate action.
- Increase the angle to introduce more movement
- Angling against the flow of the content introduces unease. It can look and feel like the subject is going to fall out of the frame. This is a technique called visual tension.
- If you have applied the rule of thirds guideline then tilting toward the majority two-thirds of the image is more natural.
Activity objective: Many people get this technique wrong. You now know the why before introducing it to your photography.
Tip: Angle the image to the direction of natural flow of the content to add movement.
Header

In the second week now. The project-based challenges are starting to build in complexity and introduce more photographic concepts to help you get creative.
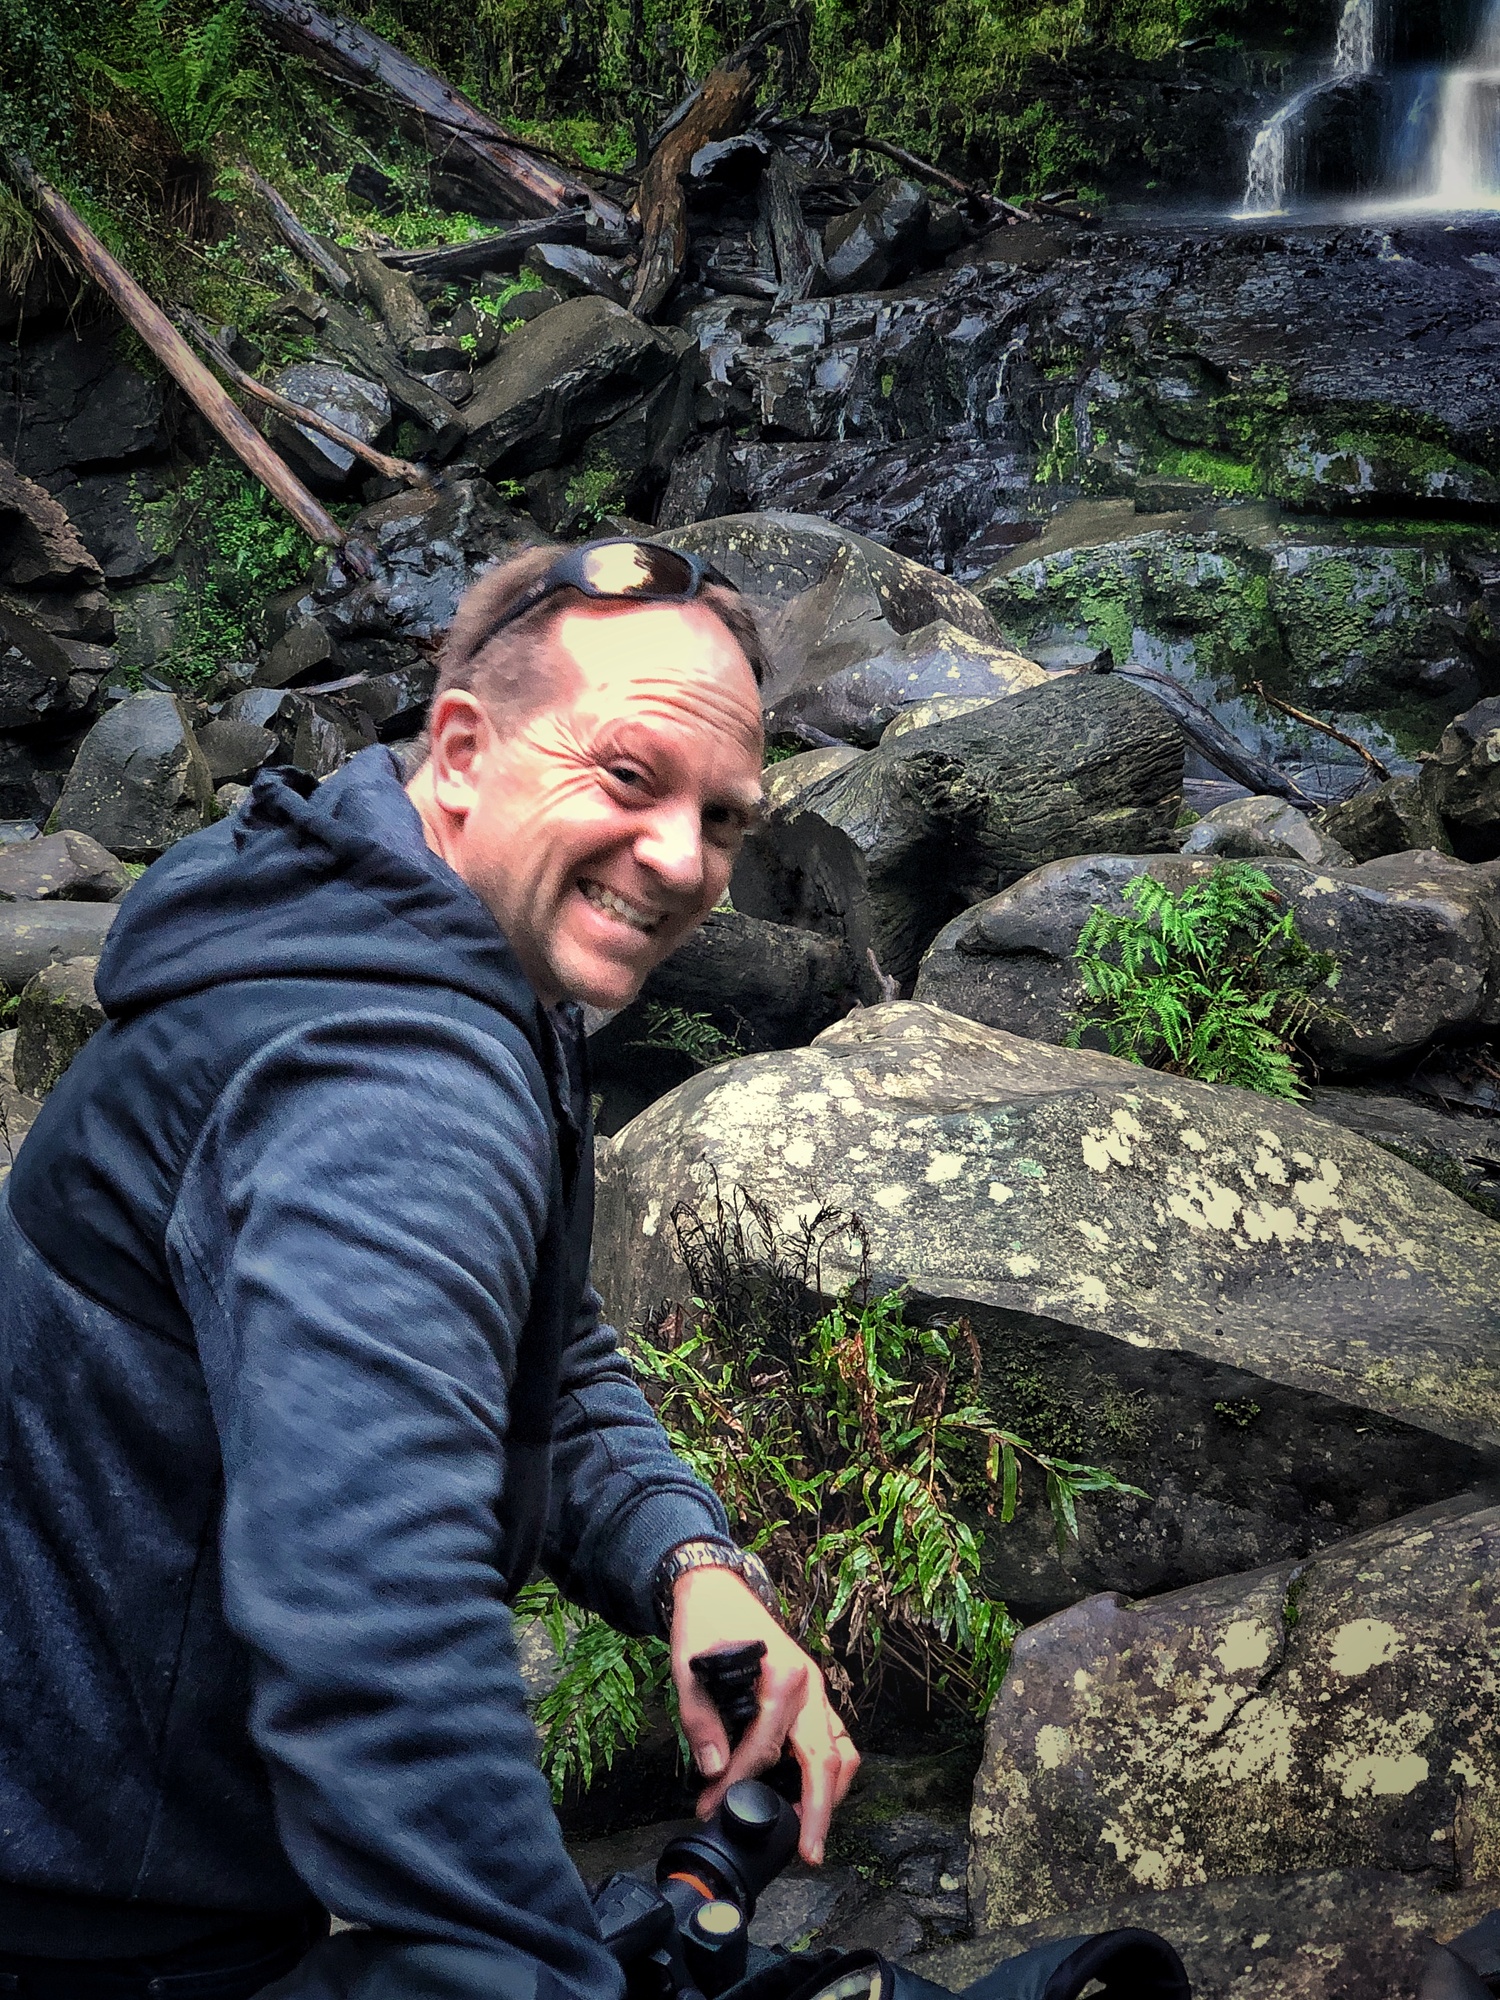
This topic is there to help us get out of our comfort zone. This is not a selfie photo. Try to set up your smartphone and step away from the camera!
The creative element of this image is to think about what you want to include in the image. You could add props to introduce your interests or a specific location.
If you have not read my story and why I started my business, it explains why I am an advocate of getting in front of the camera -click/tap here.
Activity objectives: Taking you outside of your comfort zone - photos of yourself are a precious gift for your loved ones.
Tip: No advanced tips! Just get in front of the camera! You do not need to share it.
Header
A vignette is the deliberate darkening of the edges of the frame using a photo editor. This basic composition editing technique directs the attention of the photo viewer toward the centre of the frame. Obviously, this works best when the main subject is front and centre.
If your built-in photo editor does not have that tool, you can download the free Snapseed app -click/tap here.
Activity Objective:This starts to introduce the power of photo editing to start directing the attention of the viewer inside the photo.
Tip:Most Vignette tools can be adjusted to add a white vignette. This can be great for some black and white images.
Header
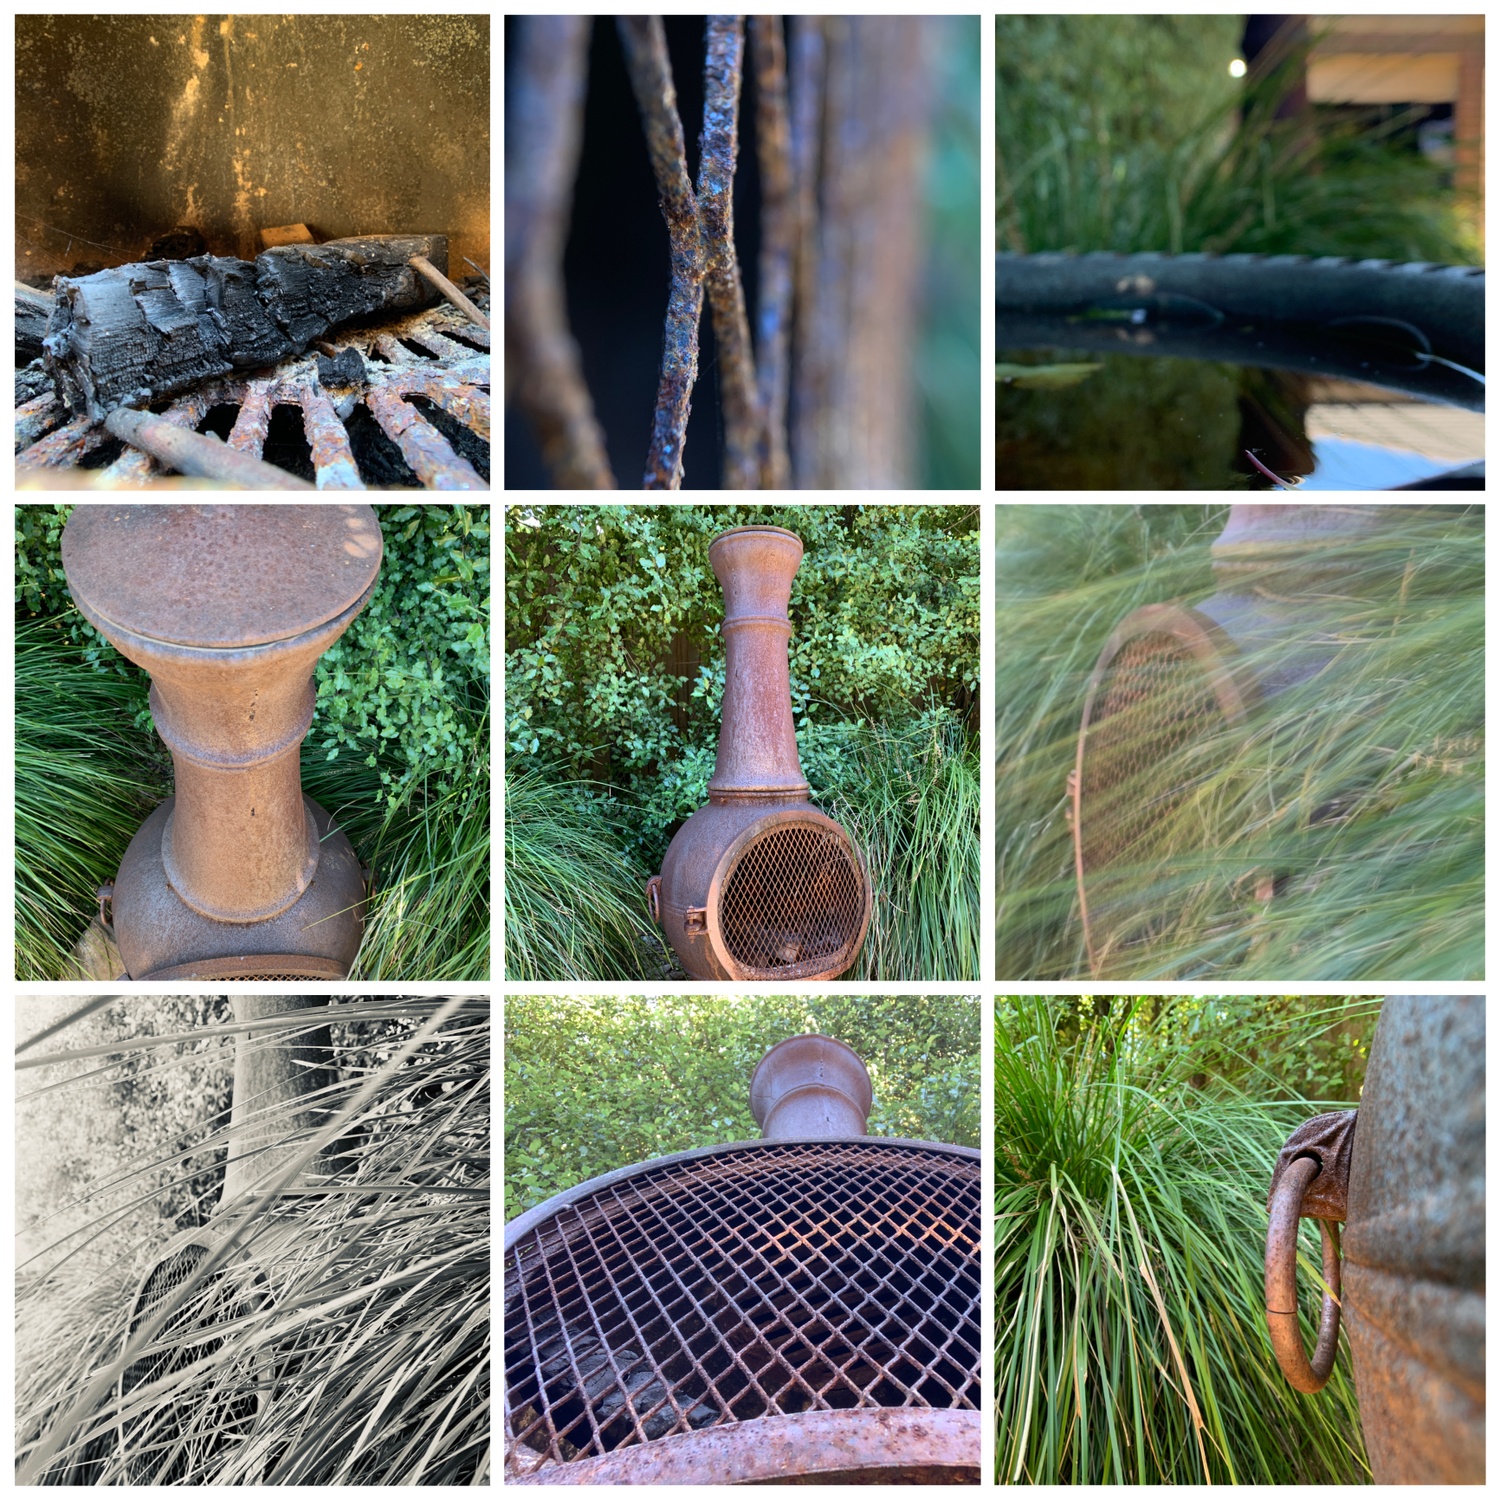
Day 10: Capture a subject or scene 9 different ways
This one is a bit of a challenge and a lot of fun!
Choose any object either fixed or movable and find 9 different unique ways to capture it. You can shoot from front, rear, side, low or high angle, include props or shoot at different times of the day when lighting changes.
If you find this one to be a bit of a struggle, feel free to capture a location 9 different ways. You can upload your favourite or all of them in a collage. My favourite collage apps are Layout by Instagram and PicsArt -click/tap here.
Activity objective: Another opportunity to experiment looking for alternative capture angles and study close up details
Tip: A subject that has multiple viewpoints will be much interesting than capturing an egg 9 ways!
Header
Day 11: Tryptich - an introduction to storytelling
Like creativity in other art forms, your images need purpose. The most impactful images more often have an intention behind them, to tell stories, stir an emotion or communicate something.
Pause and reflect on your motivation for taking the photo.This helps to frame the subject and supporting elements and experiment with different angles and lighting.
The result - stronger, more engaging images with purpose and meaning, leading to far more creative photography.
Capture a story in 3 photos - A series of images can be easier to communicate a story than a single image.The easiest way to create a story is to capture a sequence of events over time or different locations. You can create a collage similar to below by using my favourite collage apps Layout by Instagram or PicsArt- click/tap here.
Header
Activity objective: This exercise encourages you to identify what elements in a scene help to communicate the intention of the photo.
Tip: You can also create a single image triptych. This is achieved by cropping and evenly spacing three sections of the one image.
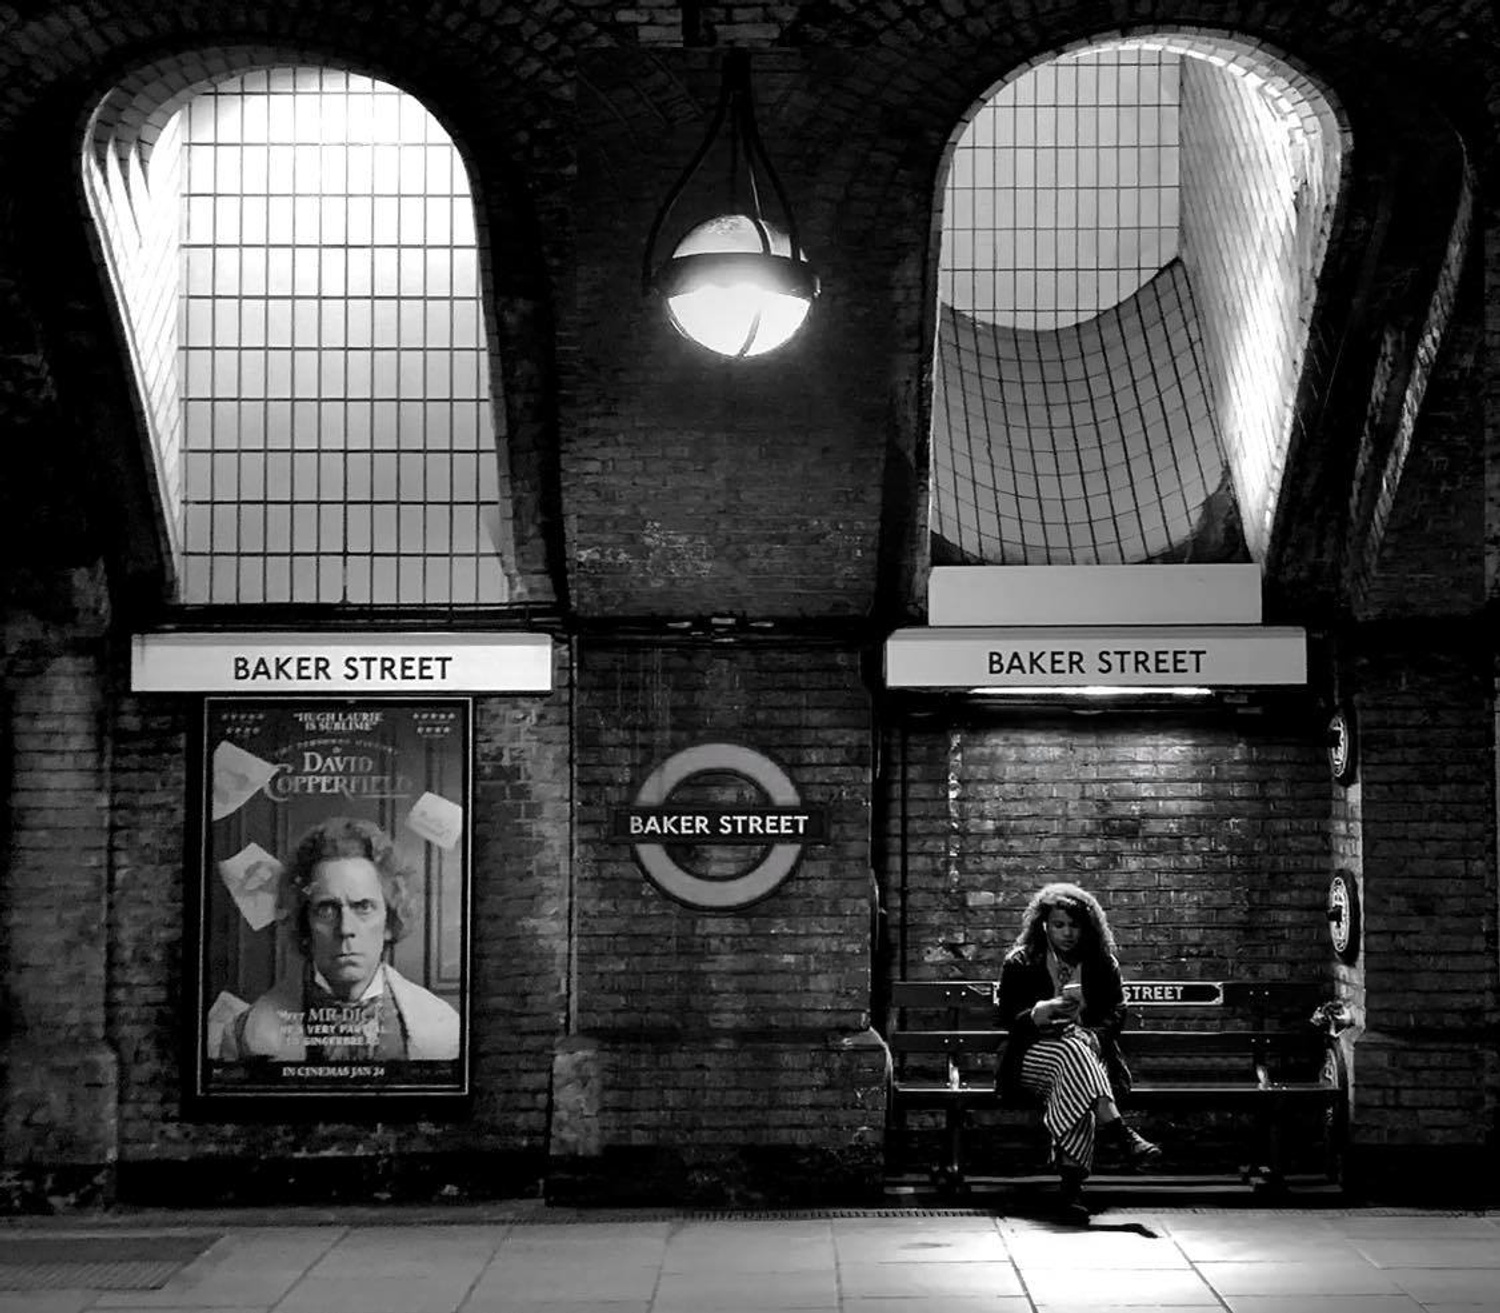
Black and white is one of my favourite photographic genres. It is often misunderstood that any image can be converted to black and white.
Certain scenes lend themselves extremely well to black and white. Generally, converting from colour to black and white removes the distraction of colour. It also further emphasises the tones, textures/details and lines in the image. It can also become more dramatic or enhance the mood in an image.
Most smartphone cameras have a live filter to shoot monotone or black and white. You can even reduce saturation in most photo editors to remove the colour.
Snapseed and Adobe Lightroom mobile apps have black and white tools.
Activity objective: Capturing and editing in black and white encourages you to identify and 'see' lights and darks in your image.
Header
Tip: Choose a scene with extreme darks and lights - also known as High Contrast Black and White.
In the last black and white exercise, I briefly touched on the importance of lights and darks in an image. The existence of shadows in the image creates depth. In today’s exercise hold an object close to a bright light source to create strong shadows on the opposite side.
A great option for a portable light source is the torch on a second smartphone. Move the torch close and further away and around the subject. Note the change in light/shadow intensity and how the light falls off the subject.
In editing, you can further accentuate the shadows by decreasing shadows and/or increase contrast.
Activity objective: Learning how to see light and understand how it shapes an object helps to create more depth in your photos.
Header
Tip: On most smartphones, you can tap on the subject on the screen to set where to best expose the image (balance light and dark). Next, swipe up and down on the screen (or left/right) to manually adjust the brightness. *Not available on all mobile devices.
You made it, Day 14!
In this last activity, I wanted to leave you with a plan going forward to further help develop your creativity.
The term Photo Hacker is one I made up! What does it mean?
'Photo hacking is the process of analysing and reverse engineering a photo you admire to duplicate the photographic intention and execution in your own photos.'
How do we analyse a photo?
Header
Ask yourself some questions. Not all these are going to be relevant. However, thinking about these questions will assist identify the intention and execution of the photograph.
What is the main subject and what makes it obvious?
Are there supporting elements in the scene that provide context?
What first attracts your attention and then where does your eye wander?
How did the photo make you feel? What would you attribute that too?
Look to see how these photo elements are included/excluded, positioned and either empahisised or reduced. Elements include; shape, (2D outlines) form, (3D shapes - depth) tones, colours, lines, textures and space.
How has the photographer captured or edited each of these elements and created a strong composition?
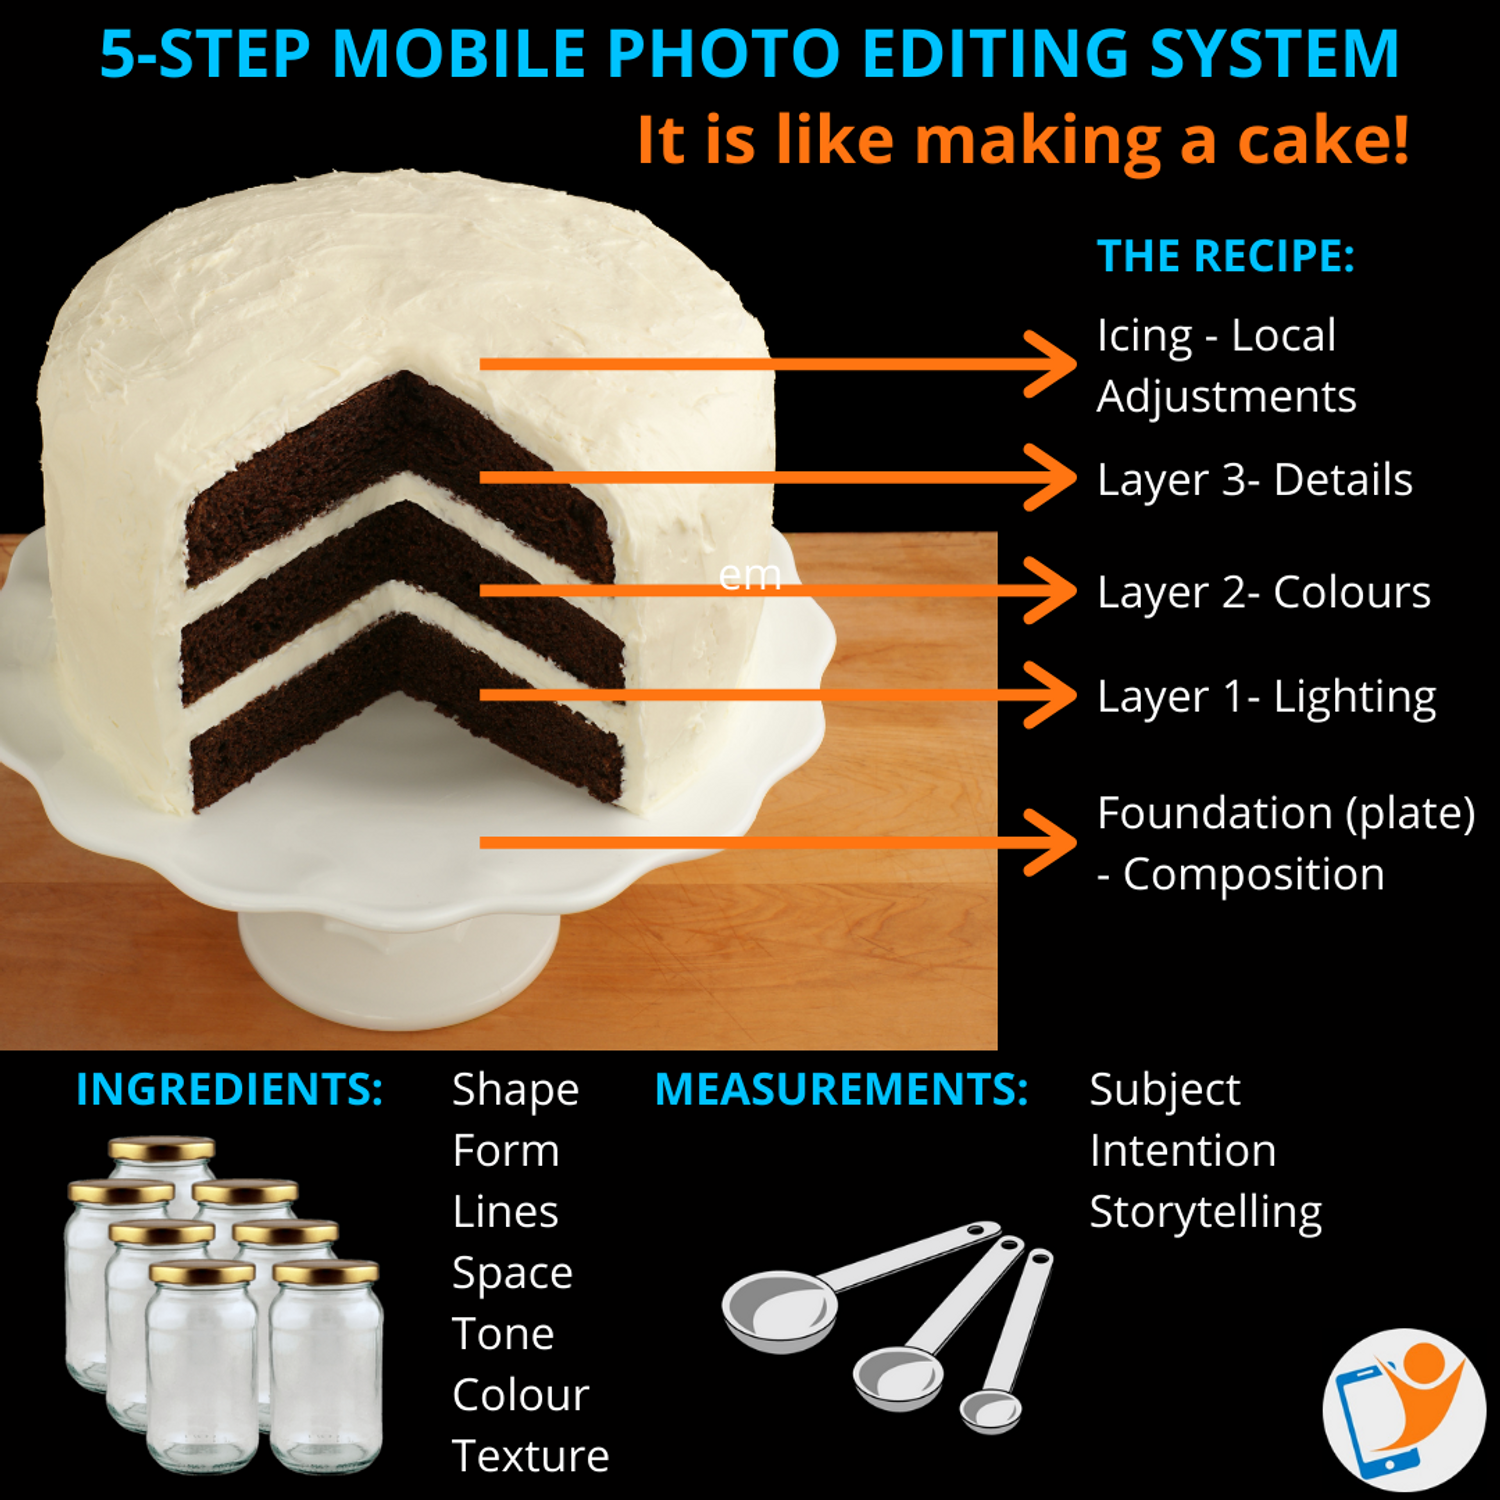
My 5-step mobile photo editing system
Let me introduce you to my proprietary system for editing a photo. This will help identify what to look for in an image and understand how the photographer may have strategically edited the image.
Similar to cooking a cake, we need a recipe, ingredients and measurements.
My editing process is like a 3 layer cake( Lighting, Colour, Details) sitting on top of a solid plate (Composition).
Like all good recipes, you have ingredients. These are Shape, Form, Lines, Space, Tone, Colour and Texture.
Next, is the amount (measurement) of each ingredient depends on the subject, photographer intention and storytelling.
Header

This is a short summary that should describe the purpose of this particular publication.