Sew Very Crafty
Bag Patterns and Tutorials
 How to make your own bags with pictures and descriptions.
Sew Very Crafty
How to make your own bags with pictures and descriptions.
This ebook is a brief introduction to bag making and includes tutorials with pictures and descriptions
Welcome to the world of bag making.
Welcome to the world of bag making. This ebook is an introduction to bag making using some of my many blog posts on the subject in attempt to educate you on the fun of DIY bag making.
There are 14 specific bag making tutorials in the ebook for a variety of different bags and skill levels.
This bag making ebook seeks to introduce you to fun of making bags, backpacks and zippered pouches. This ebook will focus on several different aspects of the bag making process.
I hope that you will attempt some of the bags in this book and learn to love bag making as much as I do. I am confident that my addiction will become yours once you have had the opportunity to try out your skills on the projects in this book
Diana Callaghan
I learned to sew from my grandmother when I was a child and came back to it as an adult. I have focused on bag making ever since.


Follow these bag making tutorials to make beautiful and functional bags

As you all know, I have a closet full of remnants and am always looking for things to make with them. Remnants are the last yard or less of fabric left on a bolt that is sold for half price at your local fabric store. In this case I happened to have some blue faux suede and blue and white floral fabric so I decided to sew a basic tote out of remnants. I used some yellow batik for the lining and some blue strapping for the
handles. You could always make the handles from the blue suede but I had the strapping on hand so I used that instead.
 What you will Need: Basic Tote
Cut two pieces of the faux suede 10 "x 18". Cut two pieces of the Floral fabric 8 1/2" x 18". Cut two pieces of the lining fabric 18 1/2" x 18". Cut the Strapping in half so that you have two pieces measuring 36" each.
Fuse the interfacing to the floral fabric.
Measure in 5 1/2" from each side of the floral fabric and place the strapping or handles so they are centered at the 5 1/2" mark. The strapping should form a loop that will be the handles. Measure down 1" from the top and mark. Sew the strapping to the floral
fabric up one side and across at the 1" mark and down the other side.
 Add the Handles
With right sides together and using a 1/4" seam allowance sew the faux leather to the floral fabric at the bottom. Press the seam toward the faux leather and top stitch 1/8" from the seam on the faux leather side.
 Top stitch along the seam
With right sides together sew the two pieces together around the sides and bottom. Box the corners by pinching the bottom to the sides lining up the seams. Turn right sides out and set aside. This is the exterior bag.
 Box the Bottom
With right sides together sew the two lining pieces together at the sides and the bottom but leave an opening in the center of the bottom seam for turning.
Insert the exterior bag into the lining so that they are right sides together. Sew around the top of the bag.
Pull the outer bag through the opening in the lining. Push the lining into the exterior bag and press. Top stitch around the top and sew closed the opening in the lining and you have finished your basic tote.
 Turn the Bag
 Finished Bag
 Boxy Zippered Pouch
Here is a terrific boxy zippered pouch that can be used for many different purposes. You can even turn into a pouch for men's shaving gear by changing up the fabric or using faux leather. This pouch is great for travel too. It is super easy to make. You just need basic sewing skills for this project so lets get started.
- 12" zipper
- 2 exterior panels 13" x 8"
- 2 lining panels 13" x 8"
- 2 panels of fusible interfacing 13" x 8"
- 4" x 7" scrap of fabric for handle
Cut your fabric panels to the above measurements and fuse the exterior panels with
the fusible interfacing. I used Pellon 808 for a firmer boxy feel.
With right side up, lay down one of your exterior panels. Center the zipper face down on the exterior panel and layer one of your lining pieces on top with right sides down. You should now have a zipper sandwich with the exterior and lining pieces right sides
together.
Sew the zipper to the two panels of fabric using a zipper foot starting and ending 1/2" from each end. Repeat the process for the other side of the zipper. You should now have two pieces of fabric on each side with the zipper in the middle. Top stitch both sides of the zipper.
 Make a Zipper Sandwich
With right sides together pin the outer panels together along the long end. Do the same for the lining pieces. You should now have two separate pieces.
Sew the exterior panels together along the long edge. Sew the lining panels together
leaving an opening for turning in the center of the long edge.

Fold both sides so that the seams are aligned with the zipper and press them open. Sew all four short edges separately.
 Sew Along the Short Edges
Measure and mark 1 1/2" squares on edge side of the short edges and cut out the squares.

Make the handle using the 4" x 7" piece of fabric by folding the piece in half long ways. Press. Open the fold and fold the raw edges toward the center and press. Fold in half again. Top stitch both sides of the handle.
 Make the Handle
Insert the handle through the square openings of one end of the bag.
 Place the Handle through the Holes in One of the Short Ends
Box all four of the corners including the handle pieces and sew across the edges. Make sure that the zipper is open before closing up the corners.

Turn the bag through the opening you left in the lining bottom and push the lining into the bag. Close the opening in the lining using ladder stitch and you have finished your boxy zippered pouch.
 Push the Lining into the Bag
 Finished Drawstring Beach Bag
I love the beach and wanted a bag I could take all of my stuff in and that would keep the sand out so I came up with this nifty and easy to sew drawstring beach bag. It is large enough to carry all of the essentials but small enough to be easily portable. I hope that you will all give this project a try.
 What you will Need: Drawstring Beach Bag
Cut your fabrics to the following dimensions:
Fuse the interfacing to the top cotton fabric.
Sew the cotton fabric to the canvas right sides together along the long edge. Top stitch along the canvas side of the seam.
 Sew the Cotton Fabric to the Canvas
Measure down from the top 2 3/8" and 3 1/8" and place two marks. With right sides together, sew the short sides together leaving an opening between the two marks. This will be the channel for the drawstring.
Sew the bottom of the bag to the cylinder you have just created. Turn the bag right side out.
 Sew the bottom to the cylinder
Sew the short sides of the lining pieces together and add the bottom leaving an opening for turning.
Insert the right side of the bag into the right side of the lining matching the side seams. Sew around the top using a 1/4" seam allowance. Turn the bag so that the Lining is right side out and sew the opening closed using ladder stitch.
Top stitch around the top of the bag.
Sew two lines around the bag even with the lines you marked for the draw string opening. Insert the cord into the casing. I added some cord stops for decoration.
Finished Drawstring Beach Bag
 Slouchy Hobo Bag
As you all know, I love to make bags and this is a super easy slouchy hobo bag that is perfect for the summer or anytime. I used a grey twill for one side of this bag and a home decorator weight fabric for the other side and the lining. I did not interface this bag because I wanted that slouchy look. If you decide to use a quilting weight fabric you might want to interface it with a woven interfacing like Pellon SF 101 to give the bag a little substance without taking away from the hobo style. You can make this bag yourself or buy it from my shop Sew Me Mine Boutique at Etsy
 What you will Need
Start this project by cutting out the pattern as follows: Cut 2 of fabric 1, 2 of fabric 2 and 4 of fabric 3. Make sure that there is one right side piece and one reversed piece for each of the pattern pieces you cut. Cut 1 tab from each of fabric 1 and 2 that measures 2 1/2" x 3". Cut one strap from which ever fabric you like that measures 4" x 18". Cut 2 pocket pieces from the pattern below the dotted line. I used the same fabric as my lining fabric for the pocket pieces.
 Cut out the Pieces
Begin this project by making the tabs and the strap. Sew the tab pieces right side
together using 1/4" seam allowance. Turn the tabs right side out and press so that the seam is down the middle. Create the strap by folding the strap pieces in half lengthwise and pressing. Fold the raw edges toward the press line and press again. Fold in half again so that all of the raw edges are enclosed. Topstitch down both sides of the strap
pieces. Set aside.
 Make the Straps and Tabs
Sew the pocket pieces right sides together along the top of the pocket. Turn the pieces wrong sides together and topstitch along the top seam.
 Sew the Pocket Pieces Together
Align the pocket to one side of the lining fabric and sew around the raw edges. Once the pocket has been sewn to the lining, sew a perpendicular line down the center to divide the pocket into two.
 Sew the Pocket to the Lining
With right sides together, sew the lining pieces from point A to point B. Repeat with the second lining pair.
 Sew the Lining Pieces from Point A to Point B
With right sides together, sew the bag pieces together from point A to point B in the same way you sewed the lining.
Place the tab pieces around the O rings matching the raw edges. Open the lining and
attach the tab and O ring to the lining centering it on the seam. Repeat for other lining piece.
 Add the Tabs and O Rings
Insert one half of the magnetic snap on one of the lining pieces at the circle location from the pattern. Reinforce the snap with a piece of heavyweight interfacing. Insert the other half of the magnetic snap into the opposite bag piece.
 Add the Magnetic Snap to the Lining
With right sides together align the bag piece to the lining piece and pin. Sew the two pieces together along the upper edge making sure that the tab and O Ring are sandwiched between the layers. Repeat for the other bag and lining pieces.
Add the other half of the snap to the exterior of the bag at the circle on the pattern. Realign the lining pieces right sides together and sew from point B around the bottom
of the lining. Repeat with the bag side but leave an opening for turning. Turn the bag. Sew the opening closed using ladder stitch.
 Sew the Opening Closed using Ladder Stitch
Push the lining into the bag. Press. You should now have two identical halves of the bag made of different fabric. Top Stitch around both pieces.
 Topstitch Around Both Pieces of the Bag
Tuck the bag side that has the pocket inside of the other half aligning the bottom seams and the magnetic snap. Pin the two bag halves together. Stitch the bags together at the top and bottom of the pieces on both sides.
Sew the two bags together at the top and bottom
Add the strap by sewing it around the top pf the O ring. Make sure to fold in the raw edges. Now your two piece hobo bag is finished.
 Add the Strap to the O Rings
 Slouchy Hobo Bag
Designed by Missy Shepler
 Easy DIY Drawstring Backpack
With summer just around the corner I thought to create a super easy DIY drawstring backpack that is perfect to take on trips, to the beach, or to that dreaded summer class. This is an advanced beginner project if you add the zipper pocket but otherwise any beginner can sew this bag in just a few hours.
 What you will Need
Cut two 15" x 20" exterior pieces and two 15" x 20" interior pieces. Cut two 3" x 4" exterior pieces for tabs. Cut one 14" x 18" piece for the interior zippered pocket if you choose this option.
If you choose to add an interior zippered pocket, follow my how to add a zippered pocket tutorial and add the pocket to one of the lining pieces.

Create the tabs by folding the raw edges toward the middle and then folding them in half again. Sew up both sides of the tabs for a finished look. Add the D-rings and sew along the D-Rings to secure them to the tabs.
 Make the Tabs
Place the exterior pieces right sides together so that they are even all the way around. Measure down 1" and make a mark. Measure another inch and place a second mark. Do this to both sides. Measure 1" from the bottom on each side and clip or baste the tabs to the exterior pieces.

Add the D-Ring and attach to the Lower Part of the Bag
Sew the two pieces together by sewing down to the first mark and back stitching. Restart sewing on the second mark and sew all the way around to the next mark and back stitch. Restart at the next mark and sew to the end. You should have two 1" holes in the seams. Open the seams and sew a box around the openings to secure them. Clip
the corners. Turn the bag right sides out.
 Sew up the Sides
 Sew a Box Around the Hole
Place the lining pieces together and sew the two pieces all the way around leaving an
opening at the bottom for turning the bag.
Place the exterior bag inside the interior bag right sides together and matching the side seams. Sew the pieces together at the top using 1/4" seam allowance. Pull the exterior bag through the opening left in the lining. Push the lining into the exterior bag and press. Top stitch around the top edge.
 Turn the Bag Right Side Out
Cut the 4 yards of cording in half. Feed half of the cording through one side of the bag and the other half of the cording through the other side of the bag. Tie the cords in a knot around the D-Rings to secure.

Stitch the opening in the lining closed using ladder stitch and you have finished this super easy DIY drawstring backpack.
Easy DIY Drawstring Backpack
 Place the Bag in Your Car
I have a very small car and was in desperate need of someplace to put my car trash like the paper wrappings from straws I get in the drive through so I decided to make an easy DIY car trash bag that even a novice sewer can make. It takes just a few remnants or fat quarters and a little bit of time to keep your car looking trash free.
 What you will Need
Fuse the interfacing to the wrong sides of the outer fabric. Place the outer fabric right sides together. Sew around three sides using 1/2" seam allowance. Box the bottoms of your bag by matching the bottom seams to the side seams on both sides and sewing 2" down from the tip. Turn right sides out. This creates a small bag with a flat bottom.
 Box the Corners
Place the lining fabric right sides together and sew around the three sides but leave a 3" opening at the bottom for turning. Box the bottoms in the same way you did for the outer bag. This creates a second small bag with a hole at the bottom.
Fold the 3" x 15" piece of fabric in half lengthwise and press. Open the piece then fold the raw edges to the center. Fold in half again. Top stitch along both edges of the strap. You should have a 1" wide strap to attach to your bag.
 Make the Strap
Fold the strap in half and pin the raw edges to the raw edges of the right side of one side of your bag. Baste in place so that the loop is facing down toward the right side of your bag.
 Add the Strap to the Bag
Place the outer bag into the lining bag right sides together and sew around the top.
 Place the Outer Bag Inside the Lining
Turn the bag by pulling the outer bag through the hole you left in the lining. Push the lining into the outer bag and press. The strap should be facing outside of the bag. Top stitch around the top of the bag and sew the hole in the lining. You have completed the easy DIY car trash bag.
 Sew around the Top and Turn the Bag Through the Opening
Place the strap over your car's shifter with the bag on the passenger side and you are ready to go. If you want, you can place a plastic bag inside to keep the bag clean or you can simply wash it.
Place the Bag in Your Car
 Finished Tote
The latest from Sew Me Mine Boutique is a travel tote for all seasons. It is a zippered tote with four pockets that is large enough to carry everything you need for a weekend out or anytime you need a little extra room. This tote is not a beginner project but anyone with intermediate sewing skills should be able to put this bag together in no time. Like all of the items I feature in this section, you can make it yourself or head over to my Etsy shop and purchase it from me. The choice is yours.
 What you will Need Travel Tote For all Seasons.
Cut out the pattern pieces. You will need to cut two of the exterior fabric and two of the lining fabric and two medium weight fusible interfacing. Cut 2 pocket lining pieces and 2 matching pieces of medium weight interfacing that measure 13" x 13" for the zippered pockets. Fuse the interfacing to both pocket lining pieces and to the exterior pieces.
On one of the exterior pieces you will place a zipper pocket. Measure 1 1/2" down from the top and 2 1/2" from the side of the lining piece to place the zipper then follow my tutorial on how to add a zippered pocket. You will place the lining piece 1 1/2" from the top and 4 1/4" from the sides of the exterior piece.

Add Zipper to One Outer Panel
Take a piece of lining fabric and add a zippered pocket in the same way that you added the pocket to the exterior bag piece. This time, measure down 2 1/2" from the top and 4 1/2 " from each side to place the lining piece.
Next, place a slip pocket on the other side of the lining. Measure two pieces of either the lining fabric or the main exterior fabric that measures 9" x 8" and sew them together leaving an opening for turning. After sewing turn it inside out and top stitch along the top. Place the slip pocket 4" down from the top and 5 3/4" from the sides and attach along the sides and bottom. This will close the opening.
 Add Slip Pocket to Lining
Make the straps. Cut two pieces 5" x 34" of contrasting fabric. Fold them in half
lengthwise. Then fold the raw edges toward the center by 3/4". Place a 3 1/4" piece of medium weight interfacing between the folds and fuse according to manufacturers directions. Fold in half again. Tuck the raw edges under and top stitch along the long edges.
 Create Straps
 Fold Strap in Half
Place the handles on the exterior of the bag measuring 2 1/2" from the top and 4 3/4" in
from the side top edge. Secure the straps by sewing a square with an X inside. Be careful not to sew over the zipper pocket.
To add the top zipper sandwich the right side of the zipper between the right side of one exterior piece and one lining piece. Sew using a zipper foot. Do the same to the other side of the zipper and the remaining exterior and lining pieces. Top stitch over the both sides of the zipper for a neat professional look and to prevent the zipper from catching the lining.
 Sandwich the Outer Fabric, Zipper and Lining Fabric Right Sides Together
 Completed Top Zipper
Place the exterior pieces right sides together and the lining pieces right sides together and sew all the way around the bag leaving an opening in the lining for turning. I left a large 8" opening in mine because of the size of this bag.
Box the corners of the exterior bag and the lining 2" up from the points of each corner.
Close the opening in the lining using mattress stitch. I added a zipper pull to the front zipper and to the top zipper. You can embellish your bag anyway you like.
 Finished Tote
 Easy DIY Garment Bag
I found this terrific pattern for an Easy DIY Garment Bag on Craftsy. The pattern and the tutorial were created by Melissa Peda and she has graciously allowed me to share it with all of you. It is perfect for short trips or to cover precious clothes in your closet. I urge you to visit Melissa at her blog www.100billionstars.com for great tips on working with laminated cotton and to try out another of her many other bag and quilt patterns.
Because the bag is made from laminated cotton it is gentle on clothes but is also water proof. You can make it however long you like but the size in the tutorial was perfect for the suit I needed for an overnight trip for work. Just remember if you extend the length you must get a longer zipper such as a zipper on a roll
Plus, it only took a few hours to whip up and I absolutely love it.
There are hundreds of laminated cottonfabrics available on-line (not so much in the stores) so you have your choice just by clicking the affiliate link. The ladybugs and solid red suited me perfectly. With the amazon prime free trial
you can get free 2 day shipping if the fabric you choose has the prime logo. I order almost everything through prime so give it a try.
Here is Melissa's terrific pattern and tutorial:
 Garment Bag By Melissa Peda
 Page 1 of Instructions
 Page 2 of Instructions
 Finished Tartan Messenger Bag
I love to make bags of all kinds but I thought I would make a unisex messenger bag that would make a great gift for any male or female depending on your fabric choice. I chose a nice blue and gold tartan remnant that I had in my remnant stockpile that I matched with a solid blue remnant from the stockpile as well. I was really pleased with how this tartan messenger bag came out so I thought to make a tutorial for you all to follow. It is super easy to make but there is one specialty item in this bag that you could replace with a magnetic snap or even Velcro if you wanted and that is a purse clasp turn lock. So here it is, my Tartan Messenger Bag Tutorial. You can either buy this at my shop or make it yourself. It's up to you.
Cut the following pieces:
Tape the two pattern pieces together where the diamond comes together. This piece will serve as the back of the bag. Place the long straight side on the fold when cutting. Fuse the interfacing to all pieces calling for interfacing. Then fuse the fleece on top of the interfacing for the front and back.
Create the front zippered pocket using the method in my adding a zippered pocket tutorial. For my pocket I measured 2 1/2" from the top down and 4 3/4" in from both edges to place my exterior interfaced pocket piece. I pinned the piece to the front tartan piece. I then measured 1" down from the top of the pocket piece and 1 " in from
both sides and drew a rectangle 9" x 5/8" to accommodate my 12" zipper.
 Add Zipper Pocket to Outside Front of Messenger Bag
 Outside Zipper
On the bottom of both the front and back pieces cut a 3" square from the corners so that you can box the bottoms of the bag. Sew the two tabs lengthwise to make a 1" x 4 1/2" tab. Place a 1/2" D-Ring through the tab and place the tab with the D-Ring facing inside and sew the front to the back with right sides together at the side seams and at the bottom.
 Tabs with D-Rings
 Place Tabs 1 Inch from Top of Tartan Piece
Box the corners by matching the side seams with the bottom seams and sewing across the corners using your presser foot as your guide. Turn the bag right side out.
 Box the Bottom Corners
Take the two 11"x 61/2" rectangles and sew them together leaving an opening at the bottom for turning. Clip the corners and turn right side out. I like to top stitch the top of my slip pockets for a more professional finish. This time I took an additional piece of the tartan fabric and pressed the raw edges inward and sewed that over the top edge for a coordinated look.
 Attach Slip Pocket
Attach the slip pocket to the back part of the lining. I measured 8" up from the bottom and 5 3/4 in from the edges and sewed around the three edges to attach my slip pocket to the lining. Sew the lining front and back the same way you sewed the outer bag and boxing the bottoms. Remember to leave an opening in the lining bottom for turning.
Place the right side of outer bag into the right side of the lining matching the side seams. Sew all the way around the top of the bag including the flap.
Turn the bag right side out. Add the purse clasp turn lock. I added the turn part of the two piece clasp to the center top of the outer body of the bag 6" from the top and 10" in from each side. I added the hole part of the two pieces to the flap 1 1/4" from the bottom of the curve and centered.
If you have never added a purse clasp turn lock, here is how to do it. The turn clasp lock comes in two pieces; the turn mechanism and the hole. The turn mechanism installs exactly the same way a magnetic snap installs.
First measure your location. Use the back grommet as the template for your slits. Use a seam ripper or small scissors to cut the slits. Put the legs of the turn mechanism through the slits. I always add a small piece of heavy weight interfacing here because the mechanism gets a lot of use. Then add the grommet and pull down the legs to secure. You have now added the turn mechanism.
In order to add the hole that the turn mechanism goes through to lock, take the lock apart. there are two sides that are held together with small screws. I used an eyeglass kit screwdriver to unscrew the screws. Draw around the inner part of the widest side of the hole onto the flap. Cut out the circle through all layers so that there is a hole. Cut two small semi circles at the top and bottom of each hole for the screws. Place the flap between each half of the hole piece and screw in the screws. This completes the hole part of the clasp turn lock.
Insert the turn mechanism into the hole and turn and the lock is secured.
Thoroughly press the bag. Top stitch all around the top of the bag and flap for a finished look and stitch the opening in the lining closed. Add the strap and you are finished.
Finished Tartan Messenger Bag
 Finished Sewer's Tote
This is my DIY Sewer's Tote Tutorial. I call it this because of the sewing theme and because I made it a little shorter than longer. There are two zippered pockets and a triple divided slip pocket for all the little things. I am currently using mine for all of my crocheting items since I am learning to crochet through a class I signed up for at my affiliate Craftsy.com called Crochet Basics & Beyond (w/Kim Werker)
 What you will Need
Cut two rectangles of outer fabric and two rectangles of lining fabric 15" high X 21" wide. Cut two rectangle s of interfacing and fuse them to each of the outer fabric pieces according to fabric directions. Then cut a 2" X 2" square from each of the bottom corners of the outer fabric and the lining fabric.

Cut Two Inch Square from each Corner of Outer Fabric and Lining.
 Cropped Corners
Take one piece of the lining fabric and add a 12" coordinating zipper using my How to add a zippered pocket tutorial. The tutorial will give you step by step instructions on how to add a zippered pocket to any hand bag. Using the same tutorial add a 9" zipper to the front piece of your outer fabric. Next, add a slip pocket to the other piece of lining fabric by simply cutting two pieces of lining fabric and sewing them right sides together all the way around leaving an opening at the bottom for turning. Clip the corners then turn the right side out. Using whatever tool you like poke the corners so they are nice and crisp. Top stitch the top of your pocket for a nice finished look then sew the remaining three sides to the lining fabric. You can make your pocket any size you want but I decided to make mine 15" long and 6 1/2" high. I then divided the pocket into thirds by sewing a seam every 5". Now that the pockets are complete you can move on to putting the bag together.
 Outer Zipper
 Lining Zipper
With right sides together sew the side seams and the bottom of both the outer fabric and the lining fabric using 1/4" seam allowance. When sewing the bottom of the lining fabric be sure to leave an opening for turning the bag.
cropped Corners and Sewn Sides and Bottom
Box the bottoms of the bag by pinching the openings at the bottom together so that the bottom seam and the side seam lineup together. Make sure that the seam allowances are facing opposite directions. This makes the seams line up perfectly. Flatten and pin.
 Pinch the Side and Bottom
 Flatten and Pin so that seams align
Once the corners have been flattened and pinned, take a ruler and measure down until the ruler shows 5" across and draw a line. Do this to both outer corners and lining corners. Sew over the lines you have drawn. When you turn the bag right side out you will see perfectly boxed corners and lined up seams.
 Measure 5 Inches across
 Evenly Boxed Corners
It is time to add the handles. You can add any type of handles you like but I chose some yellow leather handles that I had in my stockpile because they matched the yellow highlights in my outer fabric and the lining fabric I chose. To add these handles I simply hand sewed them to the outer bag fabric through the pre-drilled holes. I measured 7 1/2" from each side and 2" from the top of the bag to the bottom of my handle for placement.
 Sew on the Leather Handles
Add a magnetic snap to the lining fabric. I measured one inch down from the top of the lining in the center and added the magnetic snap. I always add a piece of heavyweight interfacing to my snaps to provide extra strength because this area will get a lot of wear.
 Add a Magnetic Snap
Once the snap is in place the right side of the outer bag inside the right side of the lining bag and clip the top. Sew all the way around the top. Turn the bag through the opening you previously left in the lining. Push the lining into the outer bag and top stitch around the top pf the bag for a finished look. sew the opening in the bottom and you have a fabulous sewers tote.
Finished Sewer's Tote
 Finished Makeup Bag
I found this DIY Pleated Makeup Bag from Simply Sewing, a British publication that I subscribe too. I have created many bags similar to this one but this particular bag came
in a kit so I thought I would put it together as a tutorial for the upcoming holiday
season. The colors in this bag are fun and perky but you can use Christmas, Halloween, Thanksgiving or New Years fabrics to match whatever occasion you are attending. Make it your own but make it fun.
 Makeup Bag Supplies
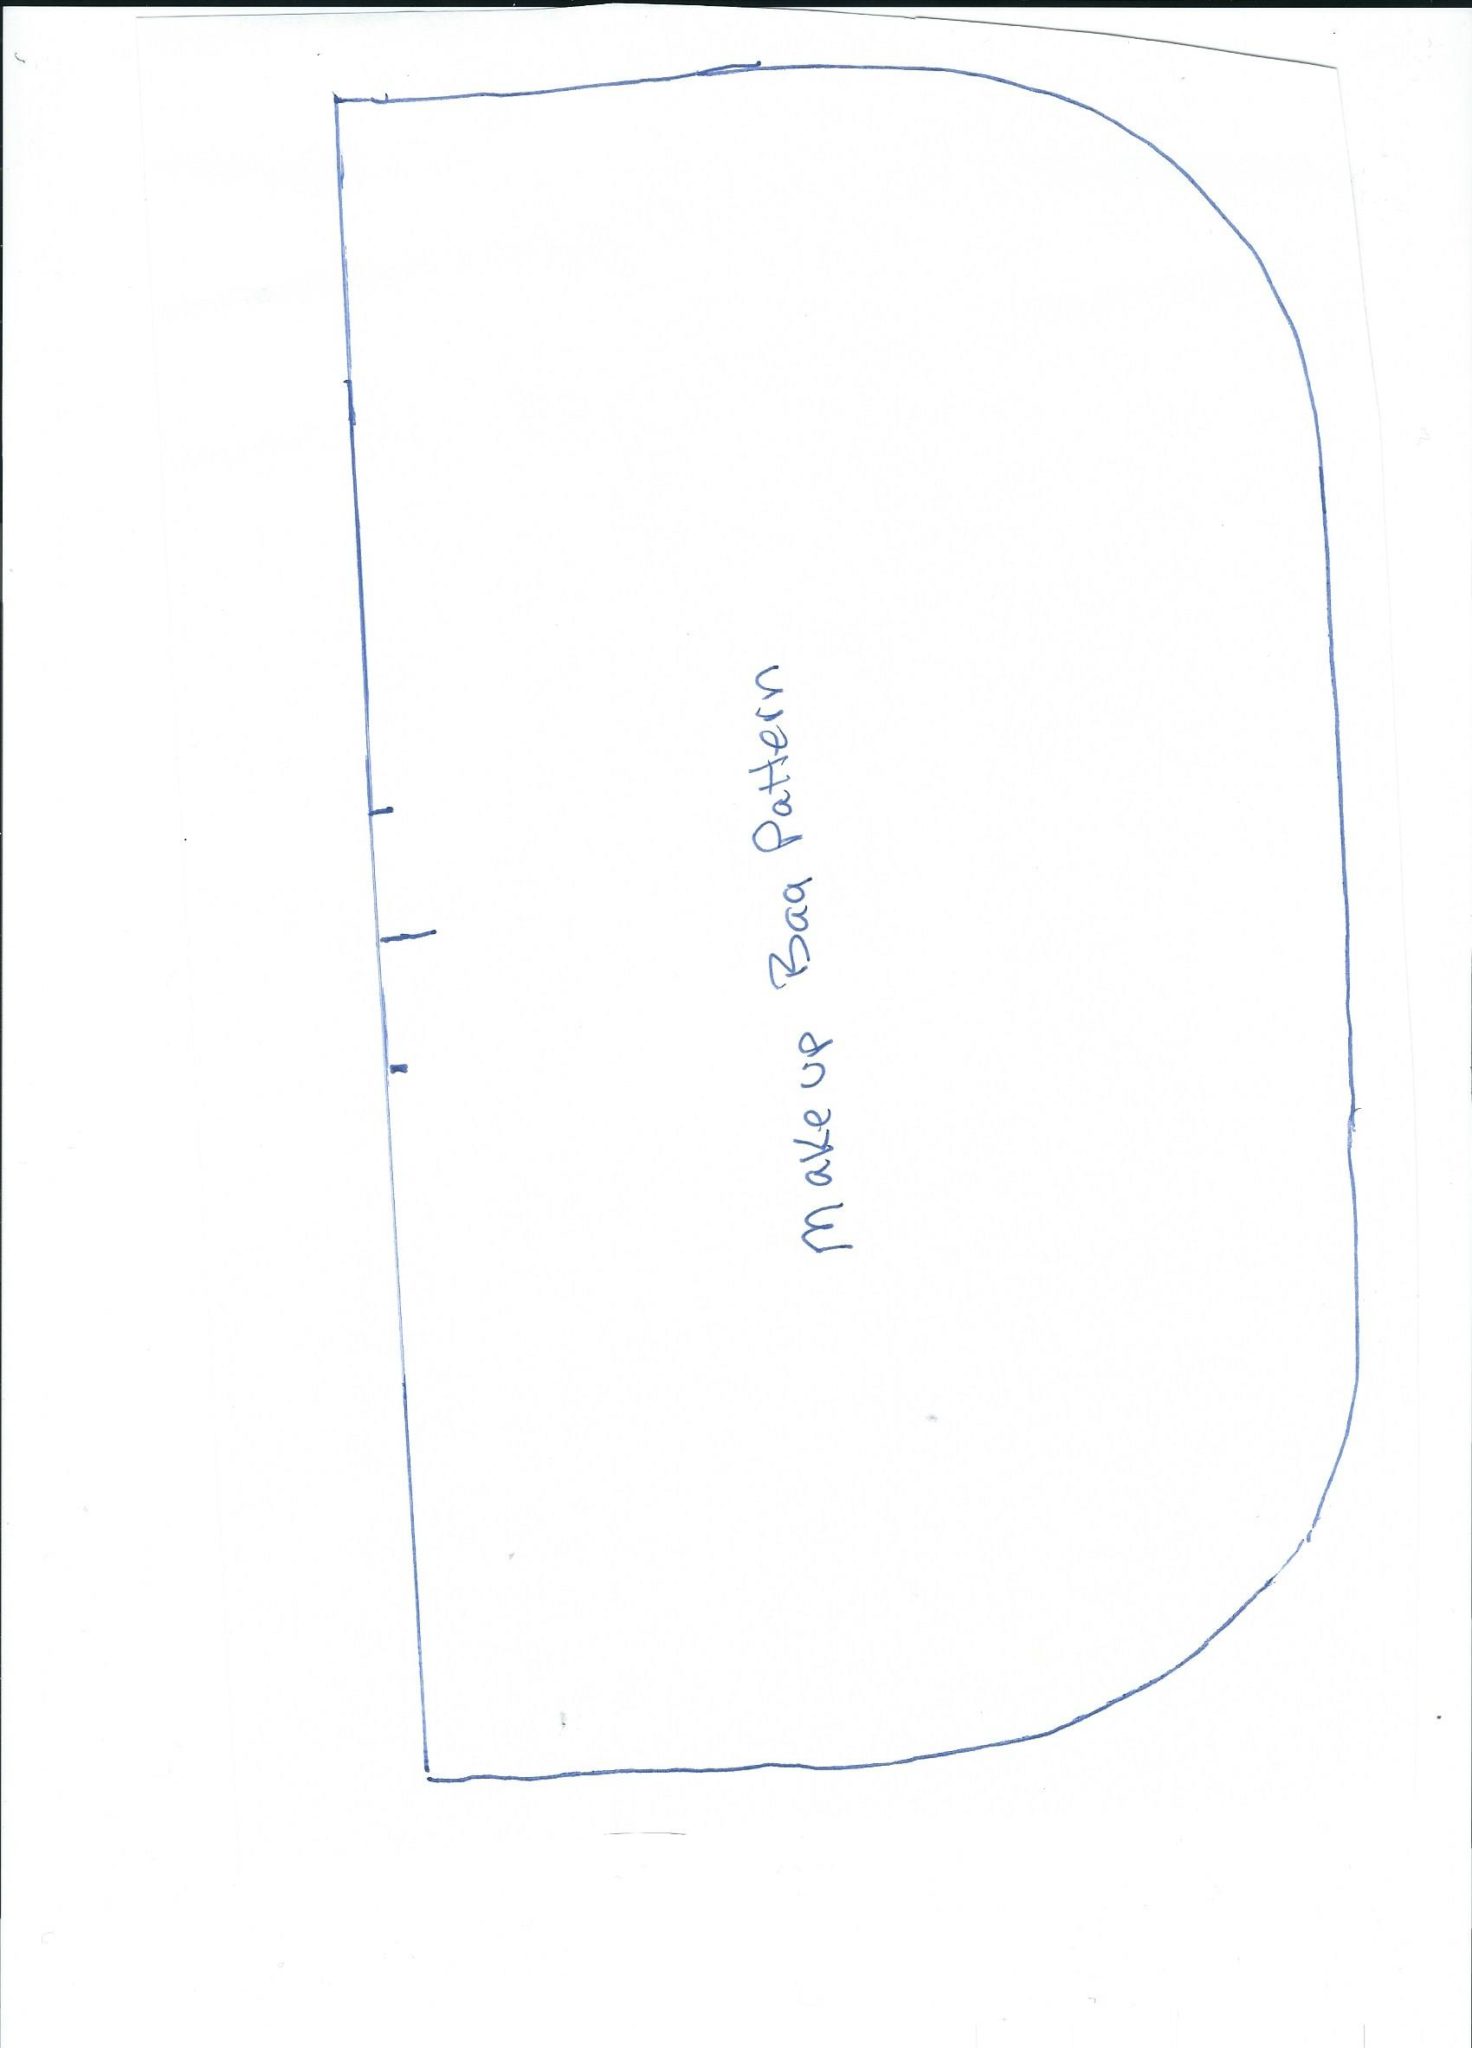
Cut the pattern and mark the pleat lines from both fabrics and the lightweight interfacing. You should have two striped pieces, two polka dot pieces, and two lightweight interfacing pieces.
 Cut Pattern Pieces
Fuse the interfacing to your outer fabric according to manufacturers instructions. I chose the blue and white stripe as my exterior fabric and the green dot for my lining.
Once you have fused the interfacing to the fabric pieces, fold the center pleats by folding the fabric from the shorter line to the longer line on each side and press then pin or clip.
 Pleat Following the Lines
Now it is time to add the zipper. This application is like many we have done before. Place one outer piece face up. Place the zipper face down making sure that it is centered with the outer piece. Pin. Add a lining piece right side down over the zipper making sure everything lines up and pin. Stitch the layers together using a zipper foot. Repeat this process for the other side of the zipper.
 Sandwich the Zipper Between the Outer Fabric and the Lining
Open the layers so that the zipper is in the center. Press the layers back so they won't interfere with the zipper. I advise top stitching the zipper at this point to completely prevent the catching the fabric.

Open the Sides Out so the Zipper is in the Middle
Pull the zipper at least half way open. Match the two outer fabrics together and the two lining fabrics together. Make sure the ends of the zipper are going in the same direction. Sew the outer fabric all the way around. Sew the lining fabric so there is a 2" gap that will allow you to turn the bag. I used 1/4" seam allowance. Take care not to sew over the zipper.
 Place Matching Fabrics Right Sides Together
Turn the bag right side out through the 2" gap you left in the lining. Hand stitch the gap closed. Press the bag to remove wrinkles.
 Turned Bag
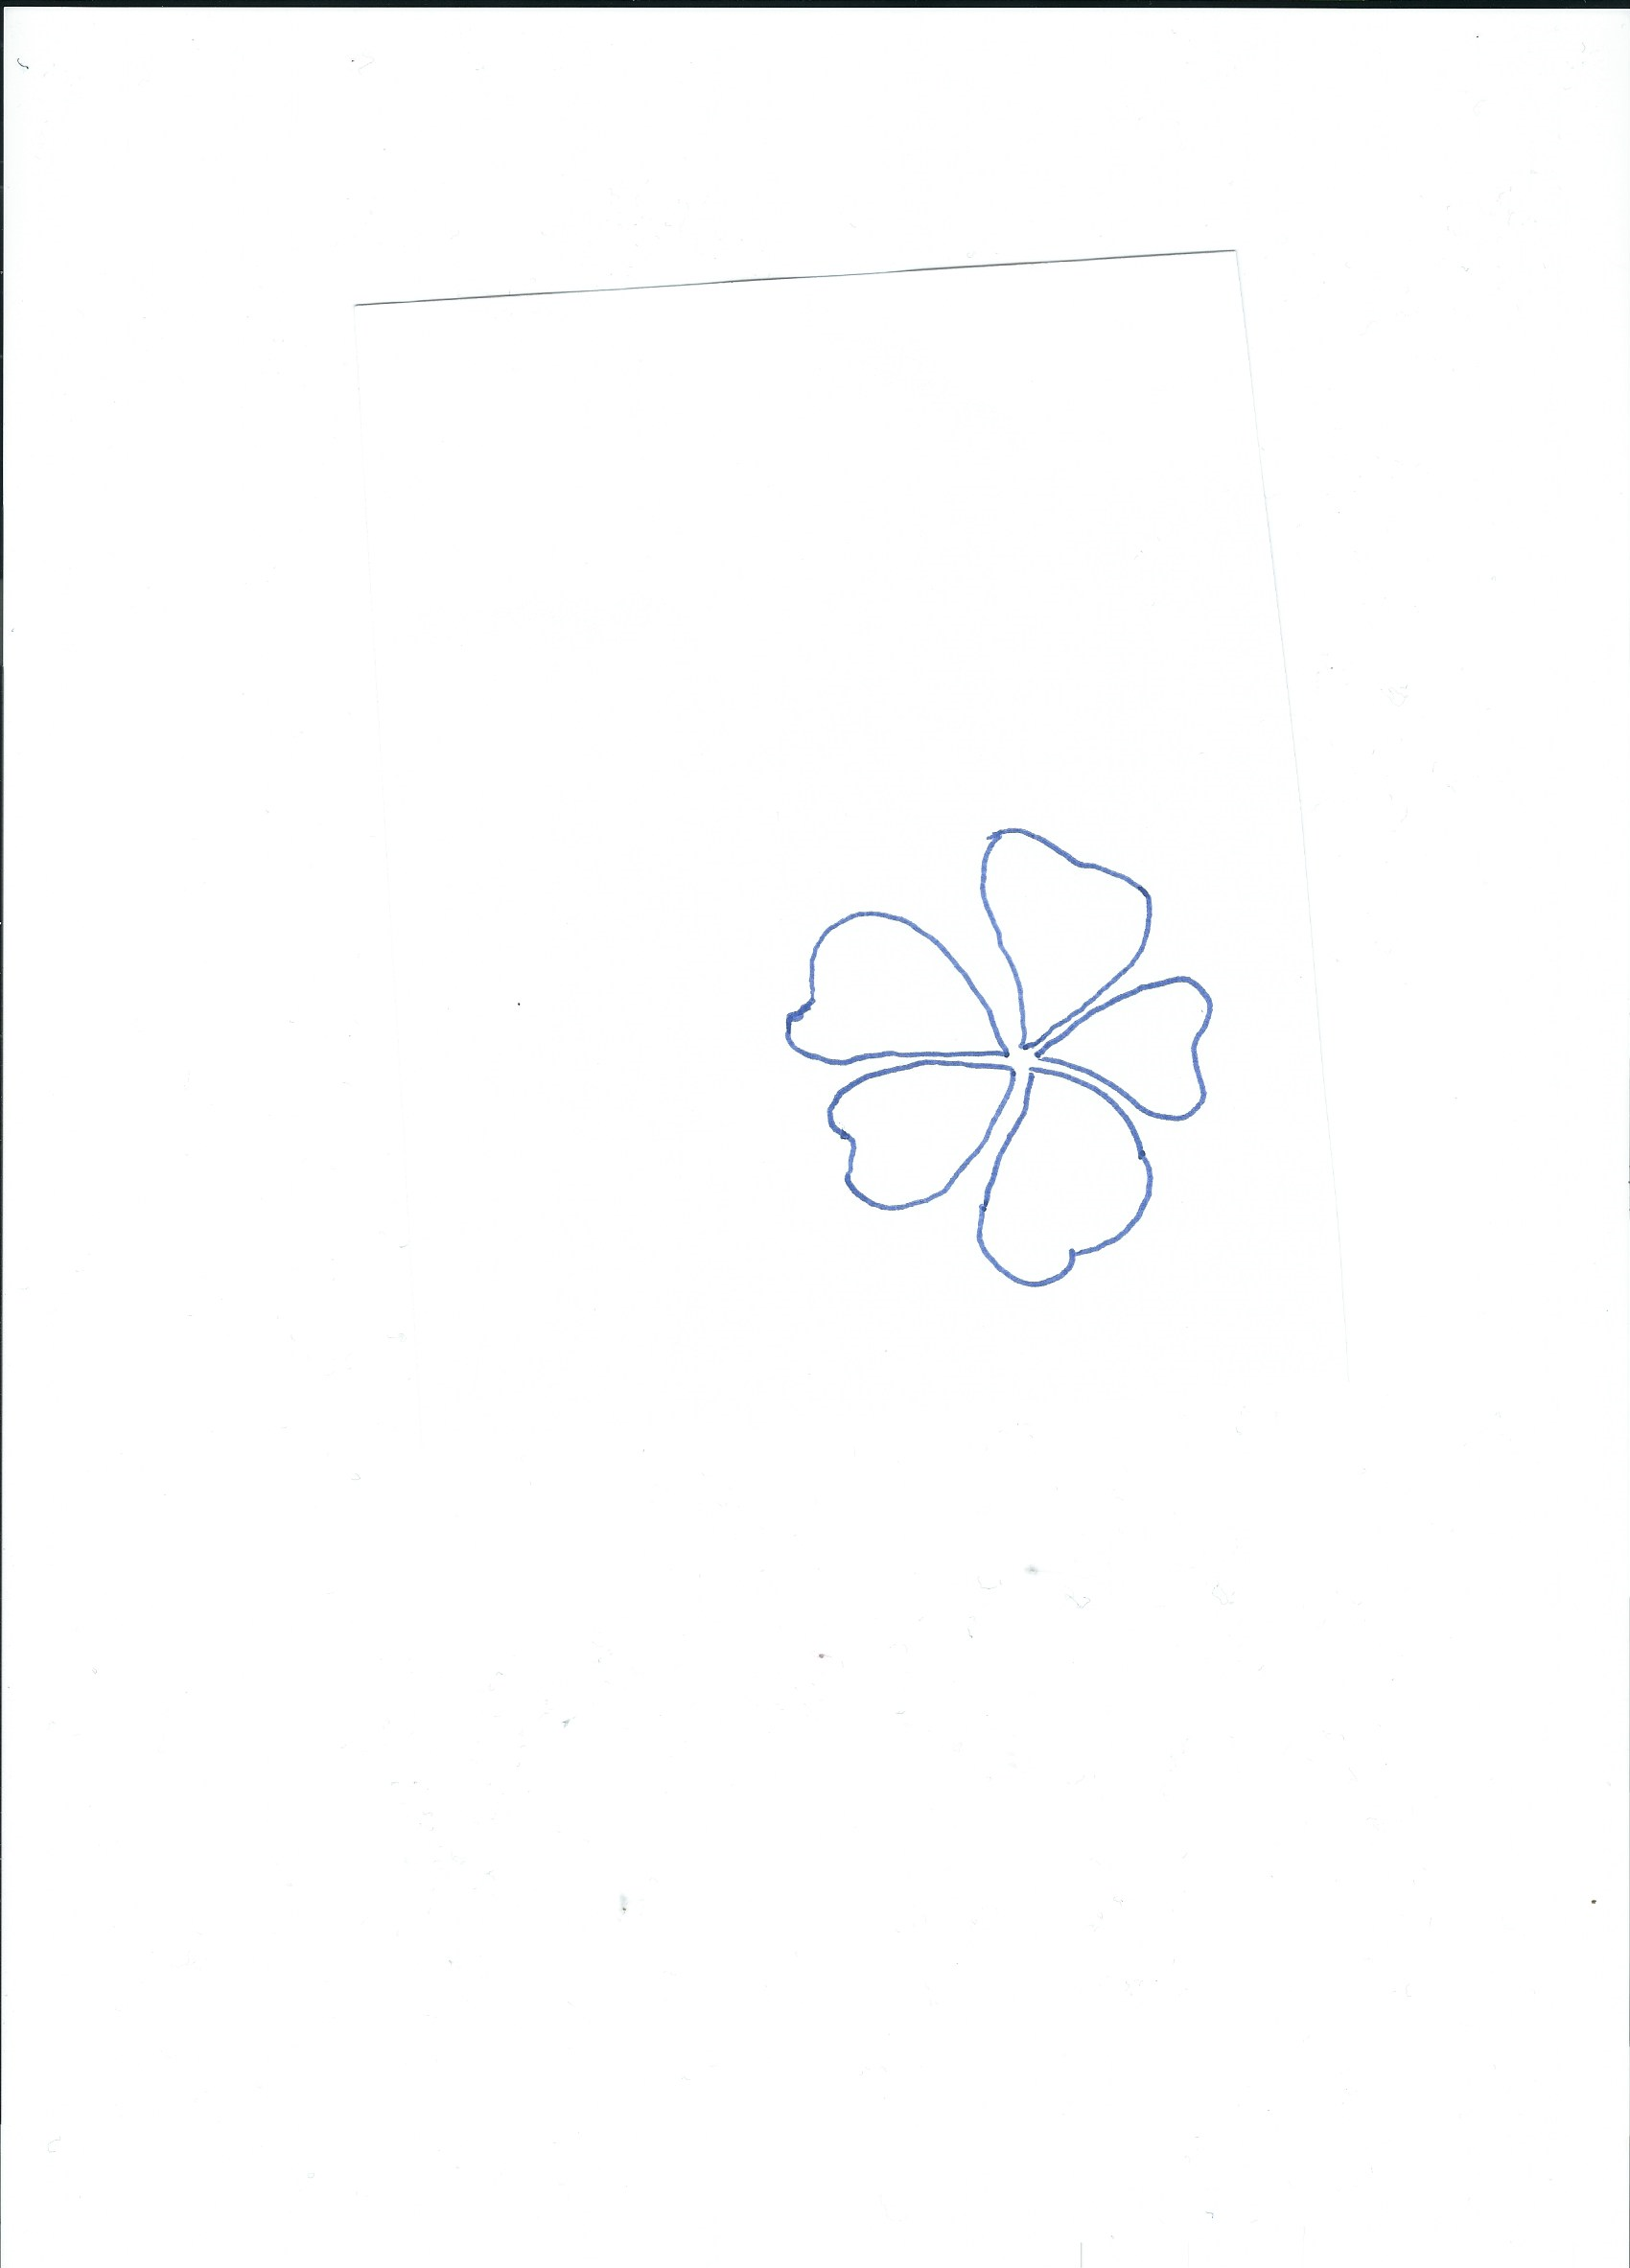
There are many ways to embellish your bag. I chose to use the bias binding to make a flower with the button at the center. The kit provides a flower pattern and some embroidery floss if you would like to embroider a flower on your bag. If you would like to add the bias binding flower you simply need to loop the bias binding to make the first loop then follow it with a second loop opposite. Make two additional loops on each side and tack in the middle. Make two additional smaller petal layers and add a button to the middle and sew it to your bag. Since you are making your bag without the kit, the sky is the limit for fabric's and embellishments. Good luck with this one. It is super easy and fun to take to any party or anywhere.
Finished Makeup Bag
 DIY Pleated Makeup Bag Interior
 Victorian Romance Handbag
Use the Pattern attached to the pattern link or make your own pattern using the bagntell link. Because purse frames differ in size and shape there is no standard pattern that fits them all but it is pretty easy to create your own with a ruler and a pencil. Just follow the steps and you will be able to create a pattern quickly and easily. You can search the web for patterns that your frame but it is just as quick to create your own. If you use the pattern I have created down load the three pieces and join them at the diamonds and tape them together.
Once you have created your pattern. Pin it to your outer and lining fabrics and cut two of each. Cut two pieces of fusible fleece and two pieces of Pelon SF 101 or a similar lightweight woven interfacing. I have a pattern for a small change purse on my Create New Looks From Old Jeans Post if you want to go smaller.
 Pin Pattern to Fabrics and Interfacings
Make sure that you mark the location of the hinges on the outer and lining fabrics.
Fuse the fleece to the outer fabric and the SF 101 to the lining. Place the outer fabrics right side together and sew starting at one hinge location around the bottom and stopping at the other hinge location. Repeat with the lining fabric but this time leave an opening at the bottom for turning.
Box the bottoms of both the outer bag and the lining. I measured 2" down from the corner and matched the side seam to the bottom seam and sewed across for a perfectly boxed bottom.
 Place the Outer Bag Inisde The Lining Bag Right Sides Together
Place the outer bag right side out into the lining which is right side in. Right sides are now together. Sew around the top flaps making sure your 1/4' seam allowance is nice and even all the way around. Clip the V where the hinges are for a nice clean look.
 Sew Around the Flaps
Press the flap and insert it into the channel of the purse frame. My frame was a sew in type so I used red thread that matched my fabric to sew my frame in place. Many frames can be glued into the frame. If yours is a glue in frame I recommend Guttermann's glue for this. They are not an affiliate but they are the best brand on the market for this application. I have not found it locally but I have found it at this Etsy shop. You may be able to find it elsewhere.
 Victorian Romance Handbag
Once the frame is on you are finished. I decided to tea stain some white lace I had on hand and attached it using Guttermanns to the inside lip of my bag to cover the stitching and to add some additional Romance. Tea staining is an easy way to add age to something new by simply soaking it in a cup of brewed tea. You can add any other
embellishments you like. I added a red satin flower with a rhinestone in the center to
the top right of my bag. Make sure to sew up the opening in the lining. Voila a handbag with Victorian Romance.
 Open Purse with Lace
 Combination Backpack Tote
Here is a terrific easy to sew combination backpack tote. You can carry it either as a tote for everyday or as a backpack when at the beach, in the mountains or wherever. This bag is both fun and functional and is a snap to make. It takes a few bag making skills but nothing you can't conquer. All of the instructions and a full tutorial on how to construct this Paris in the Springtime combination backpack and tote are right here. Lets get started.
 What you will Need April in Paris Backpack Tote
Cut: two rectangles 16 1/2" x 18 1/2" of your main body fabric and interfacing. Then cut two rectangles 8" x 19" of your bottom body fabric and interfacing. Cut two rectangles 24 1/2" x 18 1/2" of your lining fabric. Cut three rectangles 4" x 23" of either main body or bottom body fabric for tabs and straps and interfacing.
Fuse the interfacing to all main body, bottom body and tab and strap pieces. Take the
three 4" x 23" pieces and fold them in half lengthwise and press. Open them up then fold the edges into the center and fold again so that the straps measure 1" x 23". Top stitch both sides of the straps length wise. Take one of the straps and cut it into eight 3" pieces. Put a 3" piece through each of the 1" D Rings and sew together near the edge of the D Ring. Set aside. For the two remaining straps, sew a swivel hook at
each end of both straps near the edge of the clip. If you want to make the bag adjustable now is the time to add the tri-glide sliders. I chose to add the sliders so that the bag is completely adjustable. If you have never used sliders or made a strap adjustable here is a terrific tutorial on the process.
 Strap - April in Paris Tote
This step is optional. If you want to add either a zippered pocket or a slip pocket to the outside of the bag, now is the time to do it. I added a zipper pocket to one side of my bag. In order to add a zipper pocket decide what size pocket you want. I chose a 16" pocket for my bag. I placed the zippered pocket 6 1/2" down from the top raw edge. The process of adding the pocket is quite simple. Take a look at my "How to Add a Zippered Pocket" tutorial here for complete instructions.
 Exterior Zippered Pocket
Take 2 of the prepared D Rings and baste them 4 1/2 " from each side of the main body fabric so that the D Ring is facing up. Then baste 4 of the remaining D Ring tabs to the top of the main body pieces facing down 4 1/2" from the each side. Then baste one
each of the remaining D-Ring tabs to each side of the outer main body fabric 8 1/2" down from the top raw edge. All of the D-Ring tabs should be in place at this point.
 Add D-Ring Tab
Sew the 2 pieces of Main Body Fabric to the 2 pieces of Bottom Body fabric using 1/2" seam allowance right sides together making sure that the D-rings remain on the outside. Then sew the two pieces together right sides together starting at the top. Sew down 3/4" and back stitch. Skip 1/4" then sew the remainder of the side catching the side tabs and making sure the D-rings are on the outside. This 1/4" space will act as the entrance to the drawstring casing for the backpack. Once the sides have been sewn together, sew the bottom seams together using 1/2" seam allowance.
 Sew Upper Outer Fabric with D-Ring to Bottom Fabric
Now it is time to box the bottom. Take one of the corners of the bottom of the bag and match it to the side measuring down 2 1/2" from the point and 4" across. Sew
across the 4" line. Repeat for the other side. Now the outer part of the bag is complete.
For the lining, you need to decide if you want to add any pockets. I decided to add another zipper pocket and slip pocket. The process is exactly the same as for the outer body zipper pocket. I decided to place this pocket 4" down from the top raw edge using the same technique in my "How to Add a Zippered Pocket" tutorial. I then added a slip pocket to the other side also 4" down from the top.
For the slip pocket, I simply fused some interfacing onto a 9" x 14" rectangle of fabric sewed it to another 9" x 14" rectangle of fabric, turned it and pressed it. I then top stitched the top for a finished look then sewed the three sides onto the main outer body. I sewed a seam down the center to separate into two. Nothing to it. Once the pockets were added I sewed the two pieces together and boxed the corners as I did for the main body except that I left the center of the bottom open so that I could turn the bag. (As you can see I decided to change the lining from pink to teal. I thought there was too much pink and the teal really grabbed my attention.)
 Inside View of Zippered Pocket

Place the main body of the bag right side out into the lining of the bag right side in and sew together at the top right sides together using 1/4" seam allowance. Turn the bag using the space you left at the bottom of the lining. Press the bag. Top stitch the top of the bag 1/4" down for a nice finished look. Then stitch a second line 1/2" below the first. This creates the casing for the cord.
Thread your cording using either a threader, bodkin, or a safety pin through the hole you left at the side of the outer body. You can use either one or two cords. I chose to use two cords for this application. Once the cords have been threaded you can either knot them or use cord stops. I used cord stops. They are relatively inexpensive and give a nice finished look. Once all of the small details are finished, stitch the opening in the lining either by hand or machine. I like to hand stitch my lining for a cleaner look.
This bag can be carried as a tote or a backpack. in order to carry it as a large fold-over tote snap the straps to the side D-rings and fold over the top. If you are carrying a lot of items you can carry it long way by snapping the straps to the top D-rings. For the Backpack, snap one set to the top of the bag and the other to the bottom set of tabs and pull the draw string closed. Now you have a completed the perfect Paris in the Spring Backpack and Tote Combination. How fun is that?
 Bumalong Bag
 Bumalong Bag Necessities
Cut three 10" x 8" pieces of exterior fabric and two 10" x 8" pieces of lining fabric. Cut four 3 1/2 x 5" pieces of lining fabric and one 47" x 3" piece of exterior fabric. Fuse the interfacing to all three of the exterior pieces. Measure about 1/3 down from the top of the short edge of one of the exterior pieces and cut across to make two pieces.
Place the longer of the two pieces right side up on your table. Lay the zipper on the edge of the fabric right side down. Sew the zipper to the fabric using a zipper foot. lay the zipper flat and press. With the zipper open to its right side, lay the right side of the smaller piece of fabric onto the zipper so that the edges meet. Sew the fabric to the zipper using your zipper foot. Lay the fabric open and press so that the zipper lays flat between the two pieces of fabric. Press. Top stitch over the edges of the finished zipper for a more professional look and to prevent the zipper from catching on the fabric.
 Place Zipper Face Down
 Place Shorter Piece Right Sides Together Over Zipper
Take another piece of the exterior fabric and place it so that the right side is facing the wrong side of the piece you just placed the zipper. You could also use a lining piece if you like because this will serve as the lining for your zippered pocket. Next, place the other exterior piece right sides together with the zippered piece. Trim all the pieces to the same length. Sew all three pieces together around the two long sides and the bottom short side. Turn the pouch so that two right sides are facing out including the zippered side.
Take the four small lining pieces and sew two of them together leaving a small hole at the bottom to turn them. Clip the corners and turn them right sides out and press. Sew a line across the top of one of the long sides for a finished look. Repeat with the second set of small lining pieces. Sew these pieces onto the right side of the larger lining pieces. This will make the slip pockets for your bag.
 Lining with Pocket
Take to two lining pieces with the slip pockets and fuse a piece of Peltex or other heavyweight interfacing onto the wrong side of the lining where you want your snap to be. I use the Peltex to shore up the fabric so that the magnetic snap will be stronger and last longer. Insert the magnetic snap following the directions. I simply take the backing pieces where the two slits are and mark them. I cut the slits using my seam ripper then insert the snap and the backing piece and fold over the prongs. I measured 1" down from the top and centered for my snap. Then sew the long sides and the bottom leaving an opening for turning.
 Insert Magnetic Snap
Next, make the strap. Take the 47" x 3" strip and fold it in half long ways and press. Open it up then fold each side to the center and press then fold again to make a nice strong strap. Top stitch along both long edges for a finished edge. Attach the ends of
the strap to the exterior pouch at the sides. Insert the right side of the outer bag into
the right side of the lining fabric pushing the strap inside. Stitch around the top edge of the bag.
 Create the Strap
 Sew the Strap and Lining to the Main Bag
Push the exterior bag and strap through the gap you left in the lining. You will then have one long bag that is half outer fabric and half lining fabric. hand stitch the lining gap closed then push the lining into the outer bag. You will now have the right sides of the outer bag facing you with the strap on the outside and the right sides of the lining fabric and the magnetic snaps facing inside the bag. Top stitch around the top of the outside of the bag for a finished look and you have completed your Bumalong Bag
Bumalong Bag
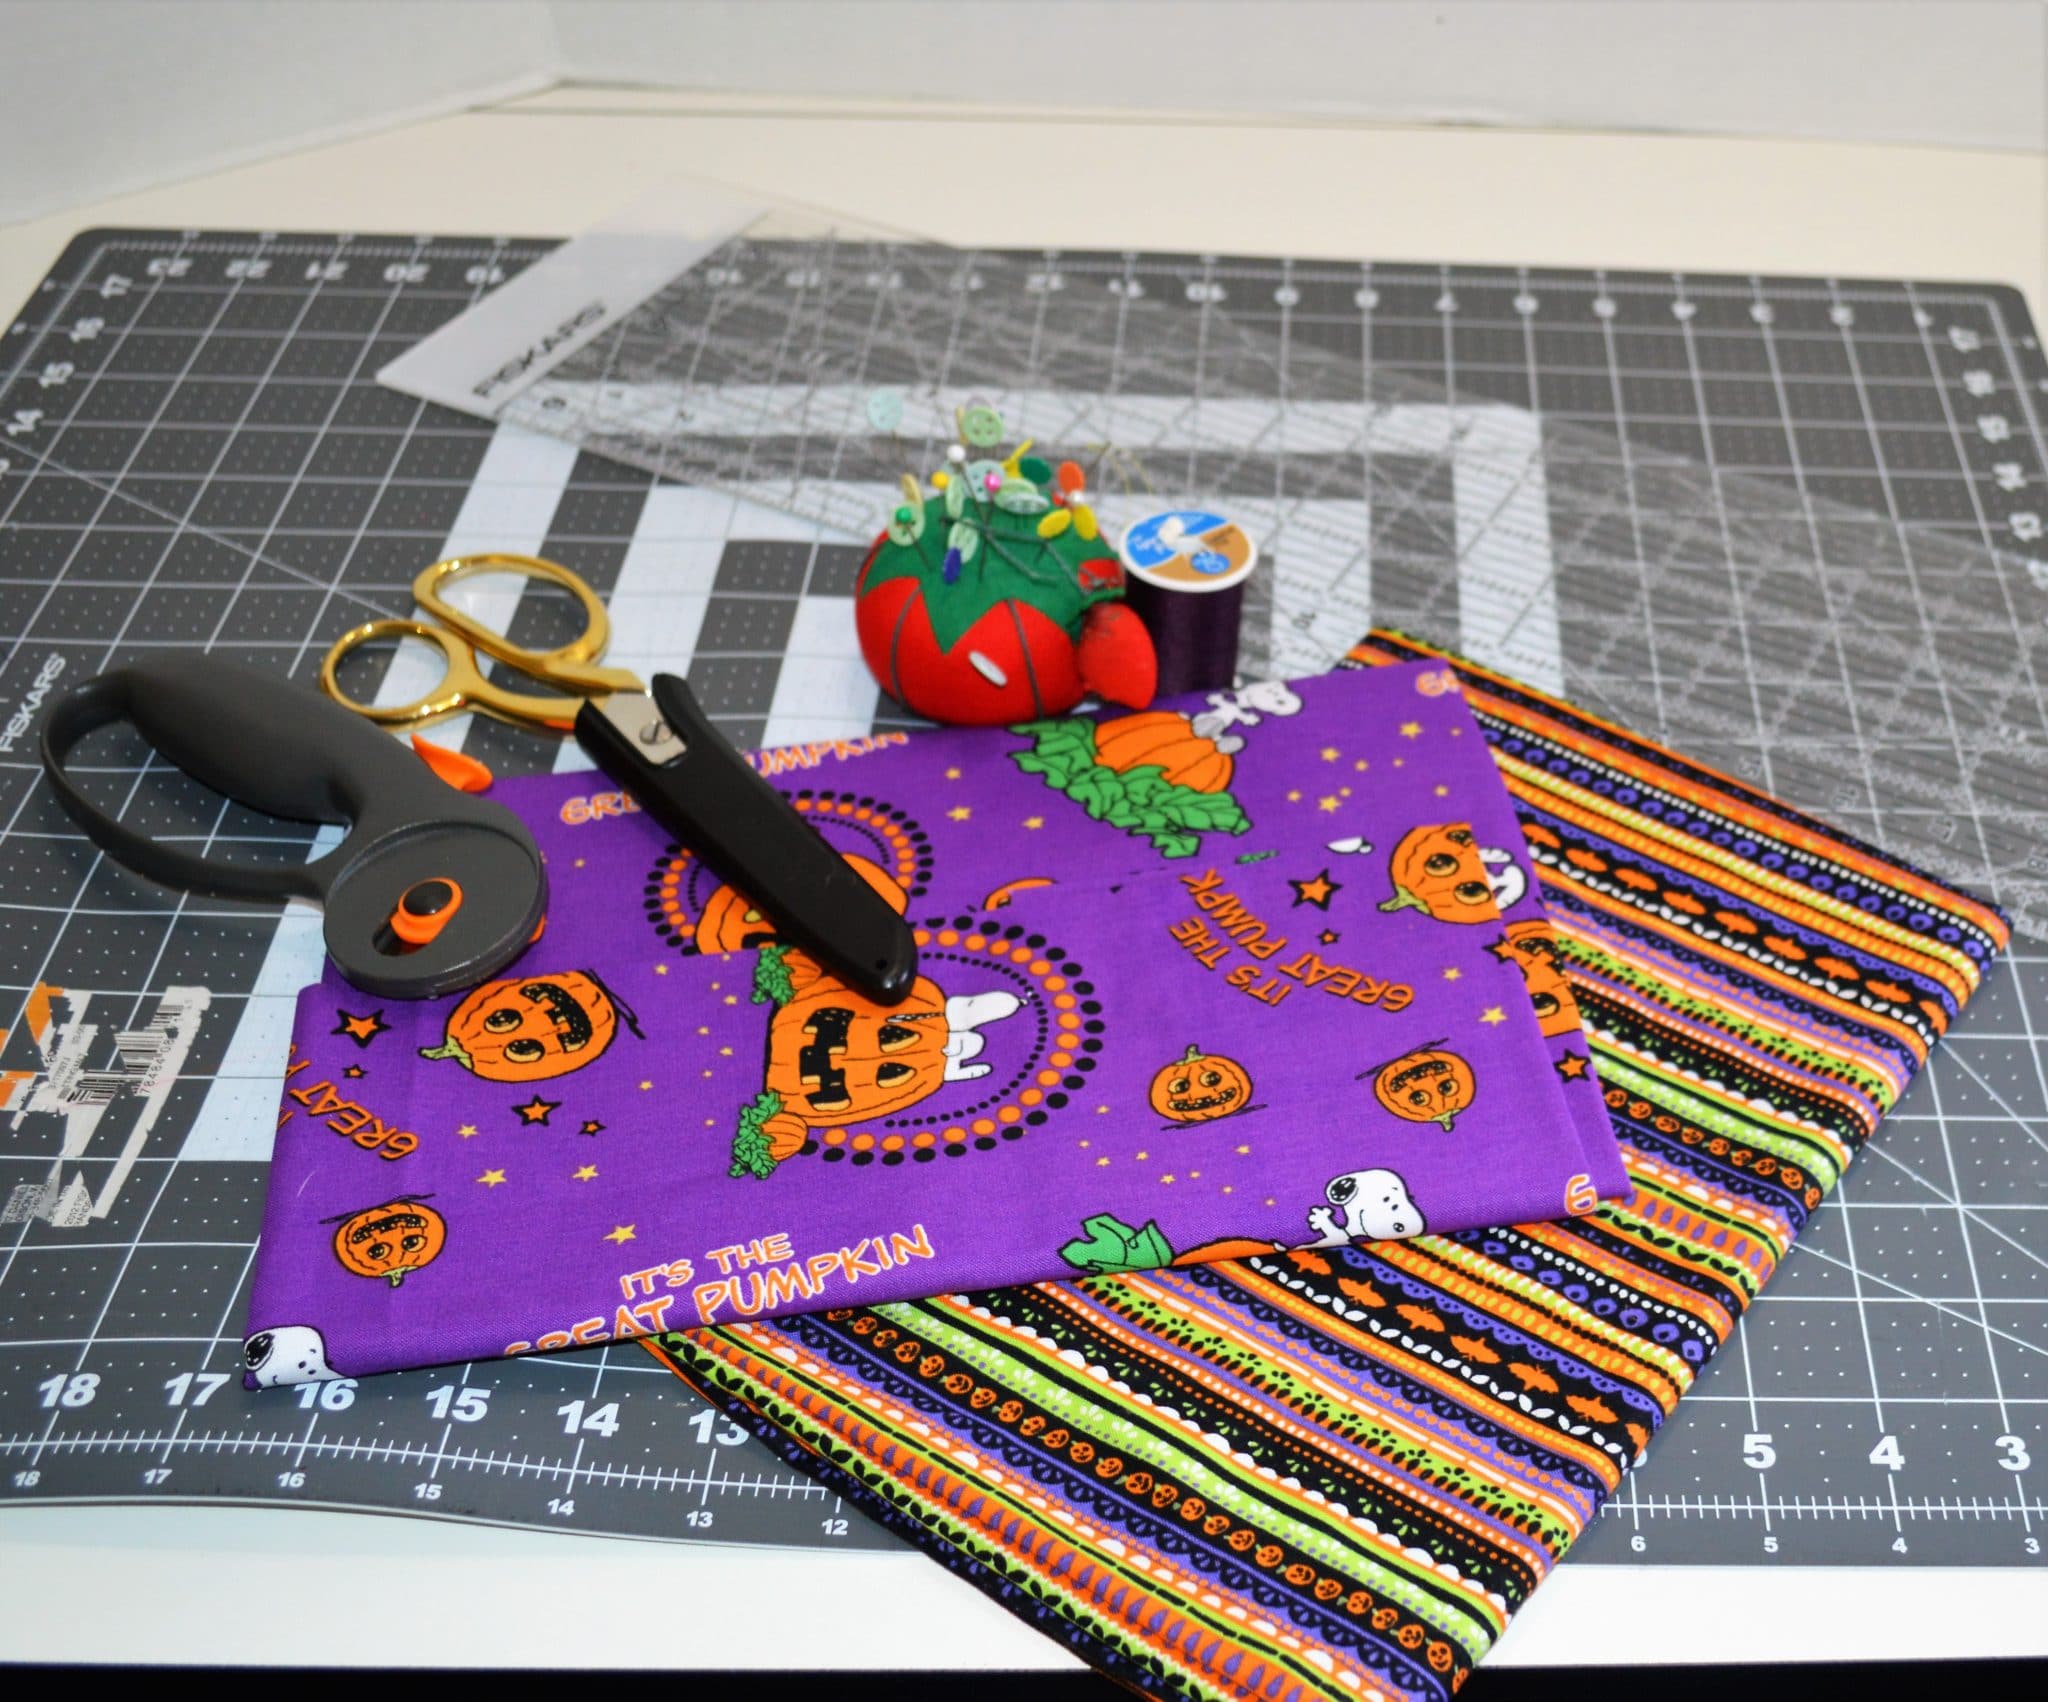
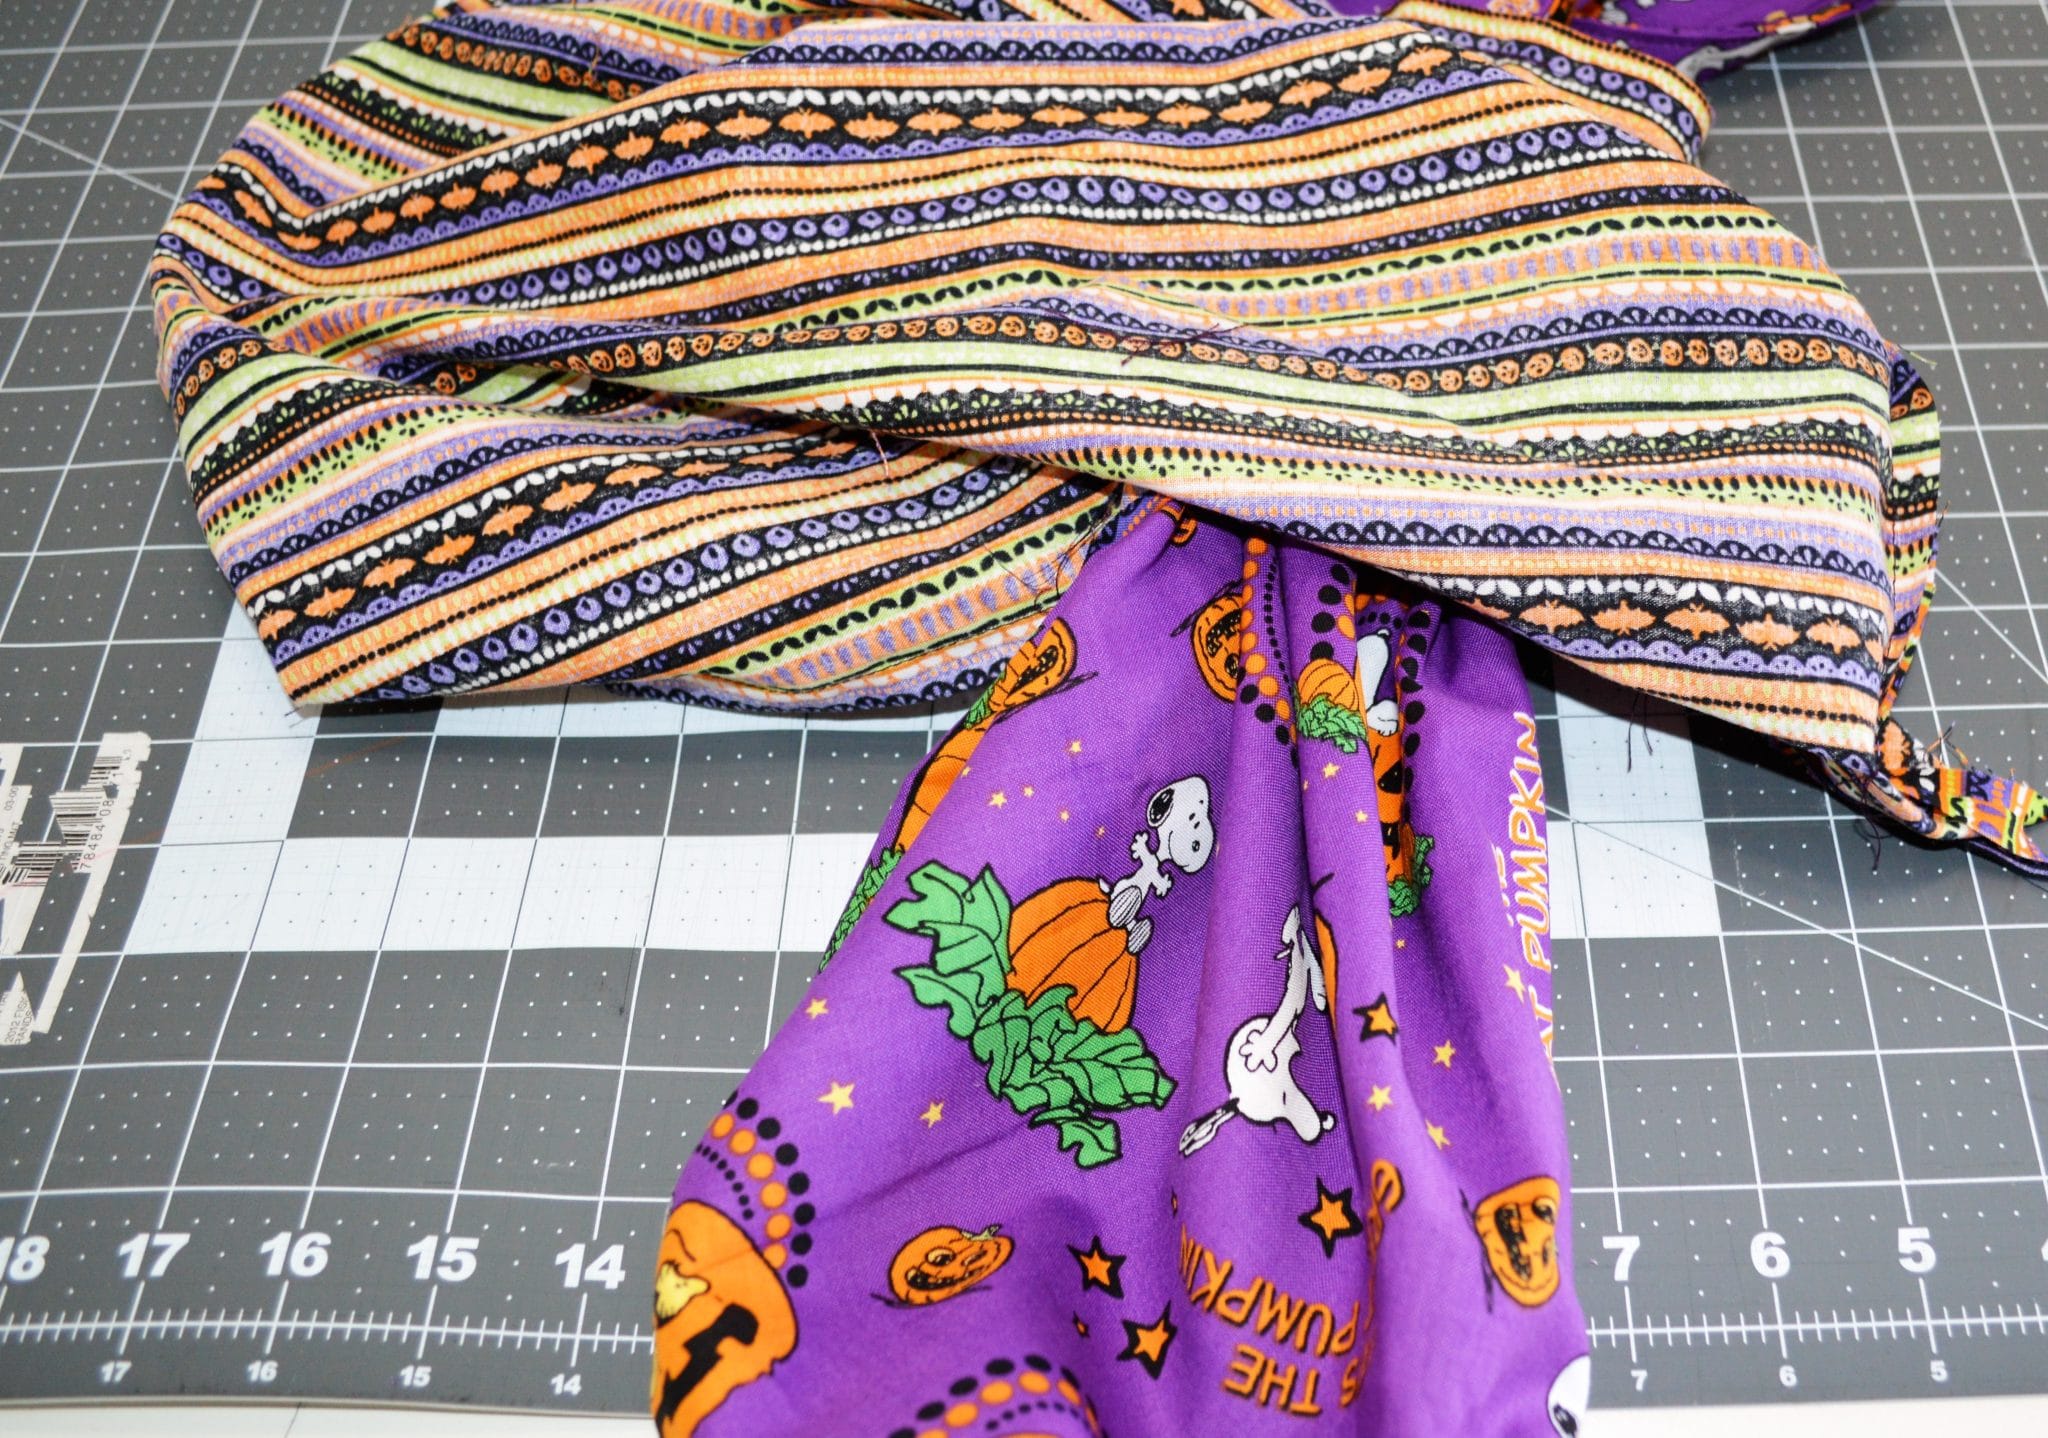
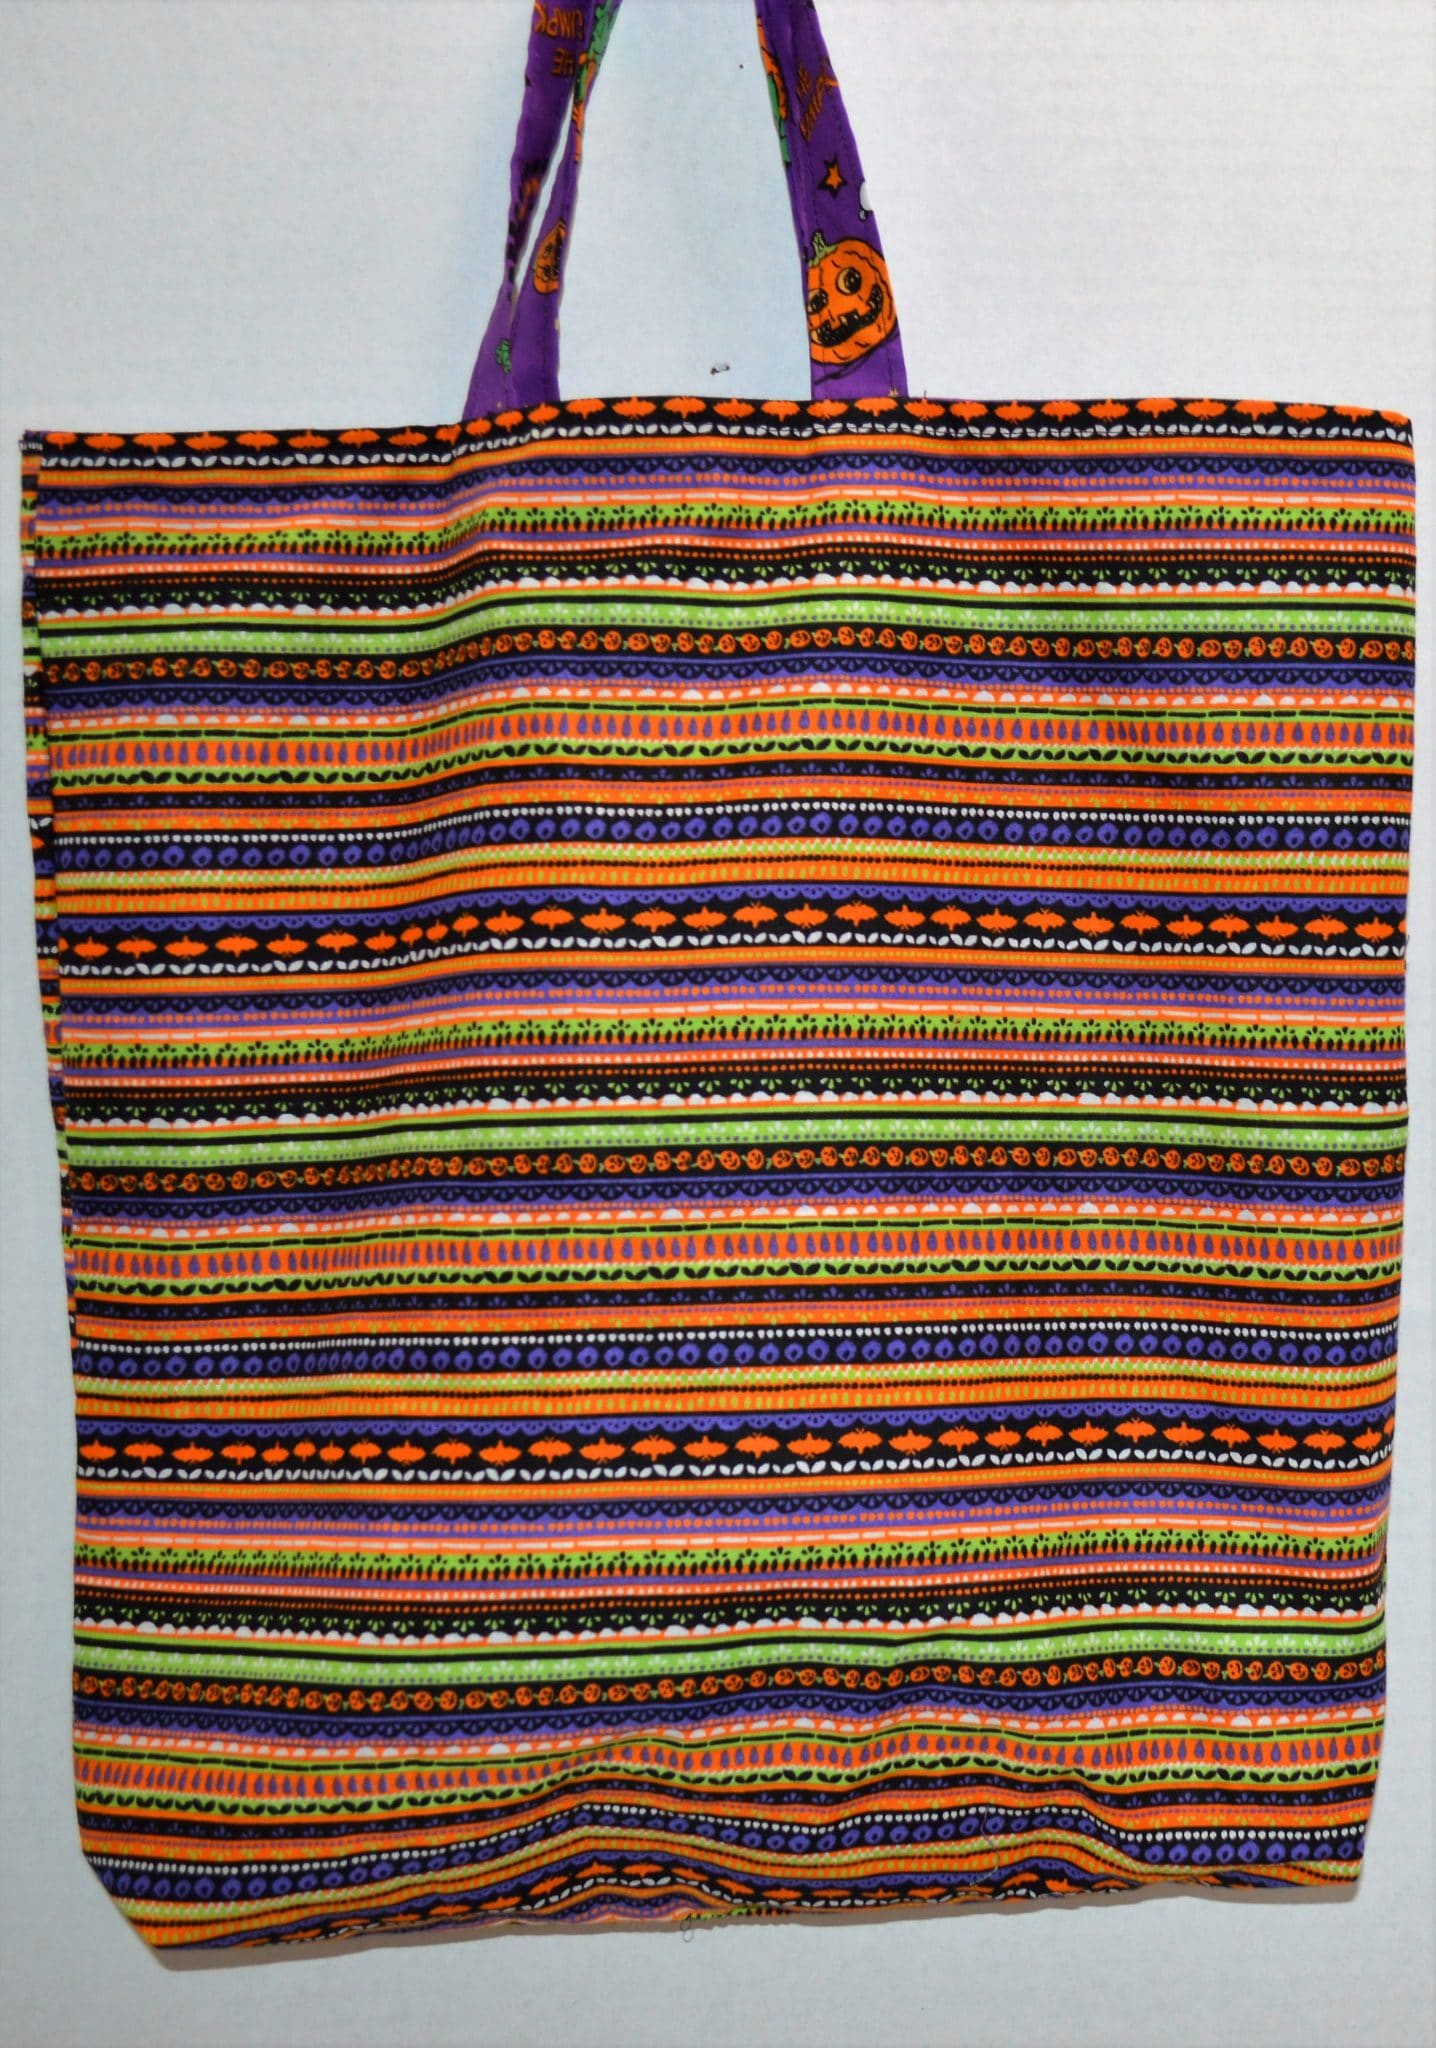
Reversible Halloween Tote Tutorial
This is a super simple reversible Halloween tote that anyone with the most basic sewing skills can sew in a short time and for very little money.
What you will need:
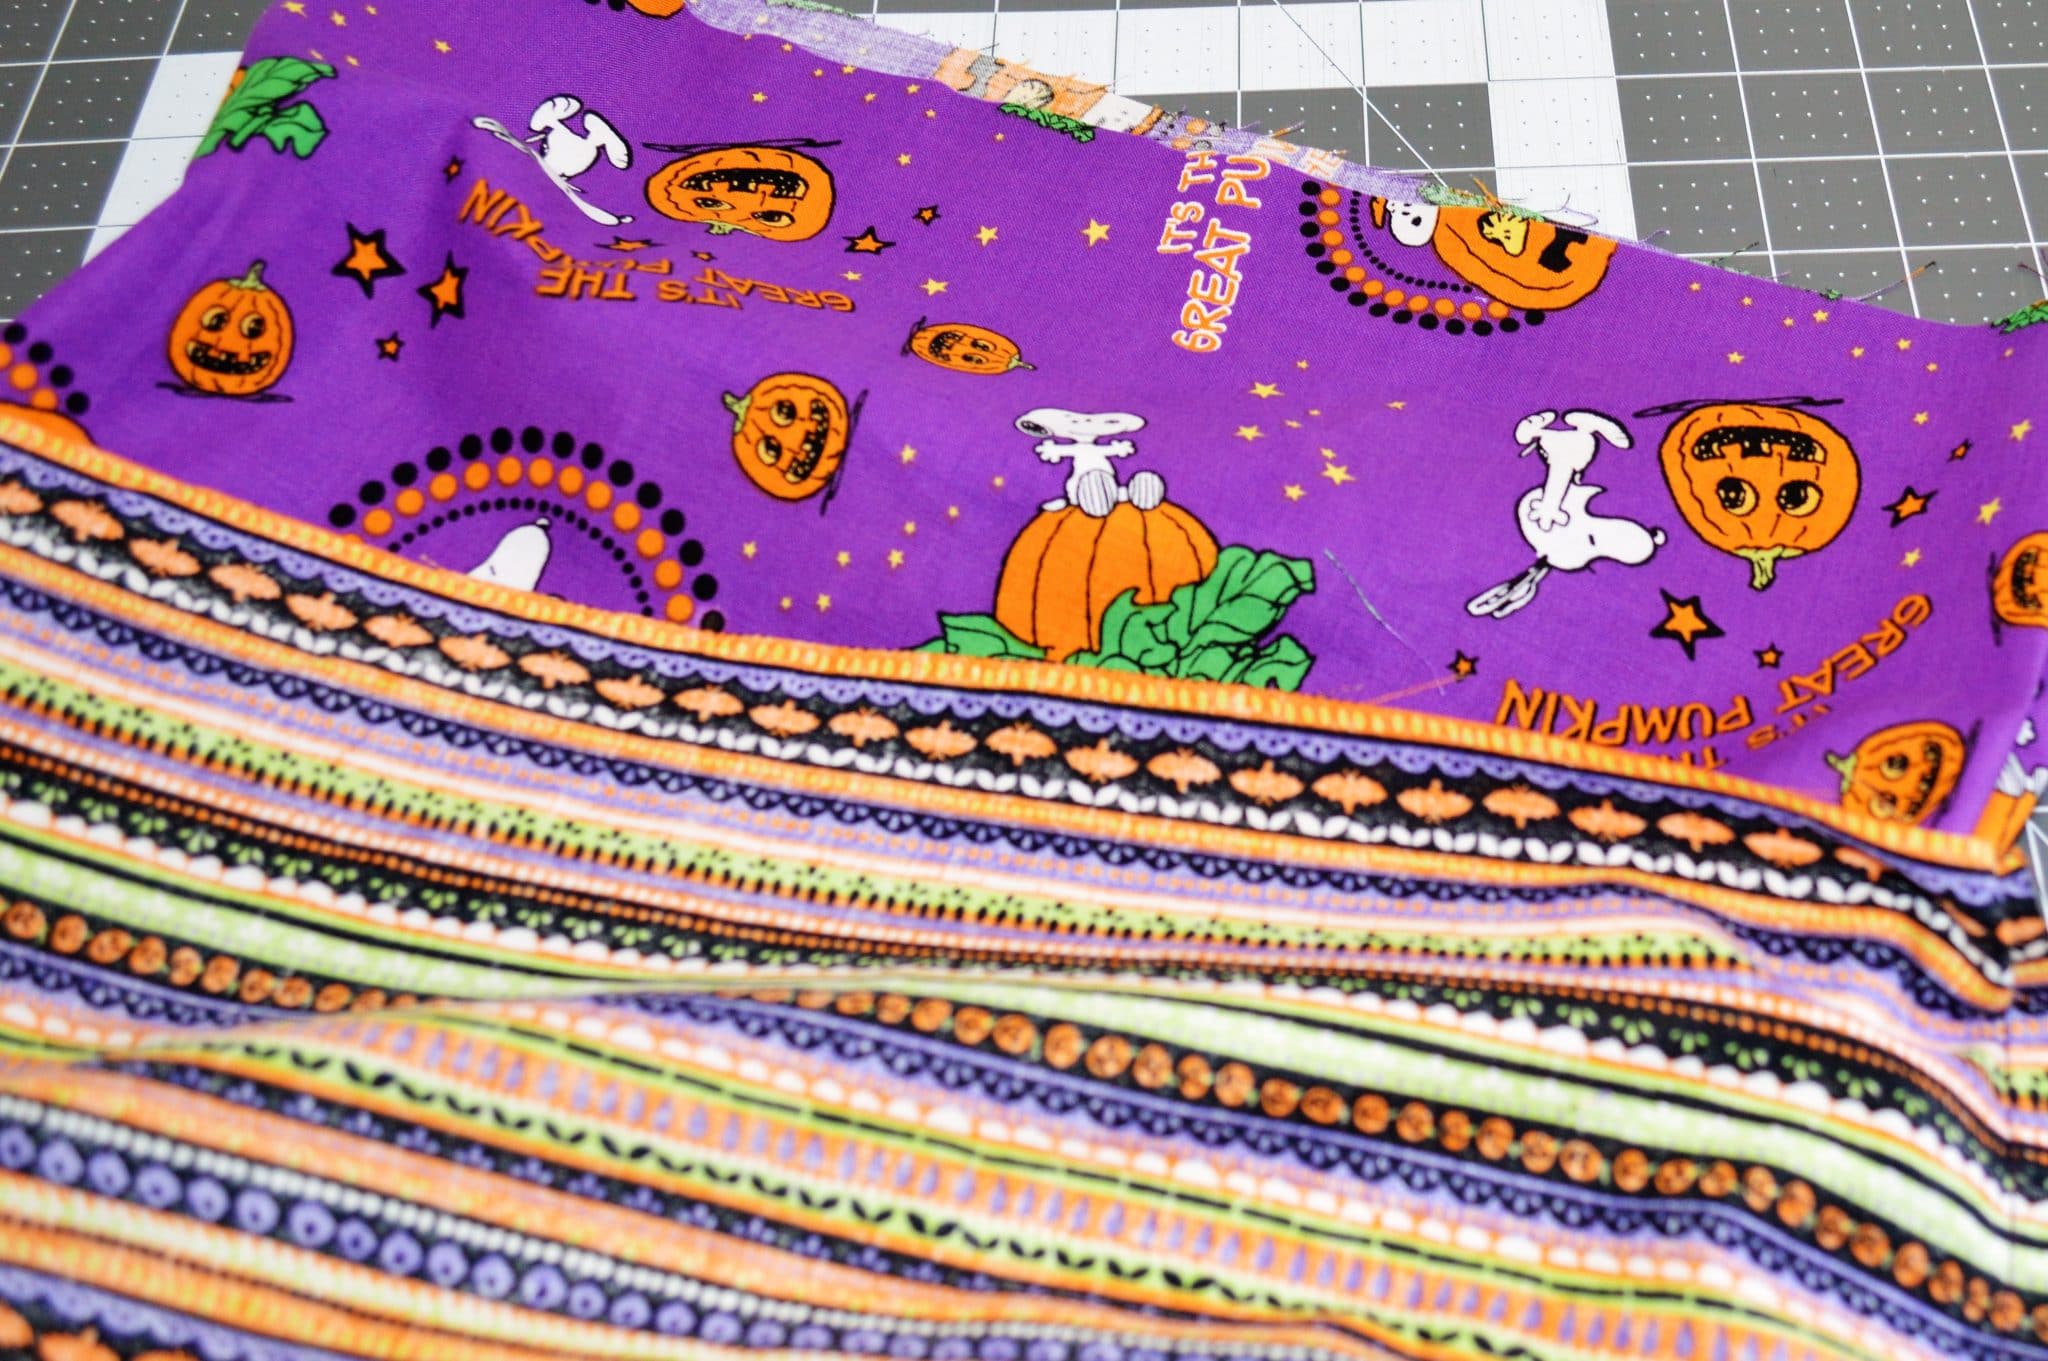
Step 1
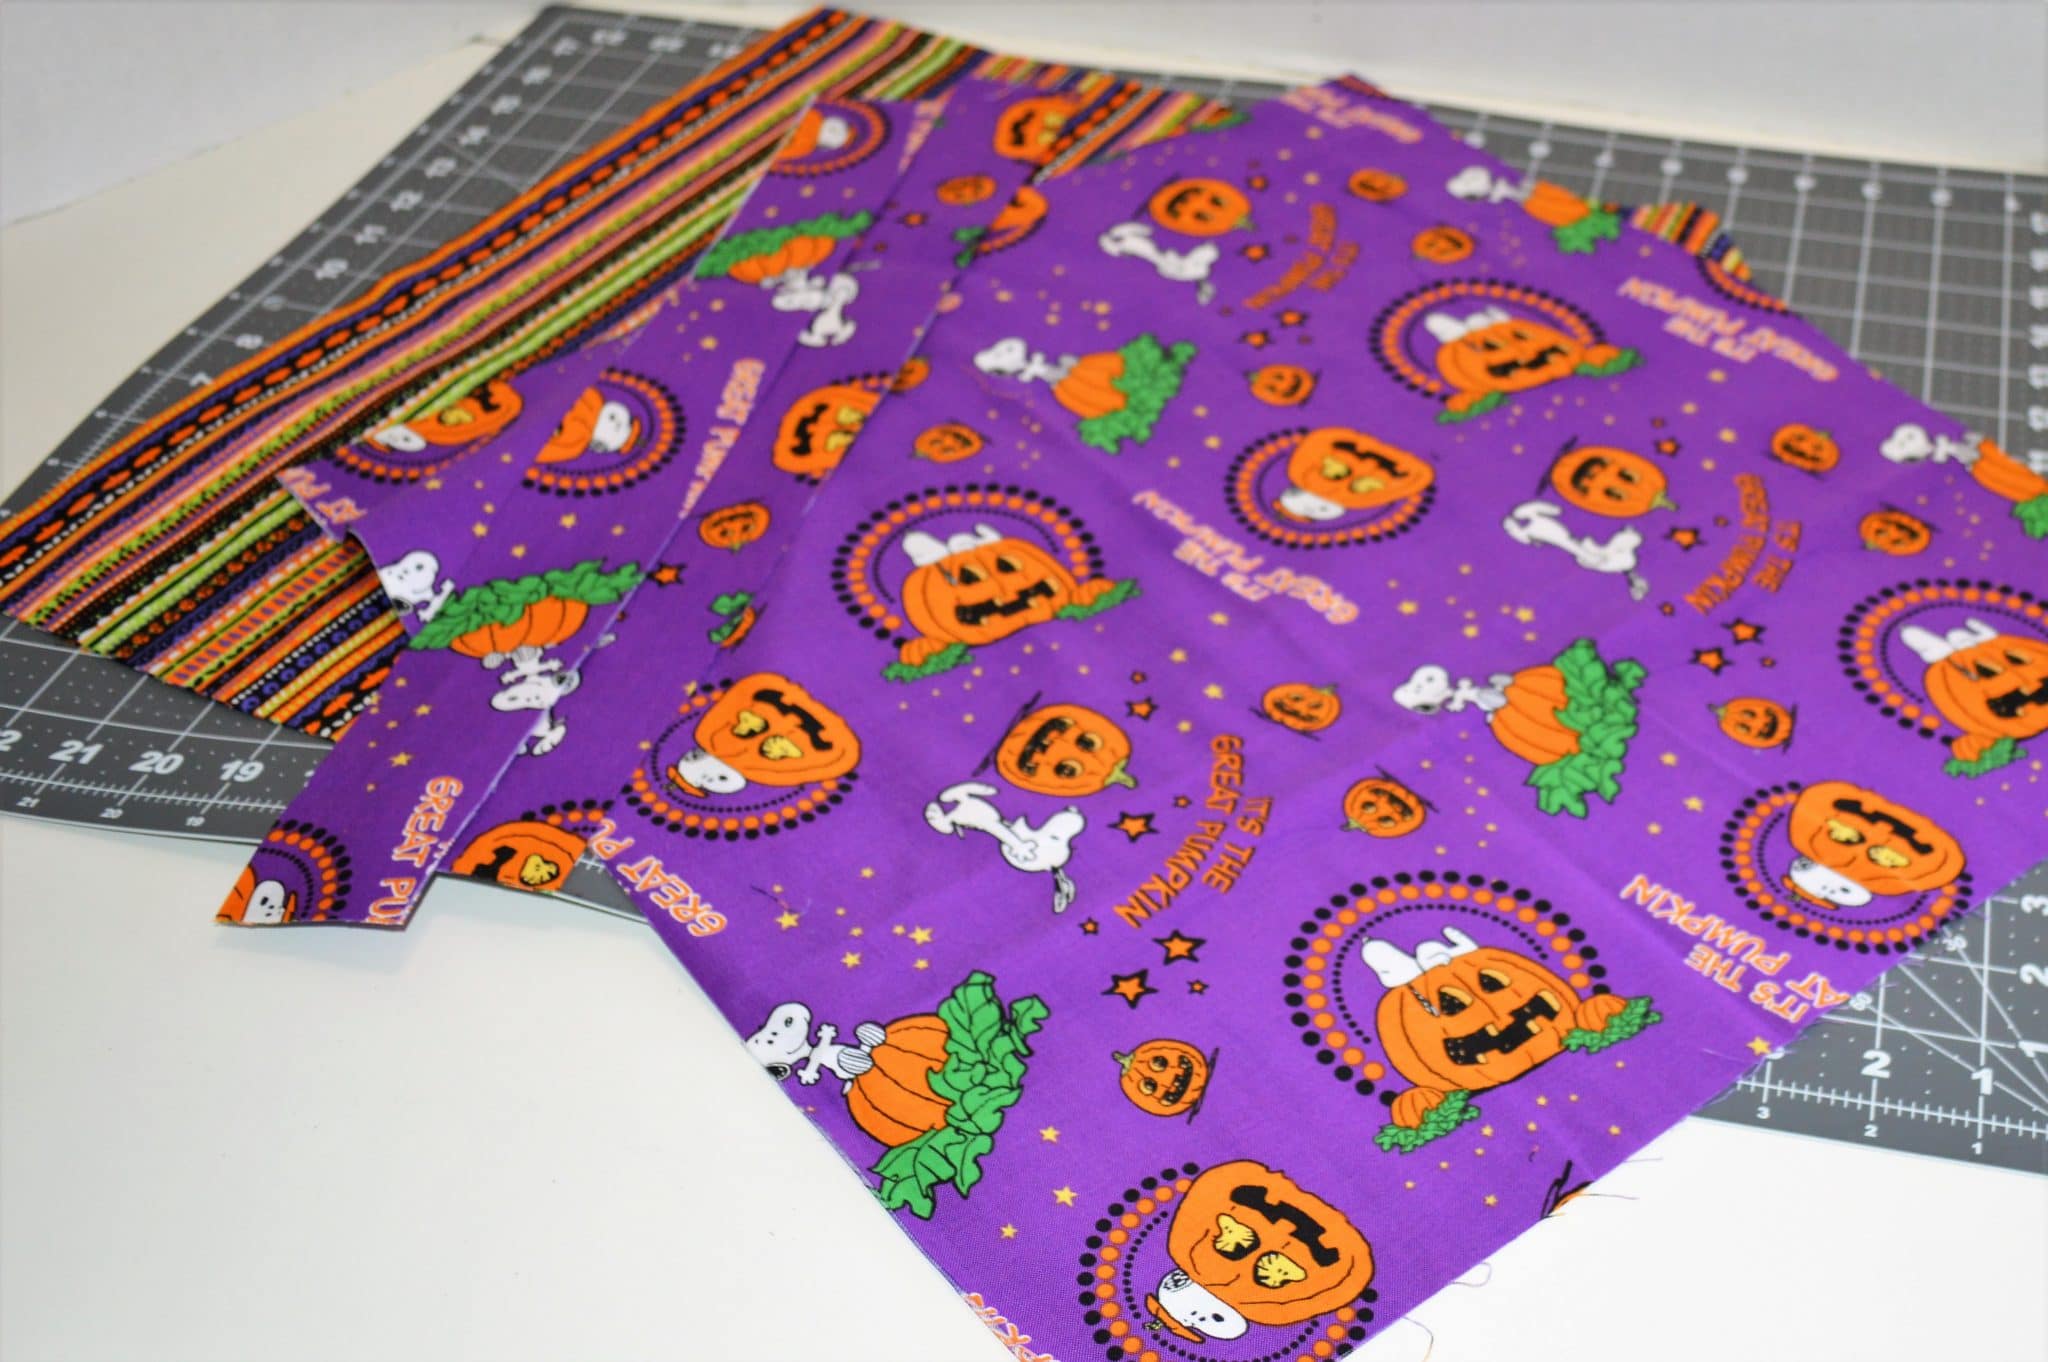
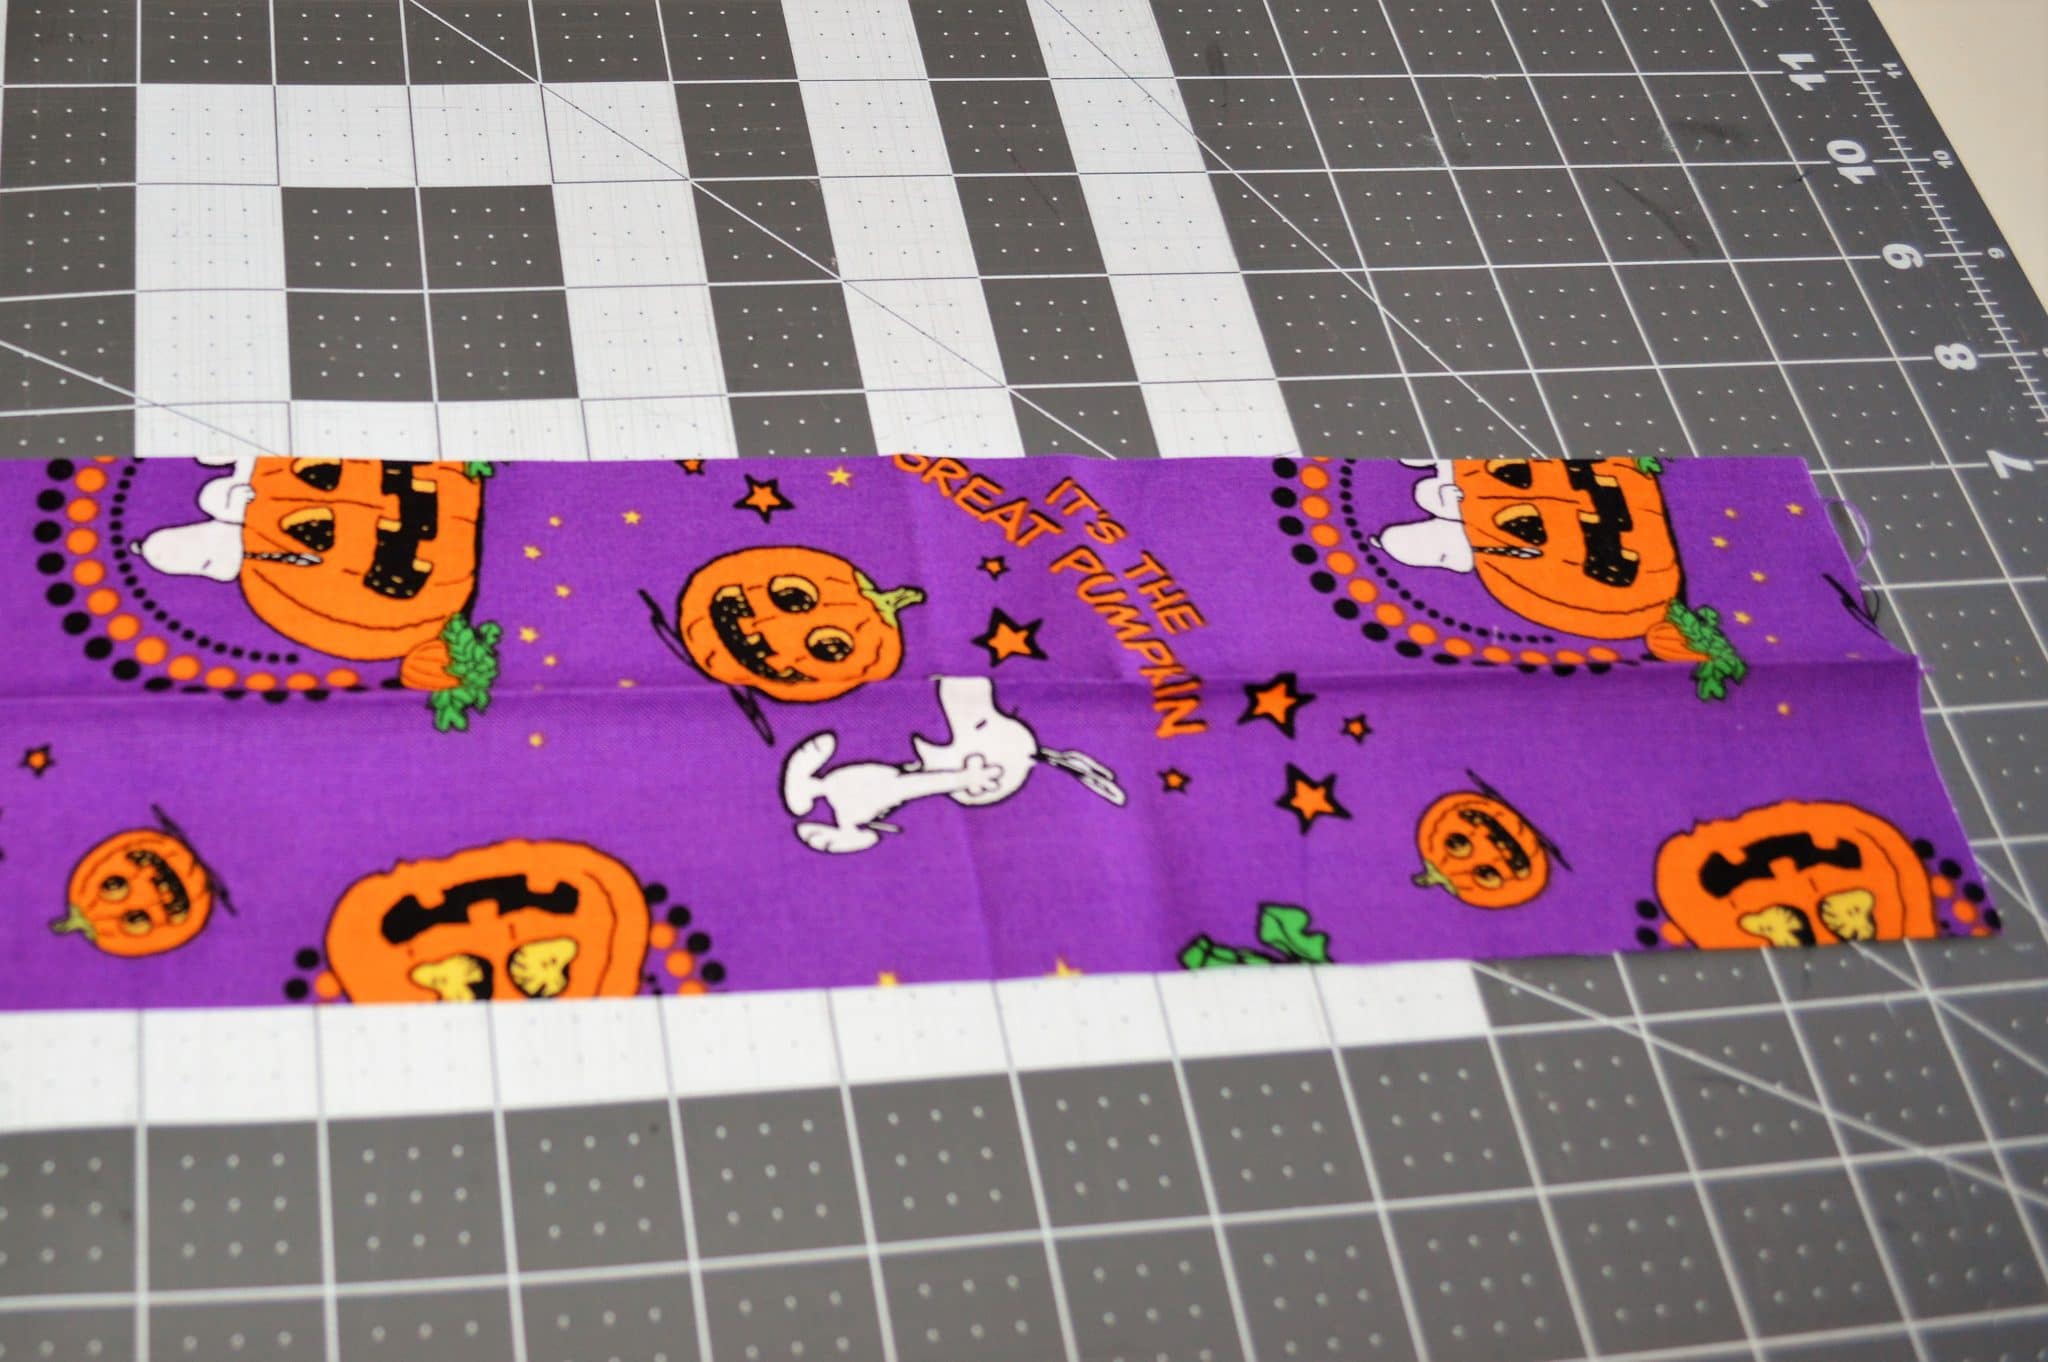
Cut two pieces of your main fabric and your contrasting fabric to the size that you would like. I cut mine 14” X 17”. Then cut two pieces of your main fabric 4” X 18” to serve as your handles.
Step 2
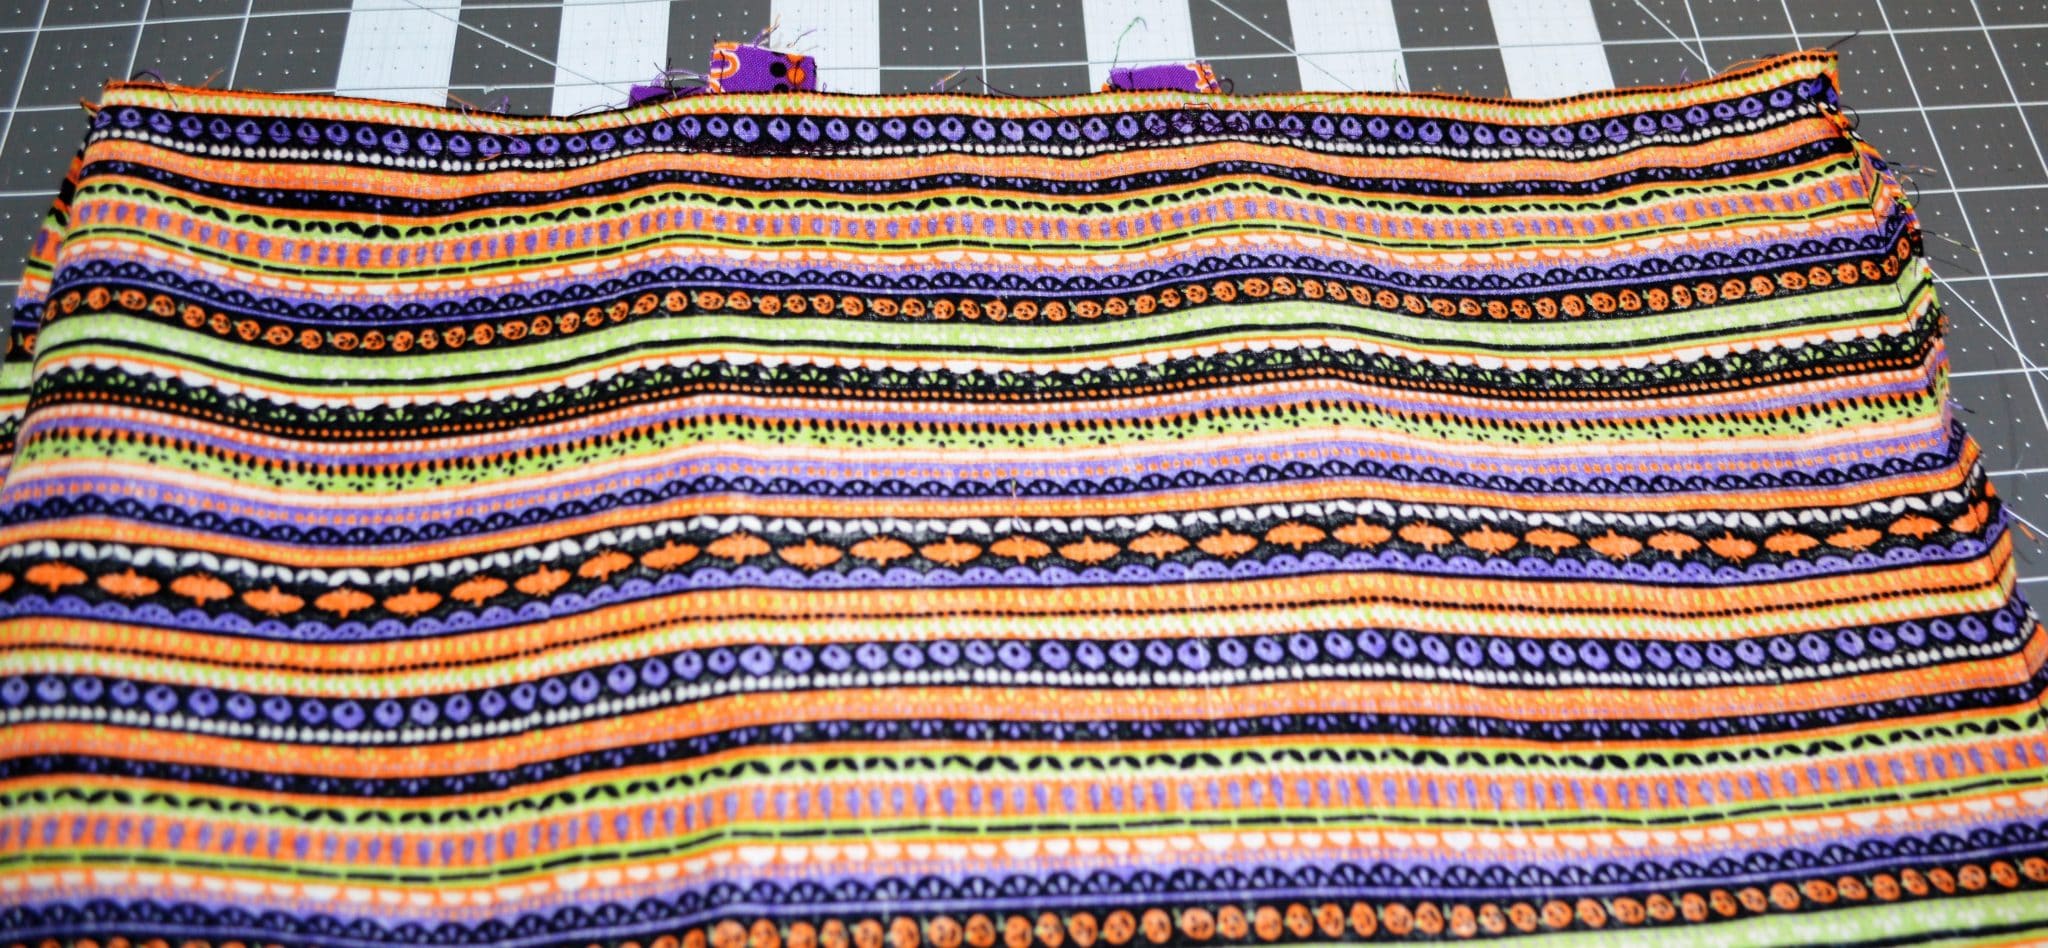
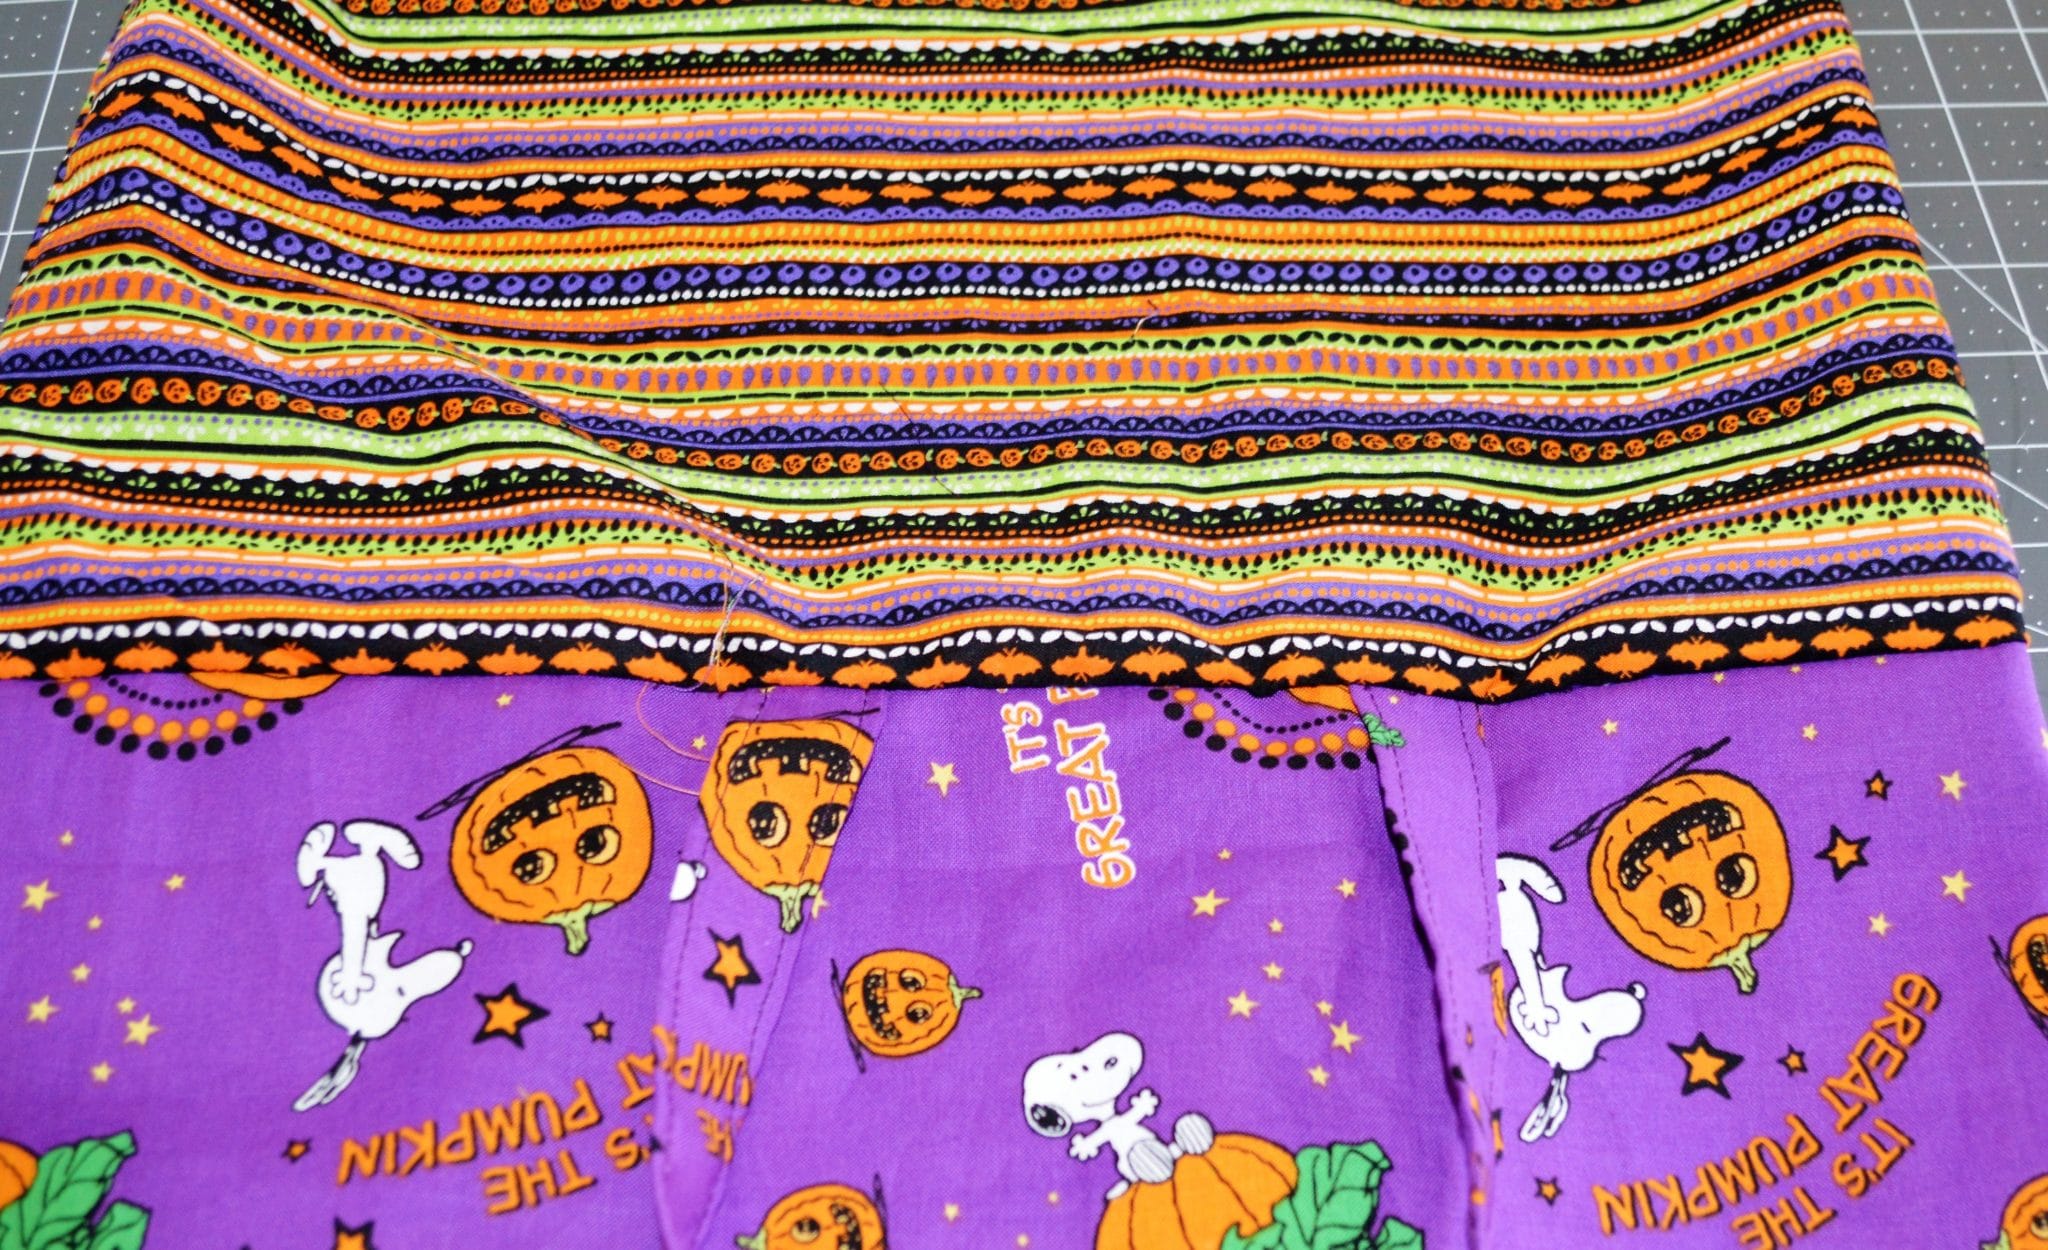
With right sides together, sew around three sides of your main fabric leaving the top of your rectangle open using a 5/8” seam allowance.
Step 3
With right sides together, sew both sides and ¼ of the each side of the bottom of the contrasting fabric. Leave a hole at the bottom and the top of the rectangle open.
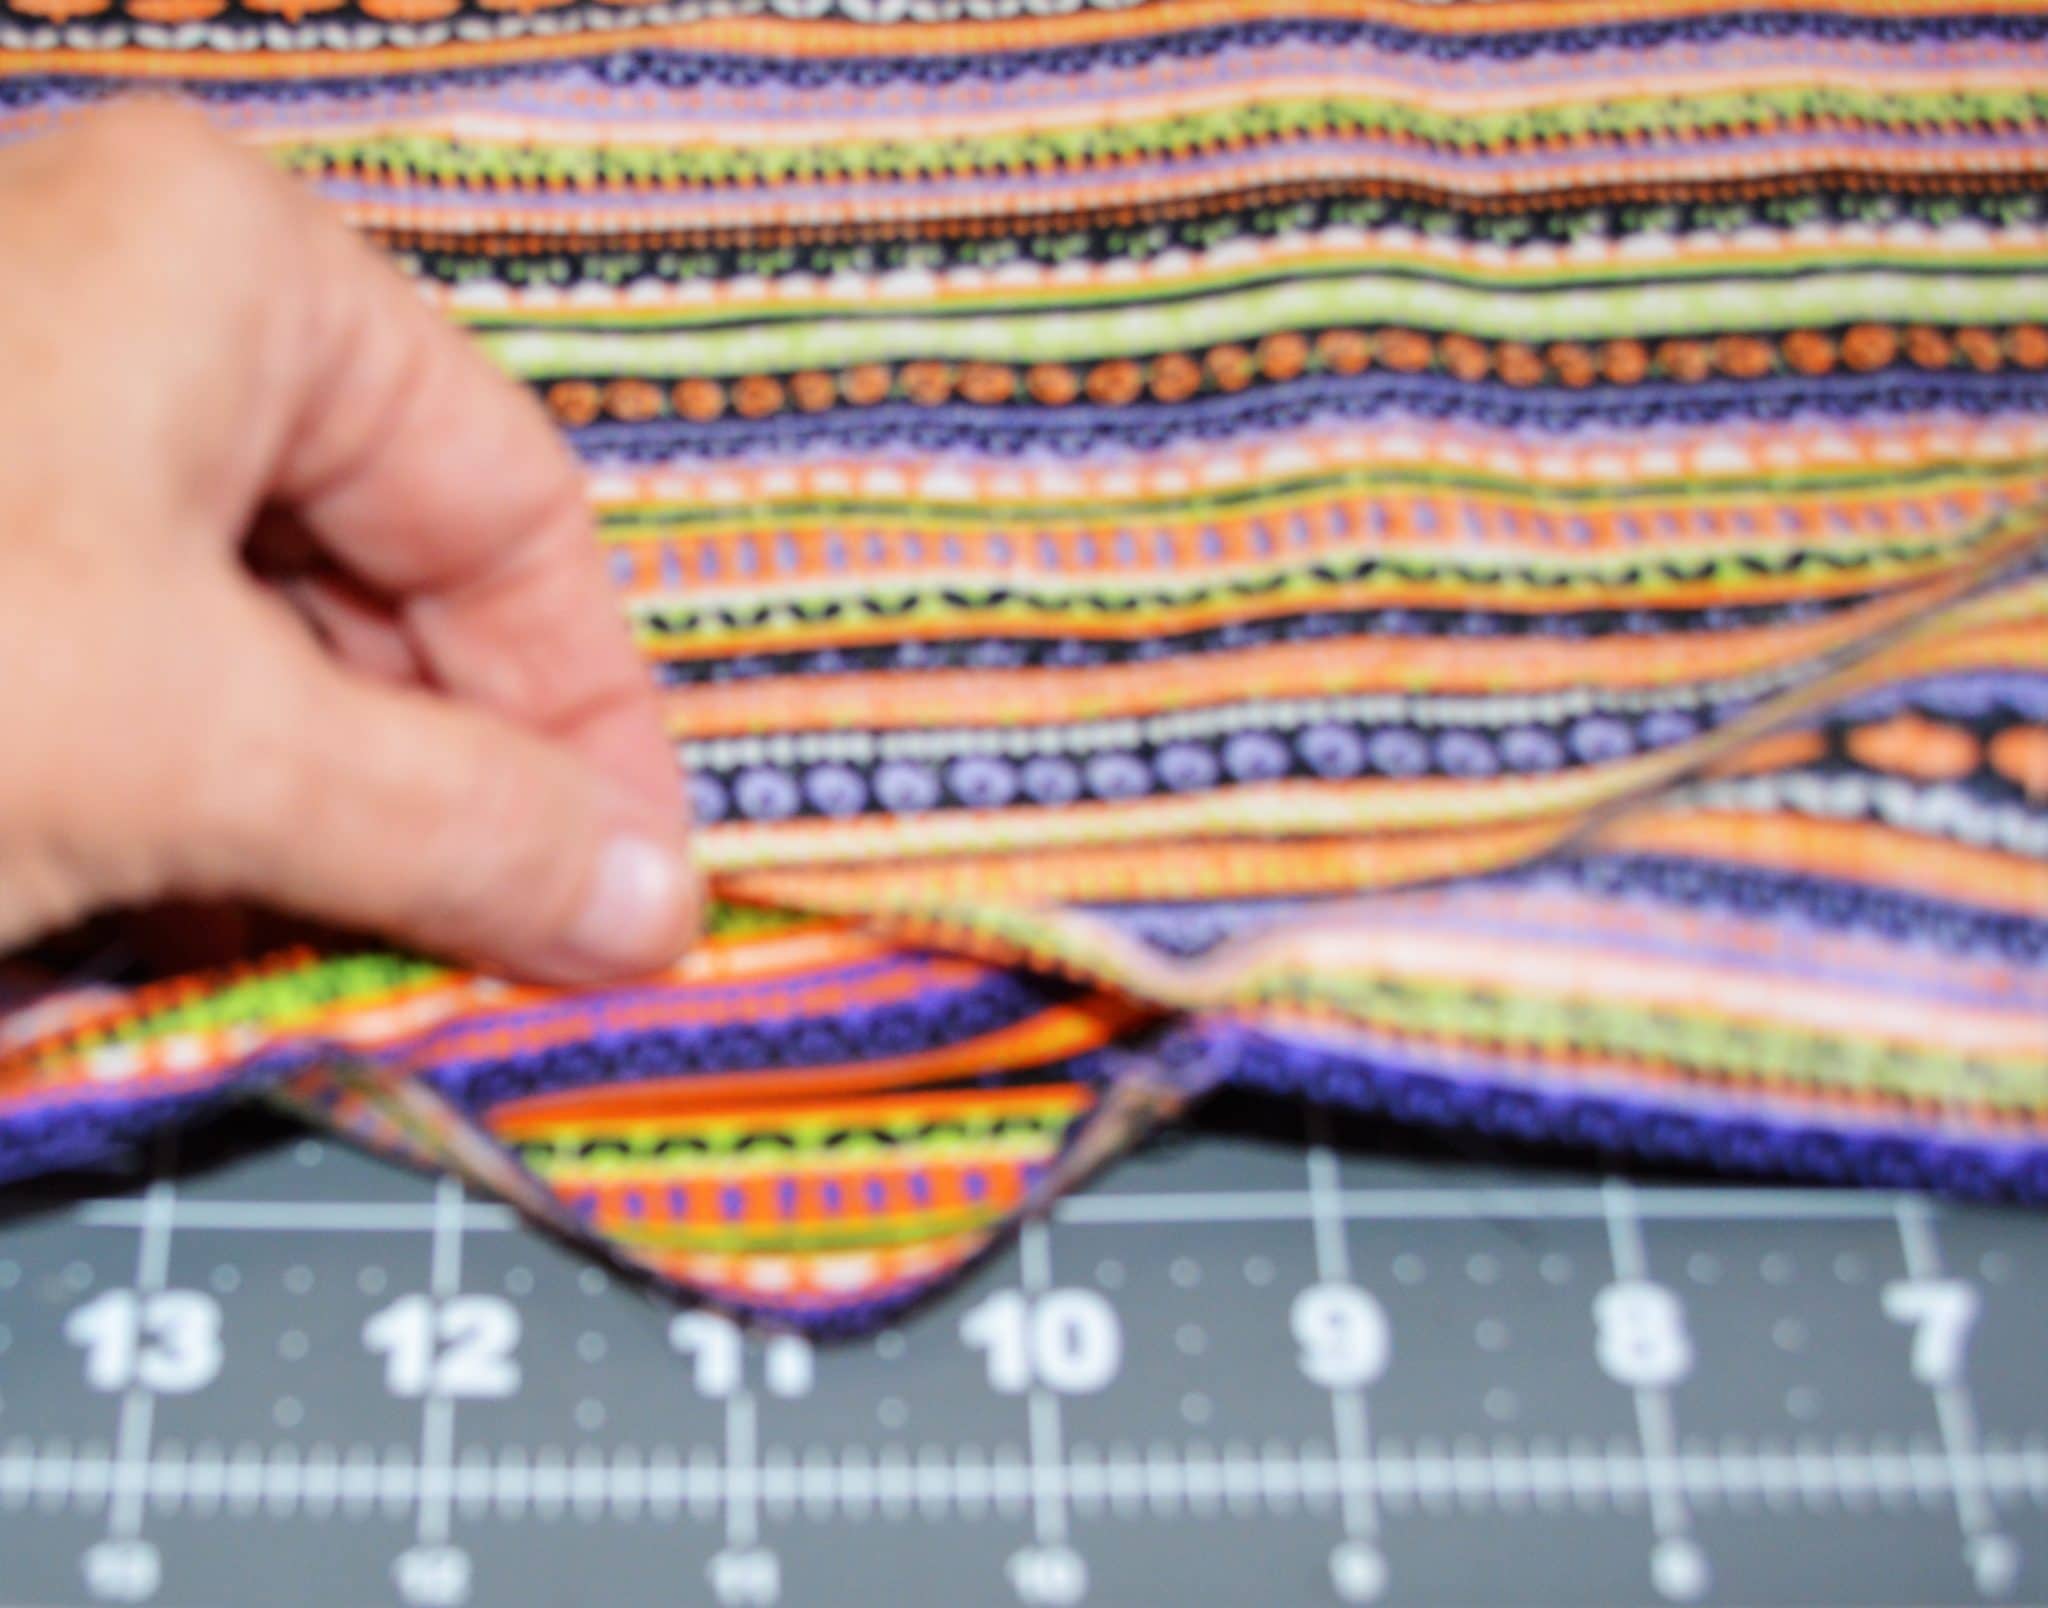
Step 4
I like to box the corners of my totes so that will be your next step. On your main fabric line up the right side seam with the right side of the bottom seam so that they form a point. Measure down 1 1/” and place a pin. Do the same process on the left side and on both sides of the contrasting fabric.
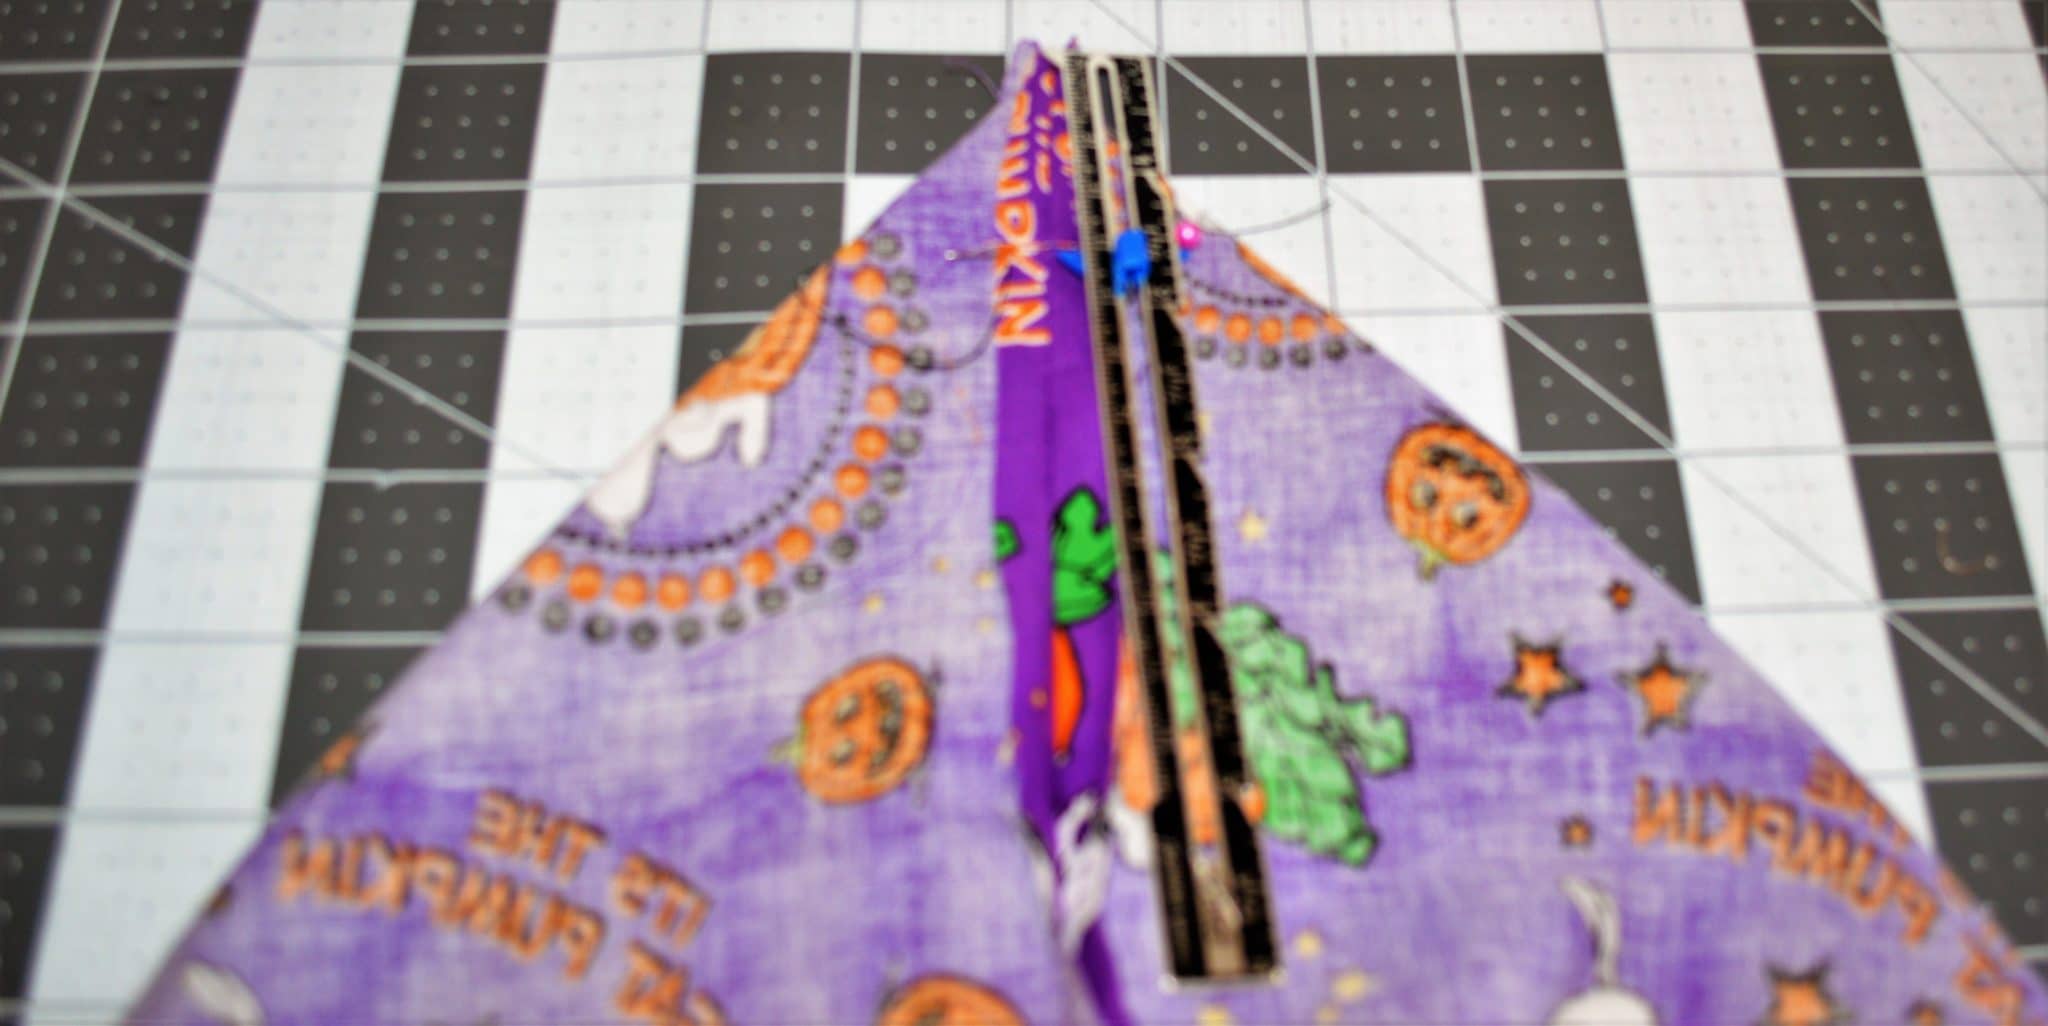
Step 5
Sew across the point at the 1 1/2 “mark on all four points. This will create the boxed bottom of the bag.
Step 6
Once all of the corners are boxed, turn the main fabric rectangle right side out. Insert the main fabric rectangle into the contrasting fabric rectangle so that the right sides of each fabric are facing each other. Set aside.

Step 7
Make the handles. Take your 4” X 18” fabric pieces and fold them in half and press.
Open them up and fold both edges to the center.
Once both edges are folded to the center, fold them in half again and press. This gives you a nice straight and strong handle to insert into your bag.
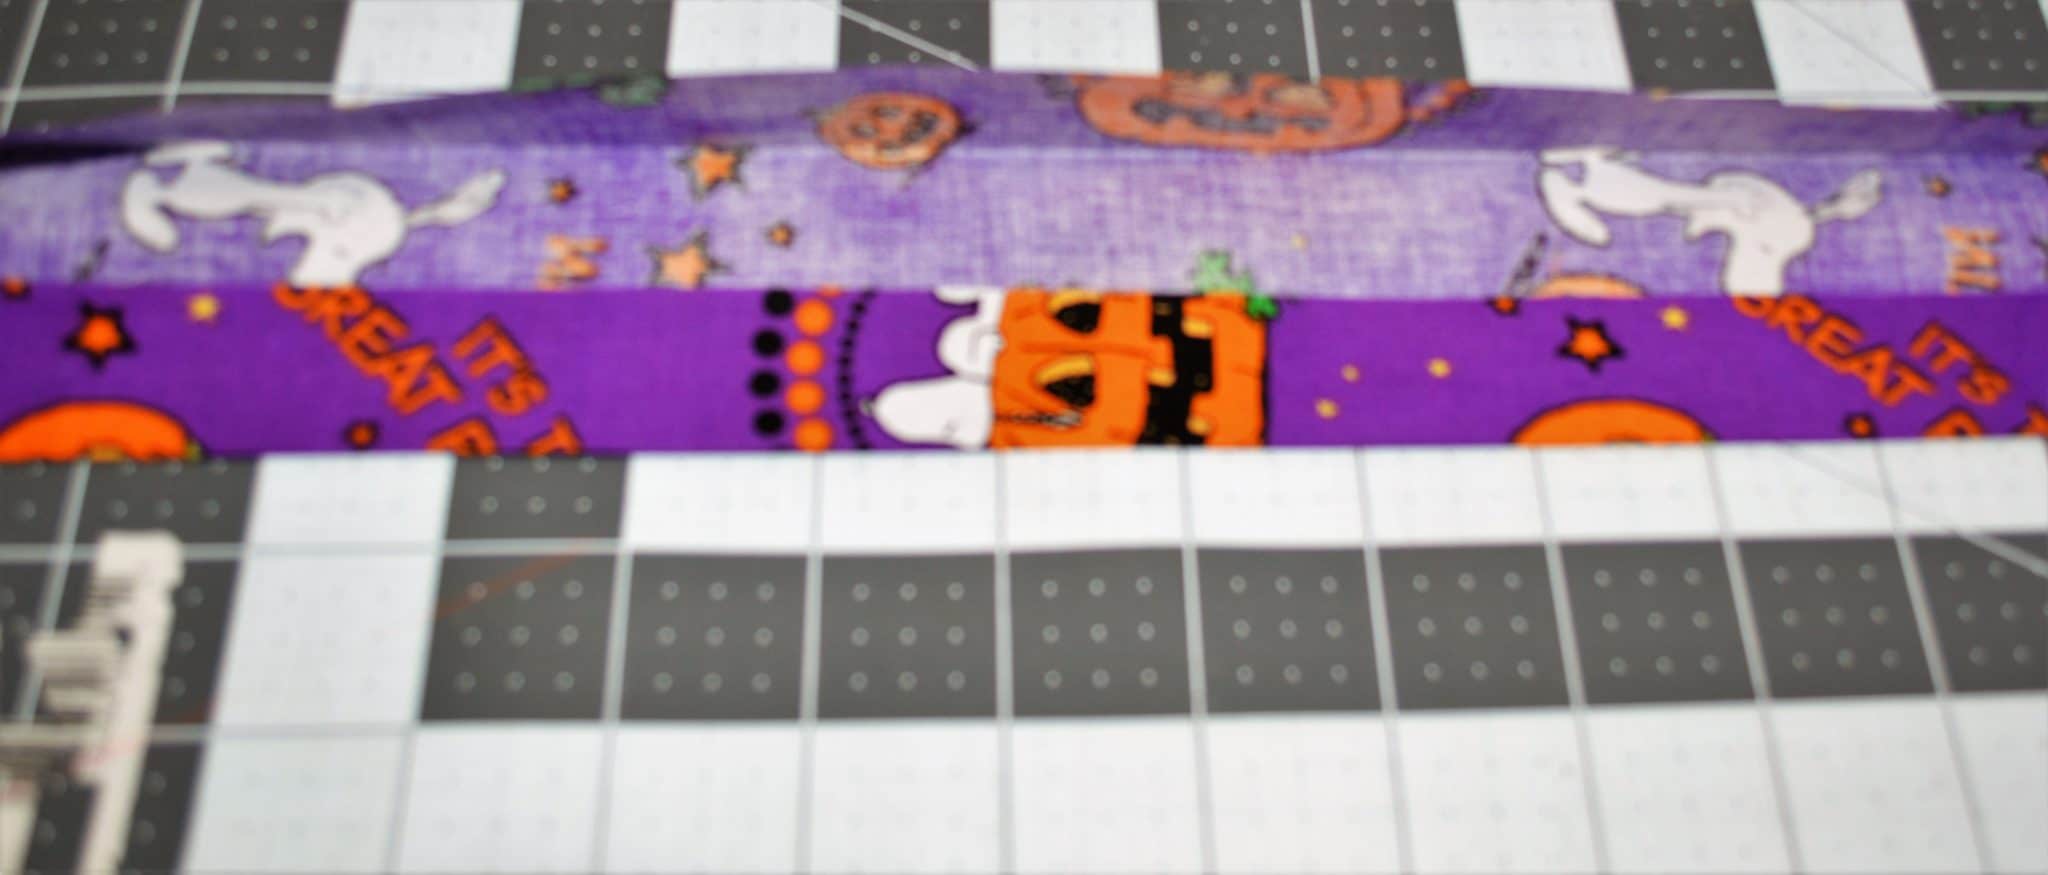
Once the handles have been folded and pressed sew a nice top stitch on both long edges to hold them together and to give them a finished look.
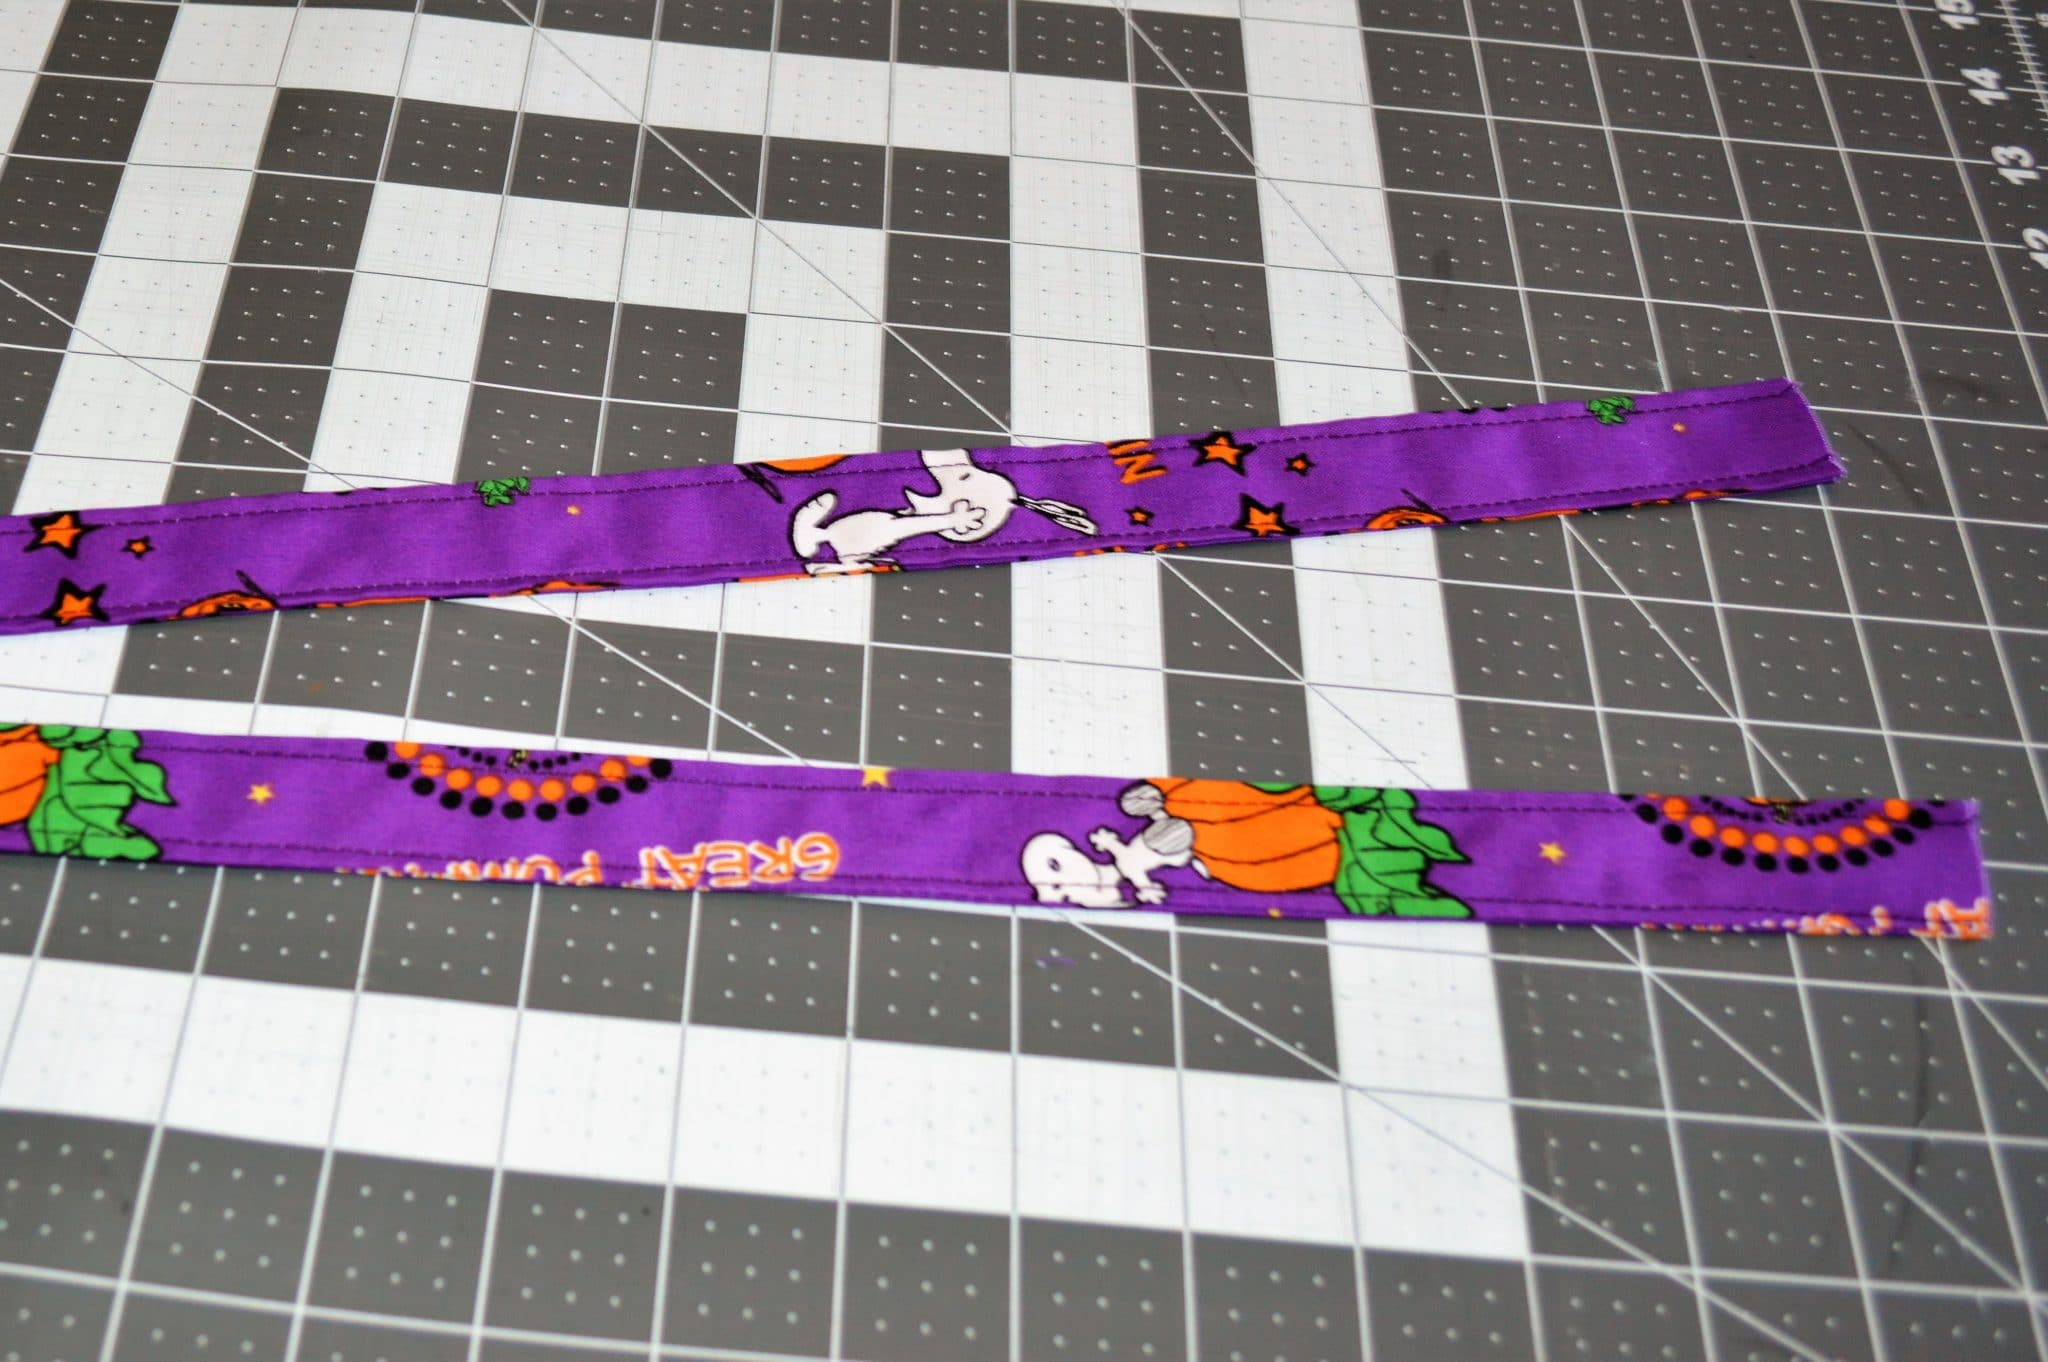
Step 8
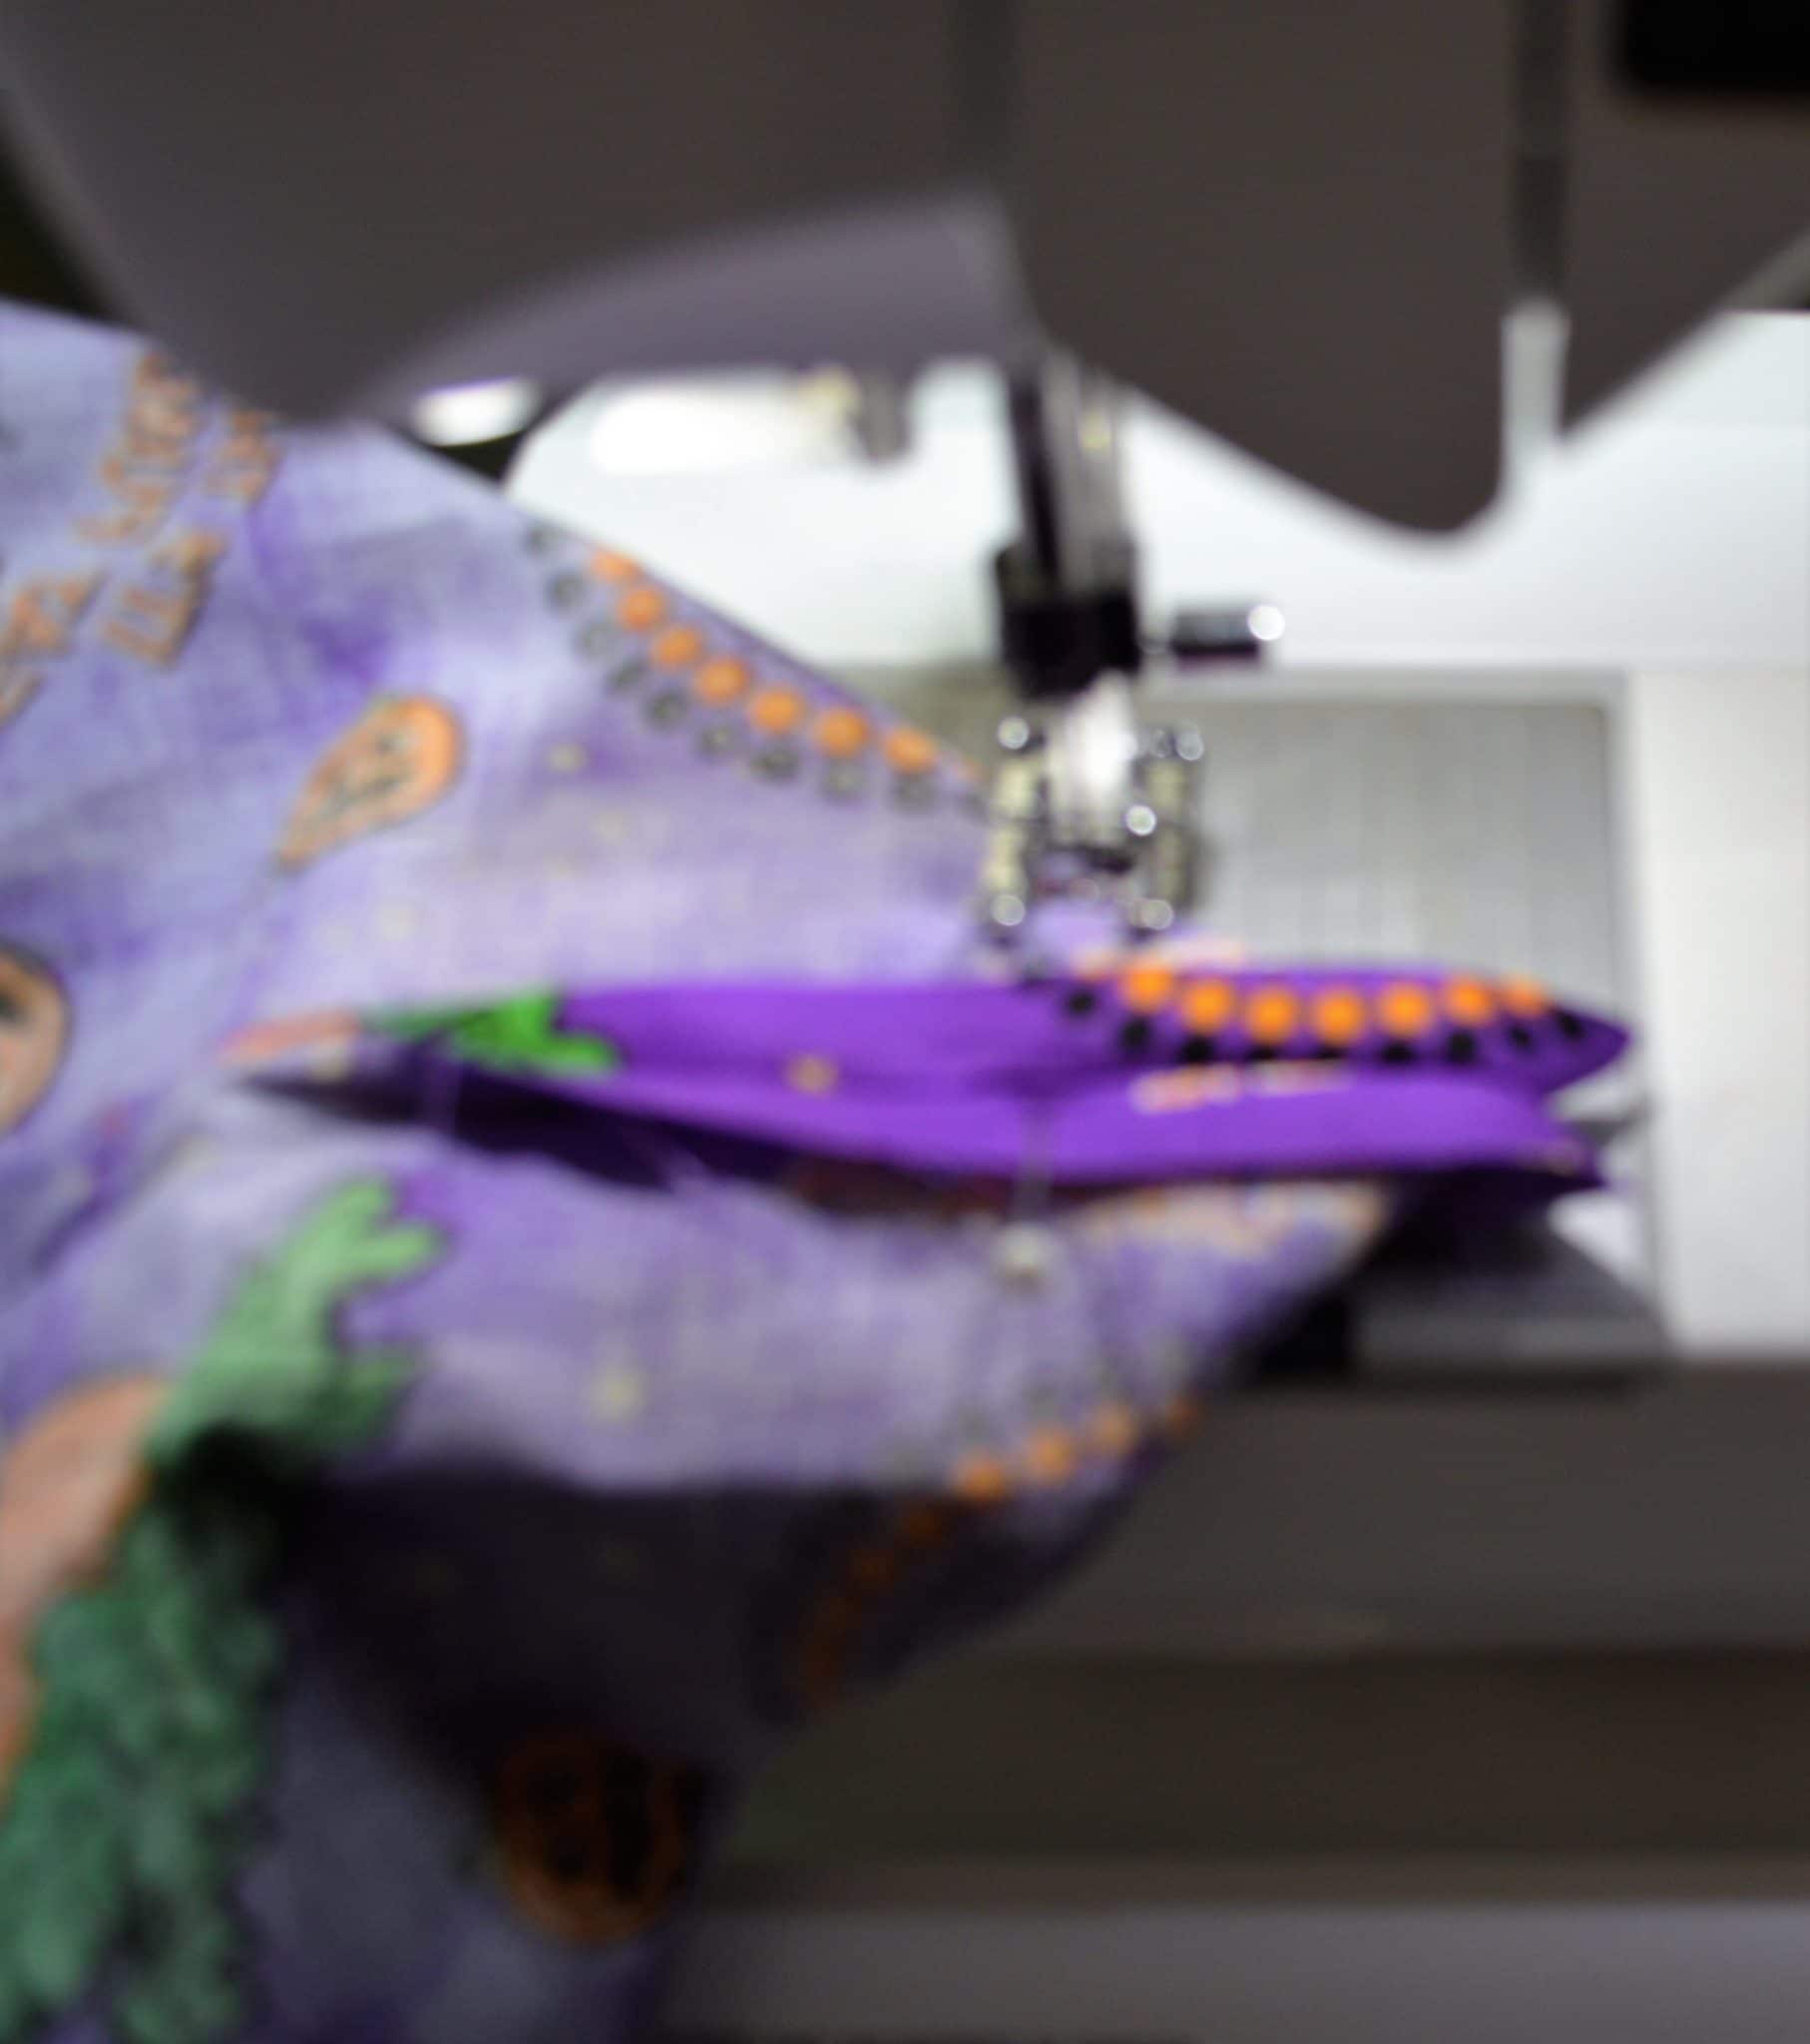
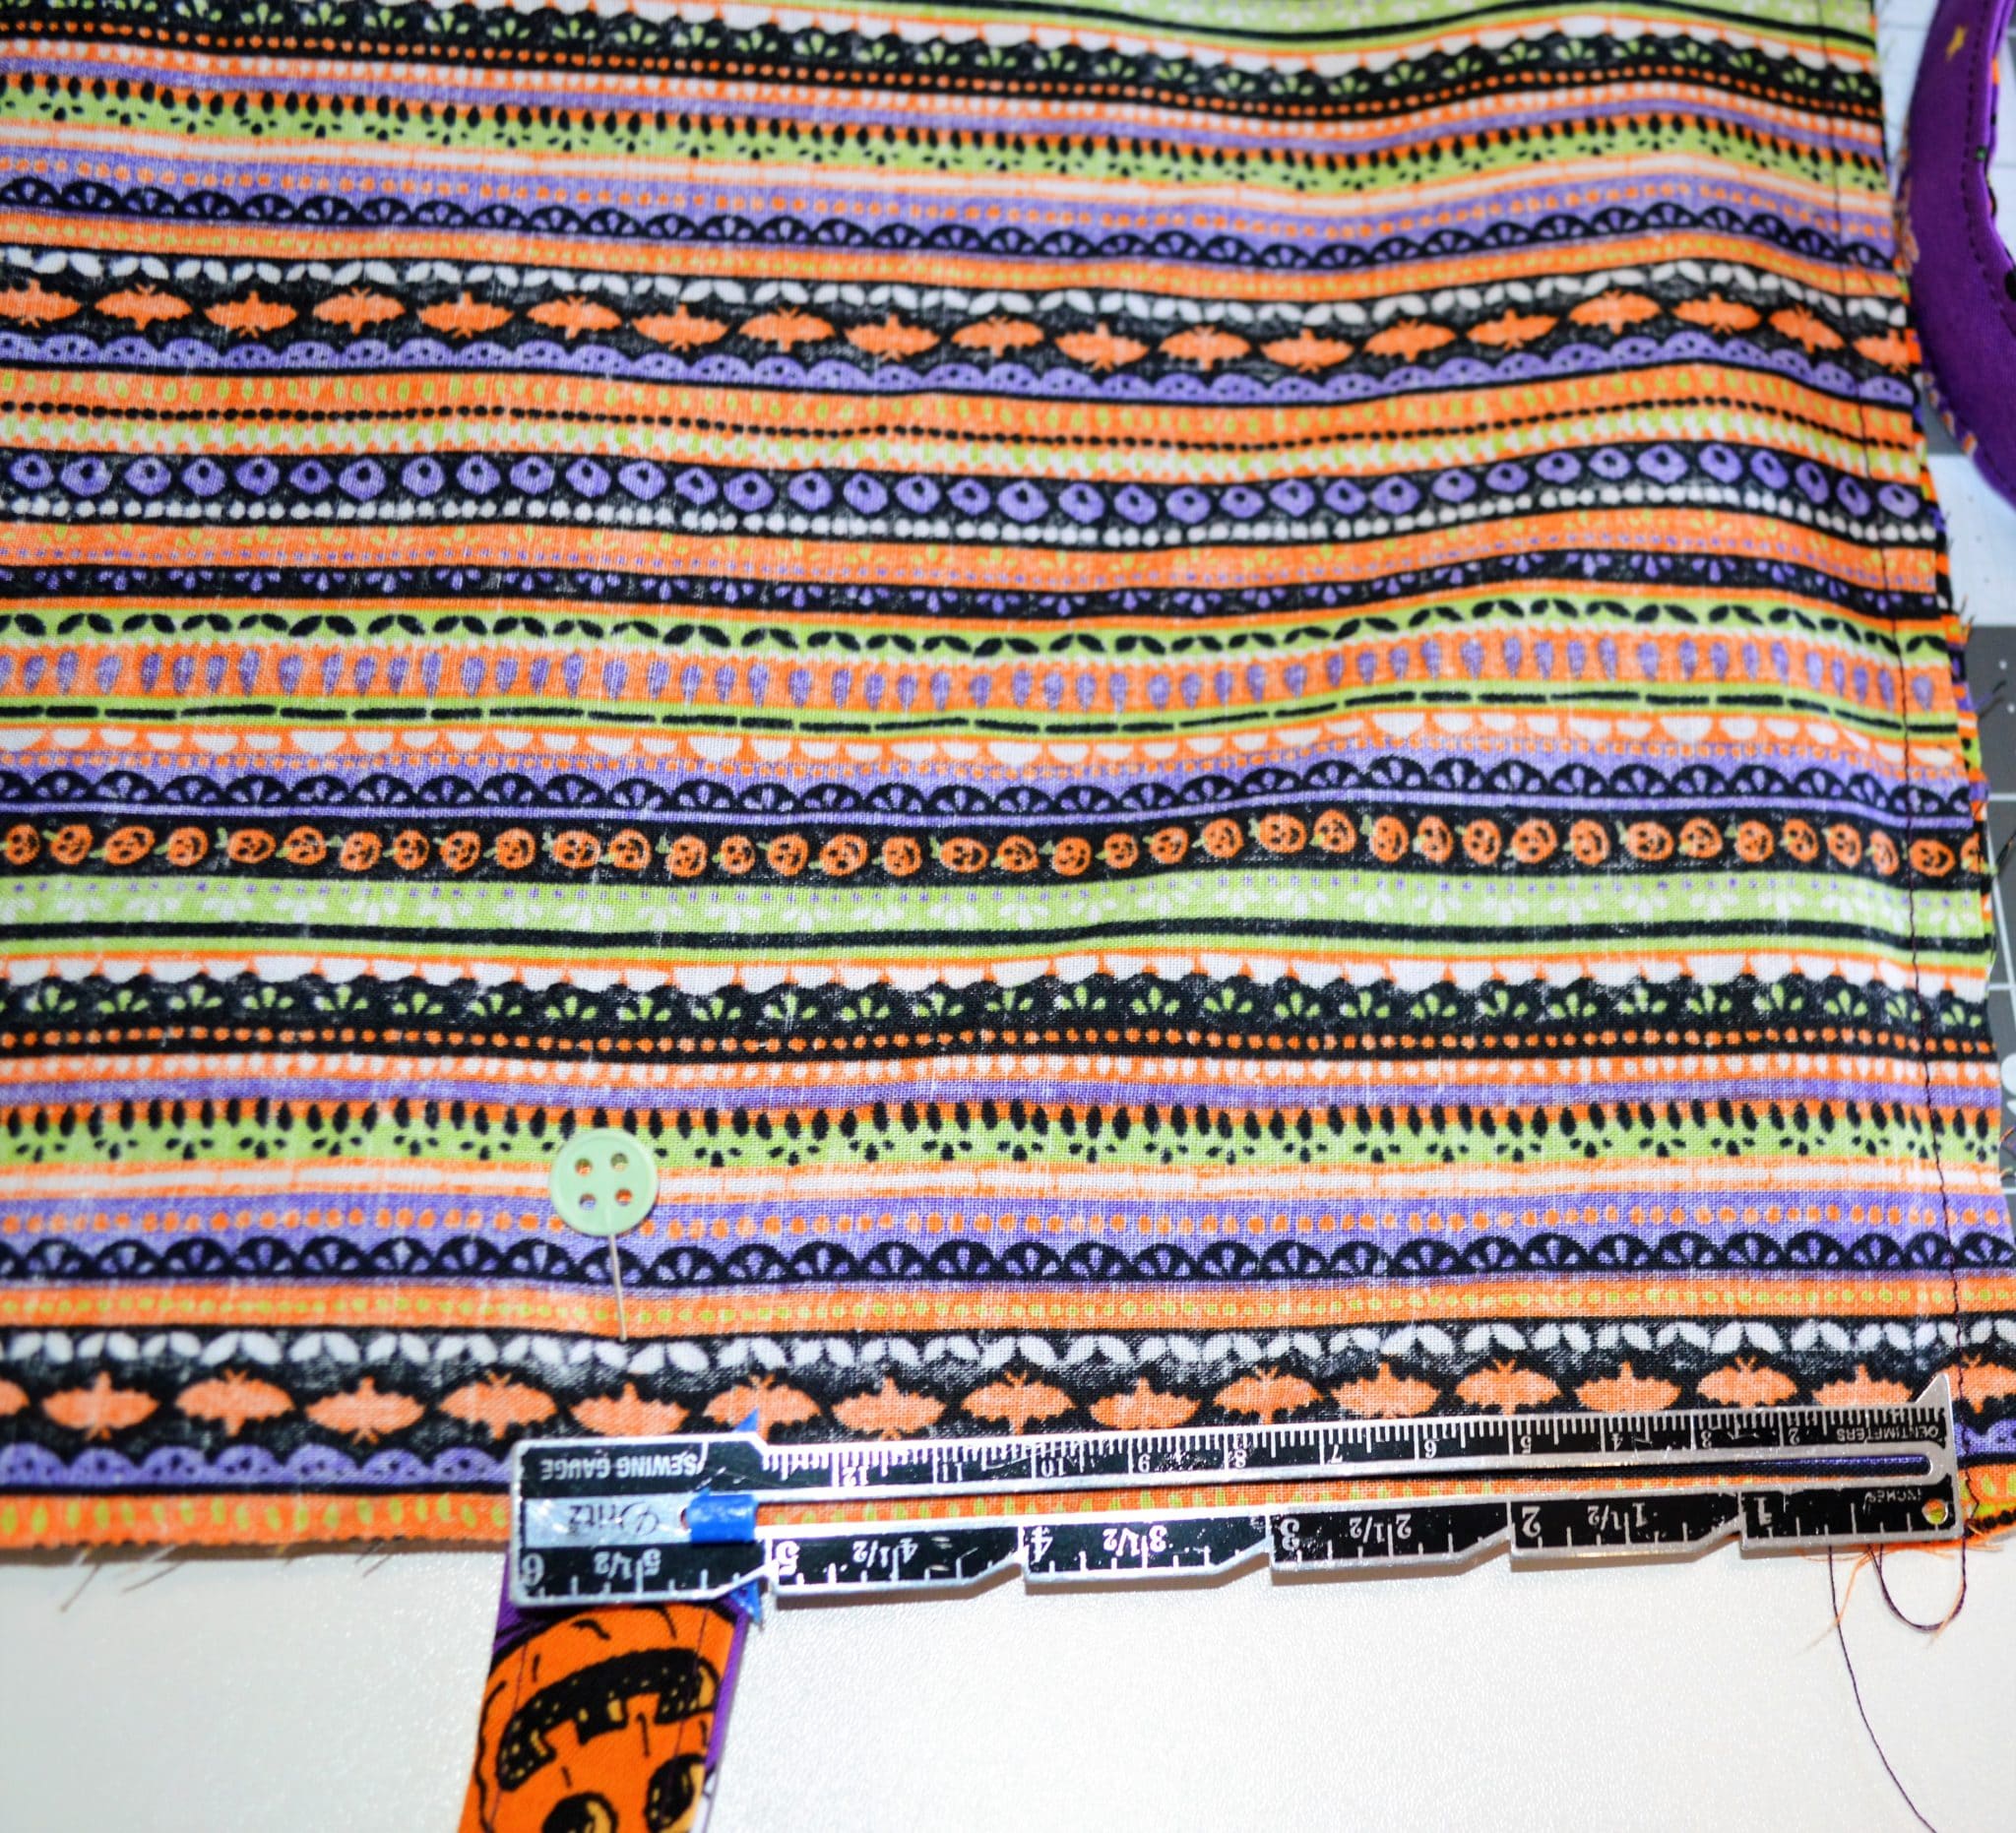
Insert the handles between the main fabric and the contrasting fabric pieces of the bag you previously set aside. I measured 5" from each side seam to place my handles.
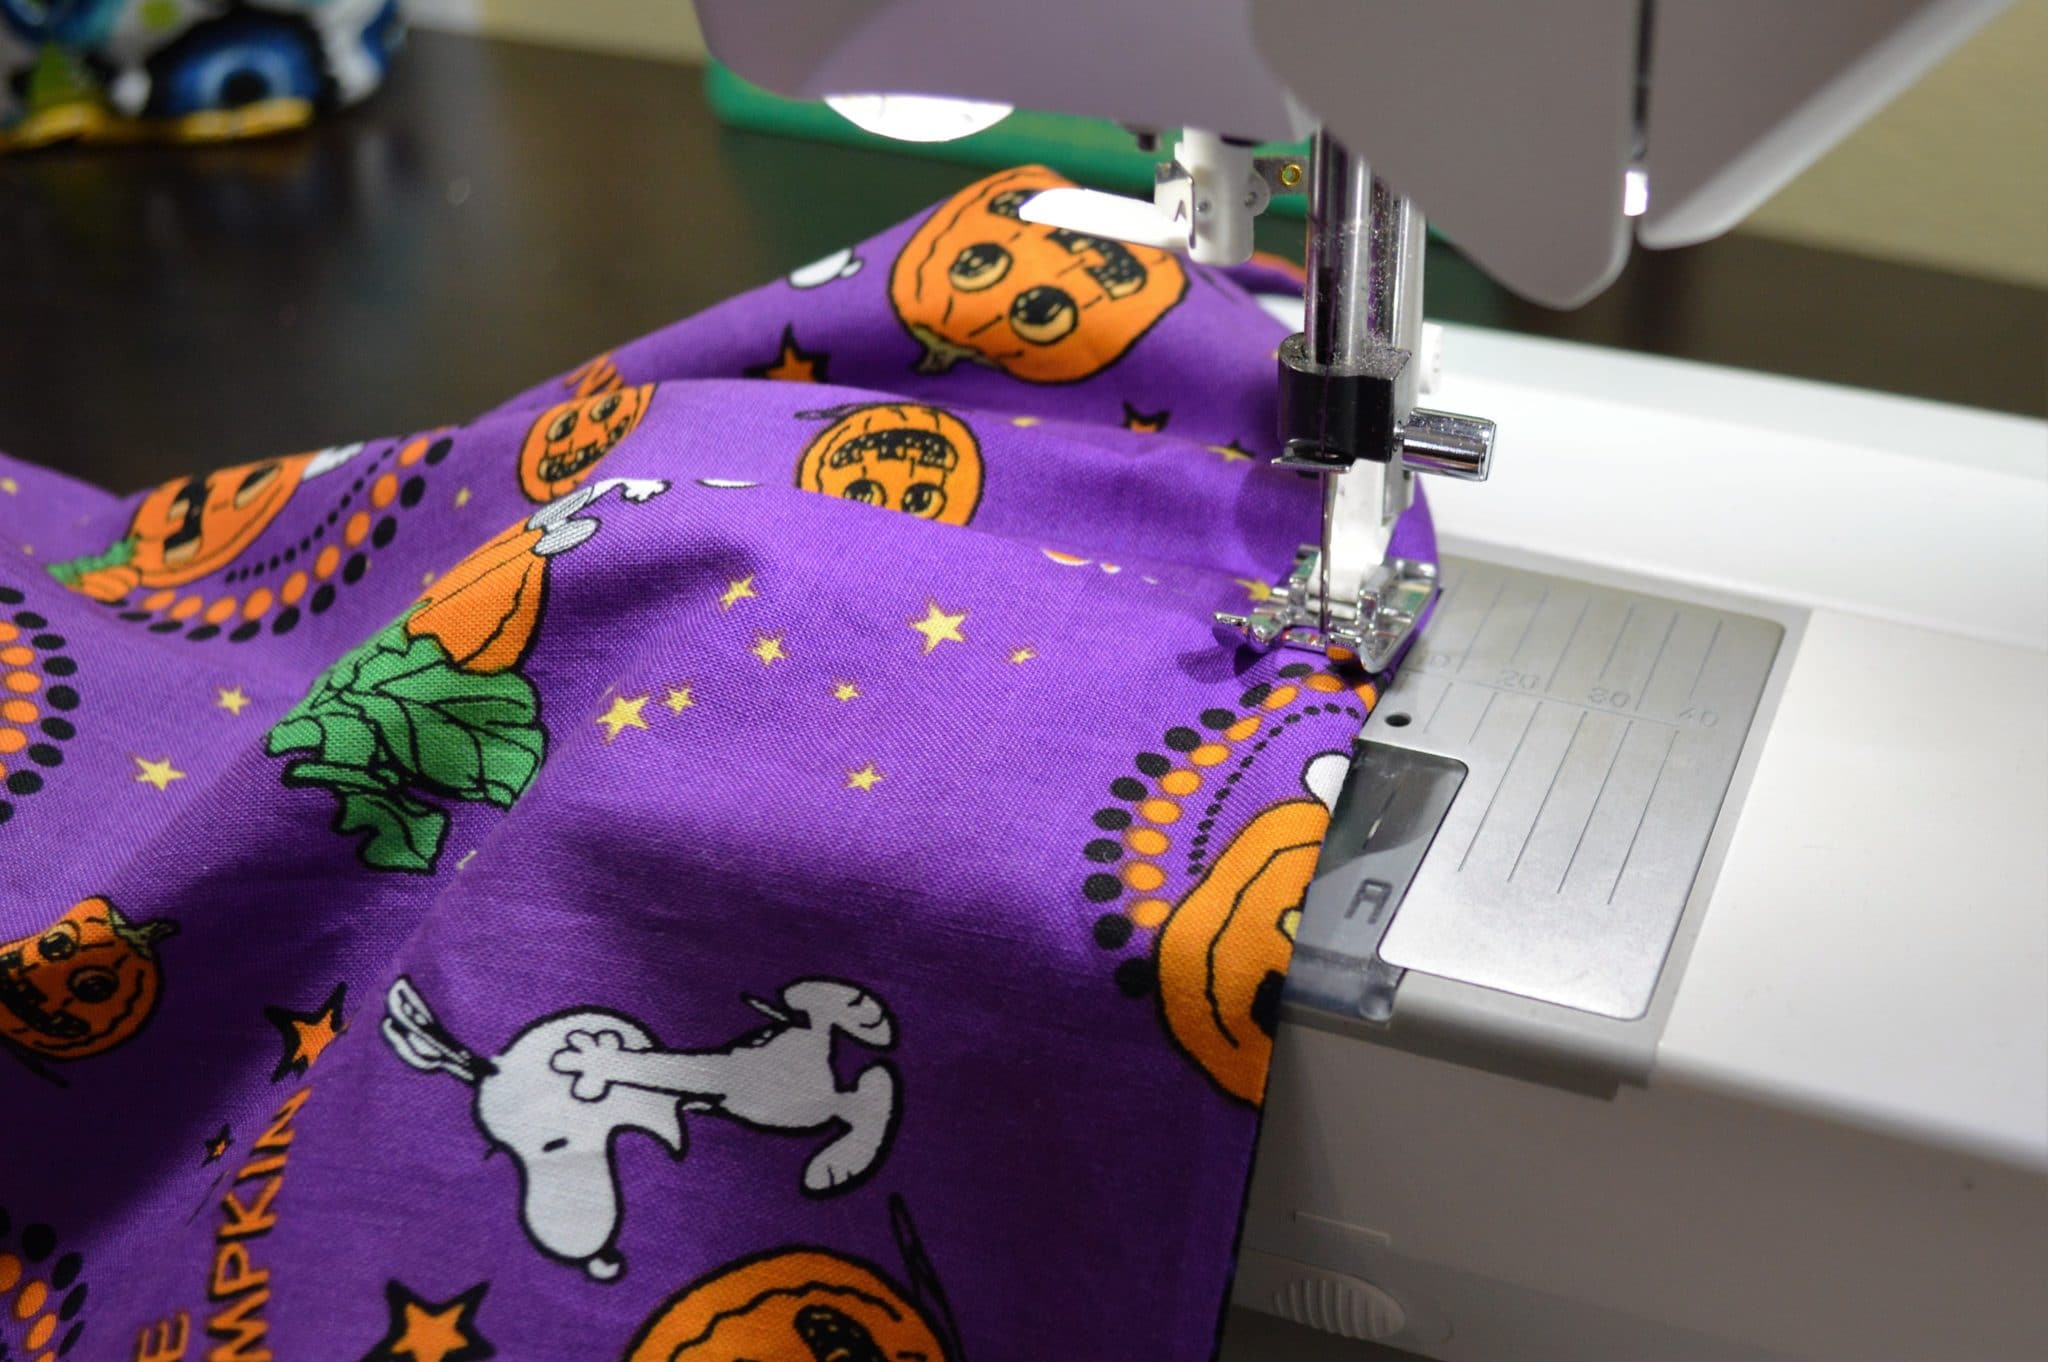
Make sure the handles are facing inside of the bag and the ends are poking through the top. Sew around the top pf the bag sewing the main fabric to the contrasting fabric and catching the handles along the way. I made several passes along the handles to make sure they are secure because they will be bearing most of the weight.
Step 9
Pull the inside main fabric bag through the hole you left in the bottom of the contrasting fabric bag.
Step 10
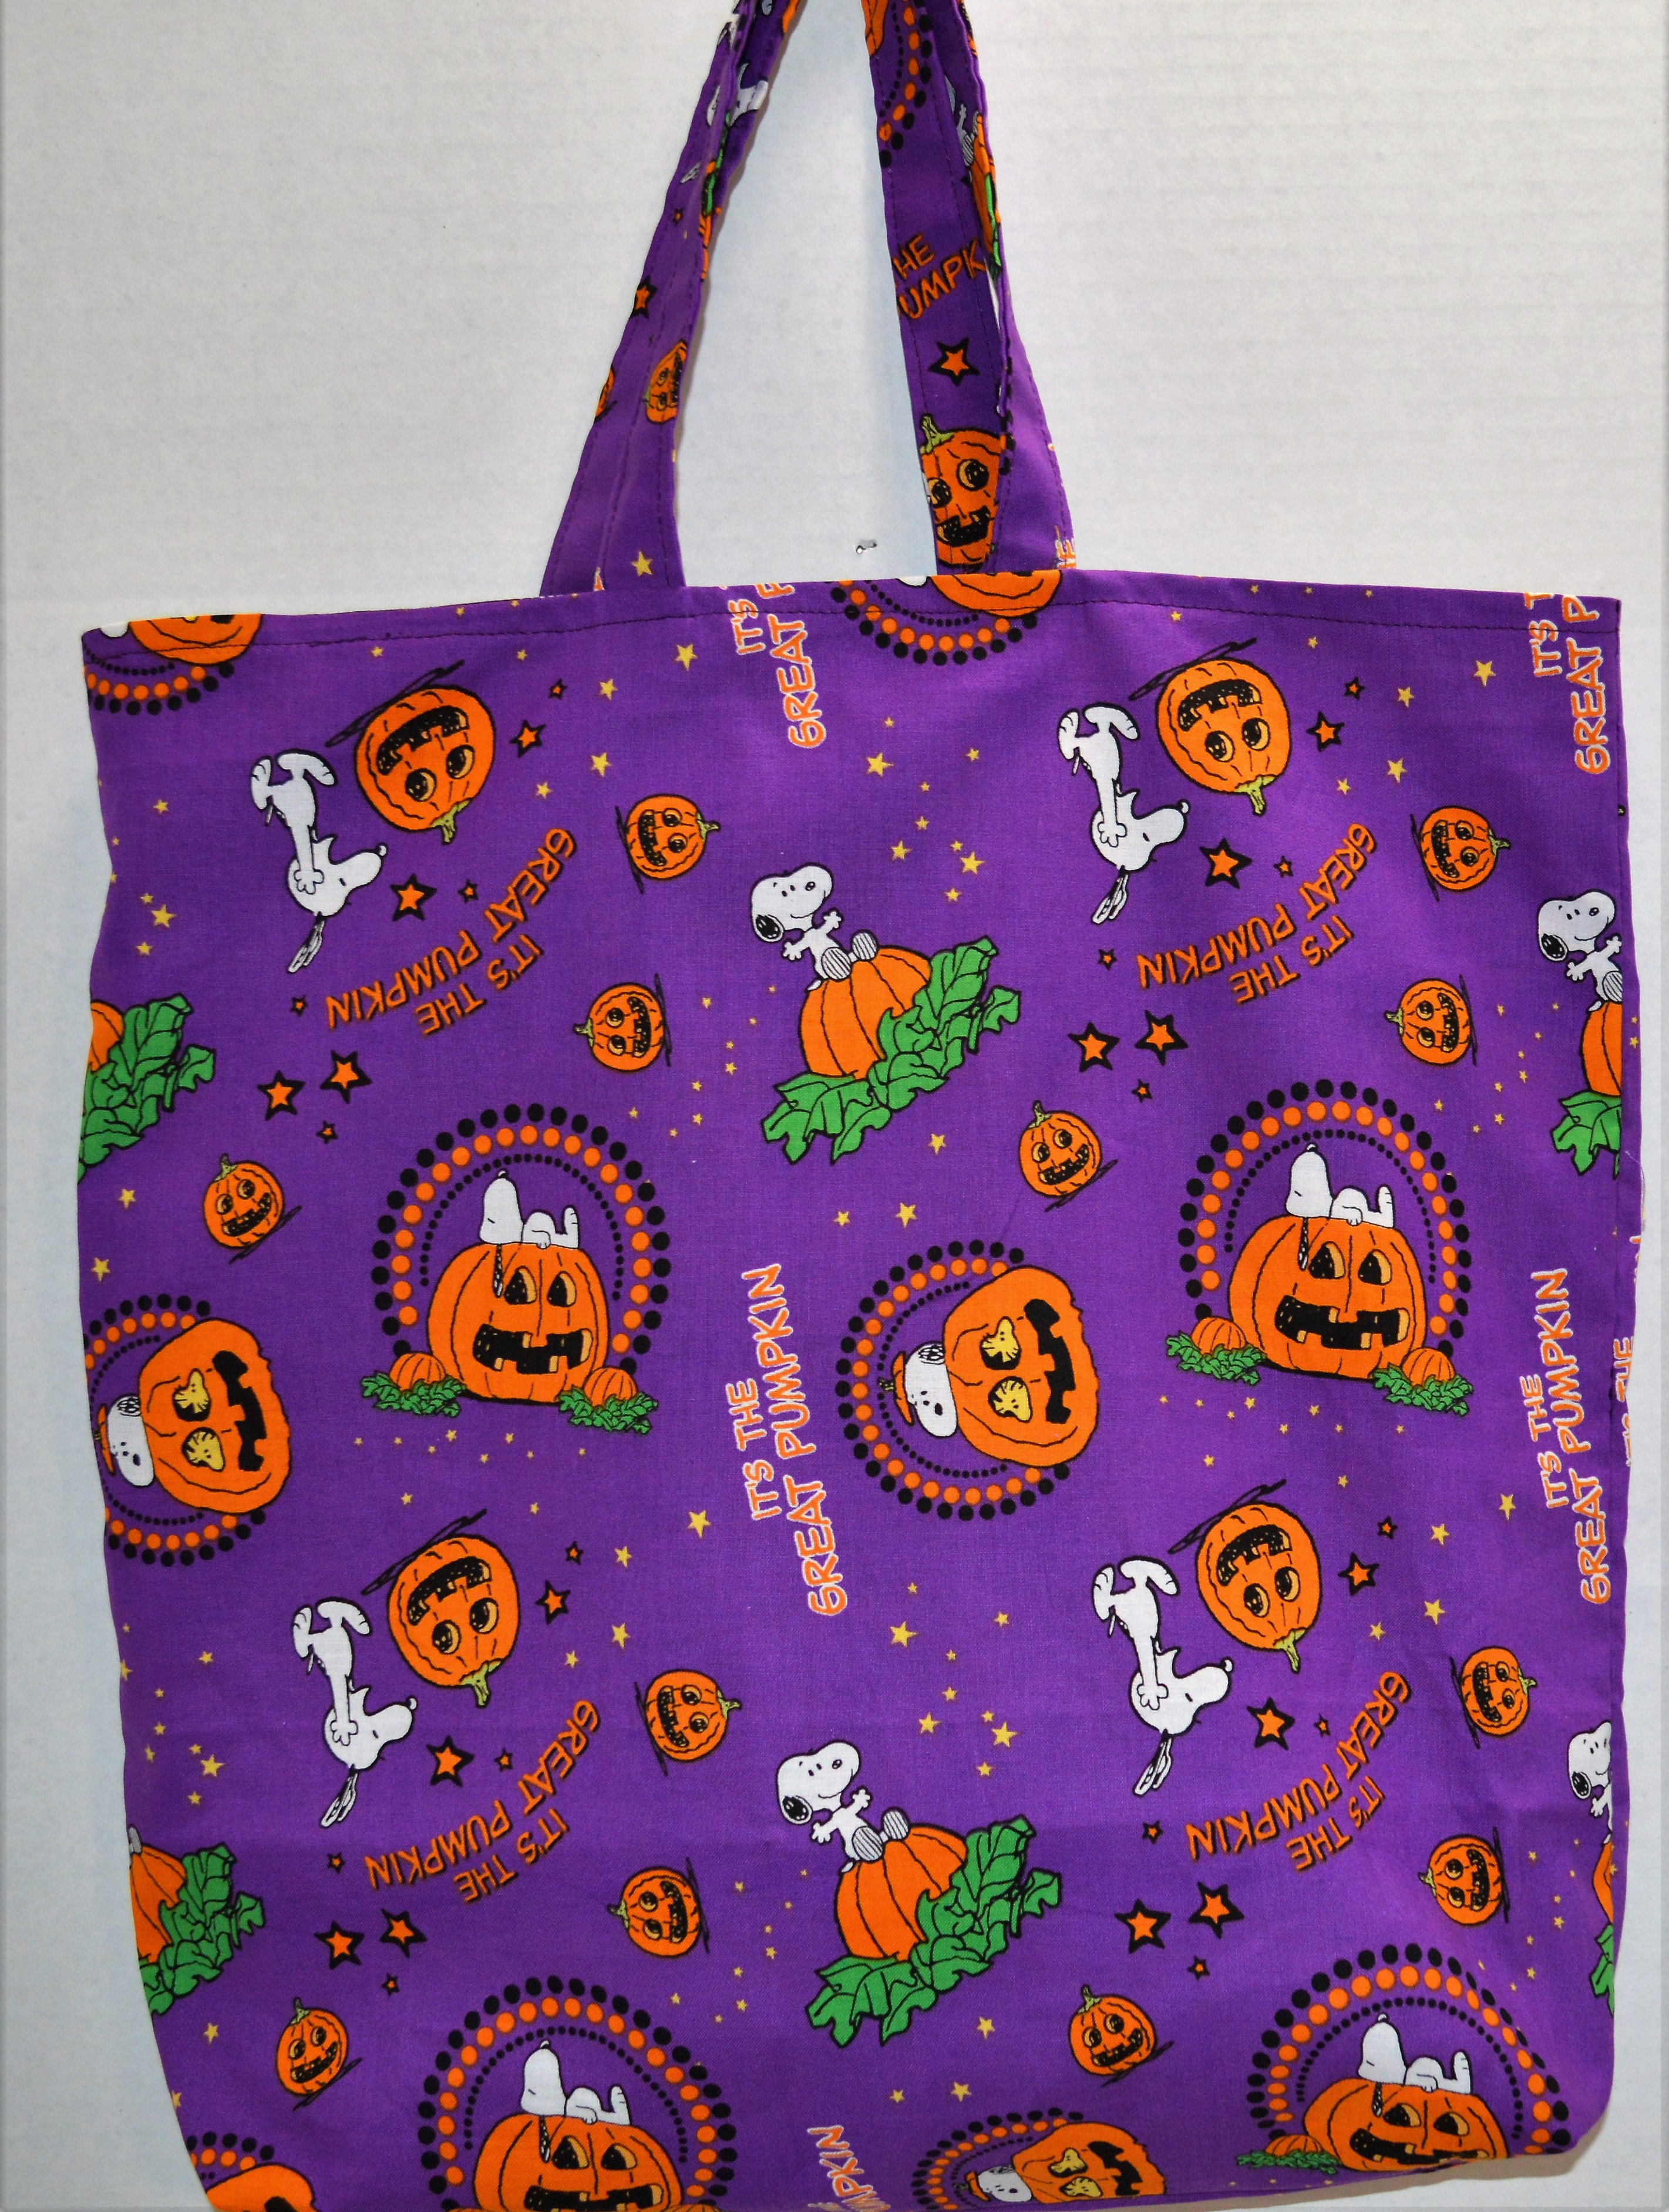
Push the contrast fabric into the main fabric and you can see the bag has come together. In order to finish the bag, press the top so the edges are crisp. Sew a nice top stitch around the top to give the bag a finished look. Either hand stitch or machine stitch the hole you left in the contrasting fabric. I prefer to hand stitch it closed for a cleaner look as it will be seen if you chose this side to show.
Voila! You have a nice reversible Halloween tote for trick or treating or anything else.
 Head over to Sewing Machines Plus for a great variety of sewing machines, sergers and sewing supplies.